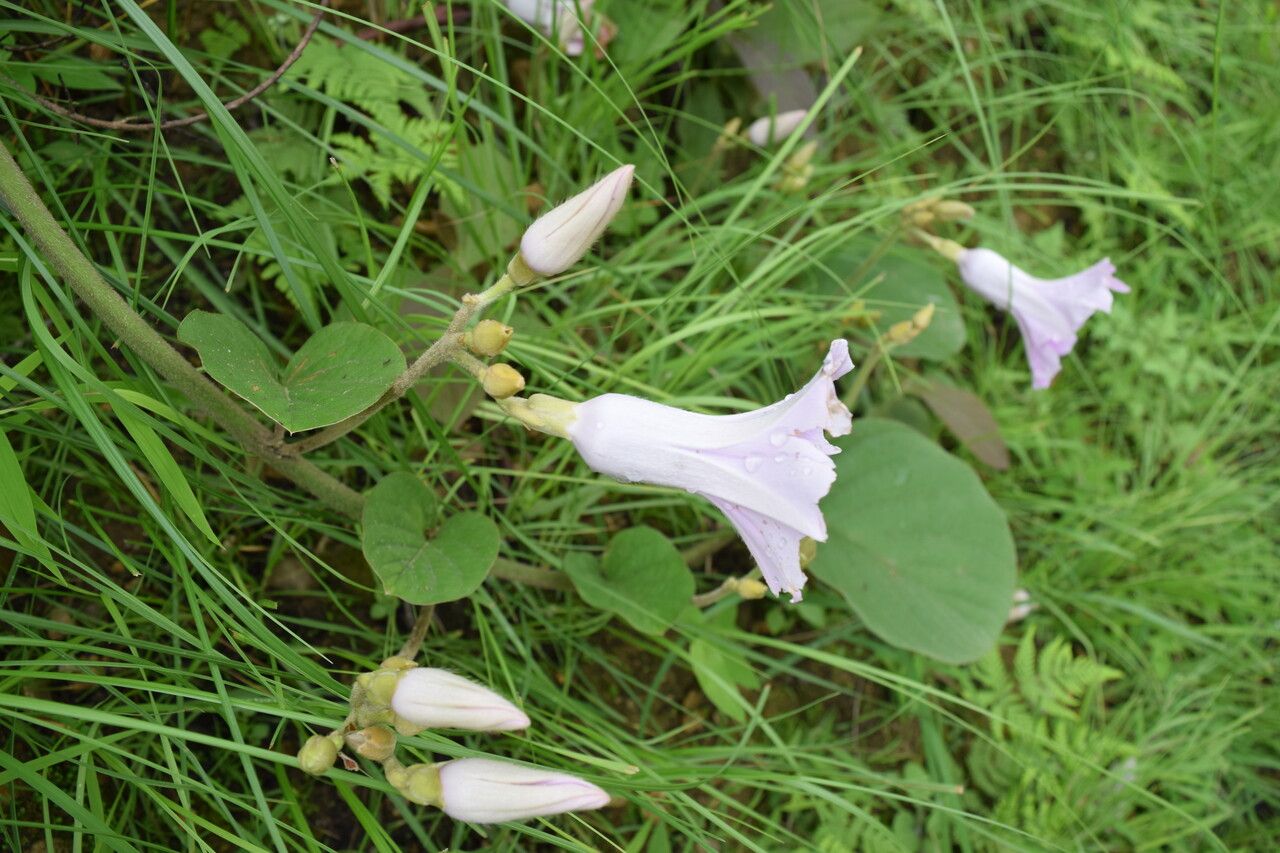
Oh, Argyreia setosa! If you’ve ever seen this beauty, with its velvety leaves and delicate, trumpet-shaped flowers, you know exactly why it captures our hearts. It’s got this wonderfully exotic vibe, yet it’s surprisingly manageable. And the best part? Sharing a piece of that magic is incredibly rewarding.
For newcomers to the gardening scene, I’d say starting with Argyreia setosa from cuttings is moderately easy. It’s not quite as foolproof as a jade plant, but the payoff is definitely worth a little extra attention. You’ll feel a genuine surge of accomplishment when you see your little cuttings take root!
The Best Time to Start
The sweet spot for propagating Argyreia setosa is when the plant is in a serious growth spurt. Think late spring or early summer. The days are getting longer, the temperatures are warming up, and the plant has plenty of energy to divert into making new roots. You want to take cuttings from healthy, new growth – the stuff that’s firm but not yet woody.
Supplies You’ll Need
Gathering your tools beforehand makes the whole process smoother. Here’s what I always have on hand:
- Sharp Pruning Shears or a Clean Knife: For making clean cuts that heal well.
- Rooting Hormone (Optional but Recommended): A powder or gel can give your cuttings a helpful boost.
- Well-Draining Potting Mix: A good blend is about 50% peat moss or coco coir and 50% perlite or gritty sand. You want something airy that won’t hold too much moisture.
- Small Pots or Seedling Trays: Clean pots are key to preventing disease.
- Plastic Bag or Humidity Dome: To create a mini-greenhouse effect.
- Watering Can or Spray Bottle: For gentle watering.
- Labels: So you remember what you’ve planted and when!
Propagation Methods
Let’s get our hands dirty! Stem cuttings are my go-to method for Argyreia setosa.
Stem Cuttings:
- Select Your Cuttings: Look for healthy, non-flowering stems that are about 4-6 inches long. Make your cut just below a leaf node (where a leaf emerges from the stem). Remove any lower leaves, leaving just two or three at the top.
- Apply Rooting Hormone (If Using): Dip the cut end of the stem into your rooting hormone, tapping off any excess.
- Plant Your Cuttings: Fill your small pots with your prepared potting mix. Make a small hole with your finger or a pencil and insert the cutting, ensuring the leaf nodes are buried. Gently firm the soil around the stem.
- Water Gently: Water the soil lightly until it’s moist but not soggy.
- Create a Humid Environment: Cover the pot with a plastic bag (making sure the leaves don’t touch the inside) or place it under a humidity dome. You want to trap moisture.
- Provide Bright, Indirect Light: Place your pots in a spot that receives plenty of bright, indirect sunlight. Avoid direct sun, which can scorch the delicate cuttings.
The “Secret Sauce” (Pro Tips)
Here are a couple of little tricks I’ve picked up over the years that really make a difference:
- Bottom Heat is Your Friend: While not strictly essential, placing your pots on a seedling heat mat can significantly speed up root development. This gentle warmth mimics spring soil temperatures and encourages those roots to get going.
- Don’t Over-Water! This is probably the most common mistake. Cuttings sitting in soggy soil are prone to rot. The goal is consistently moist, not wet. Stick your finger about an inch into the soil – if it feels dry, it’s time to water again.
Aftercare & Troubleshooting
Once you start seeing little roots poking out the bottom of your pot (you can gently tug on a leaf to feel for resistance, or if you’re brave, check the drainage holes!), your cutting is well on its way.
Start gradually acclimating your new plant to normal household humidity. This means a little less time with the cover on each day. Continue to water when the top inch of soil feels dry.
What if things go wrong? The most common culprit is rot. If your cutting turns mushy and black, it’s usually a sign of too much moisture and not enough air circulation. Unfortunately, it’s unlikely to recover. If you see this happen, discard the affected cutting to prevent it from spreading. Yellowing leaves can sometimes indicate overwatering or a lack of light.
A Encouraging Closing
Don’t get discouraged if your first attempt isn’t 100% successful. Gardening is all about learning and experimenting. Be patient with your little Argyreia setosa starts, enjoy the process of nurturing them, and soon you’ll have a whole new collection to admire (or share!). Happy propagating!
Resource:
https://identify.plantnet.org/k-world-flora/species/Argyreia%20setosa%20(Roxb.)%20Sweet/data