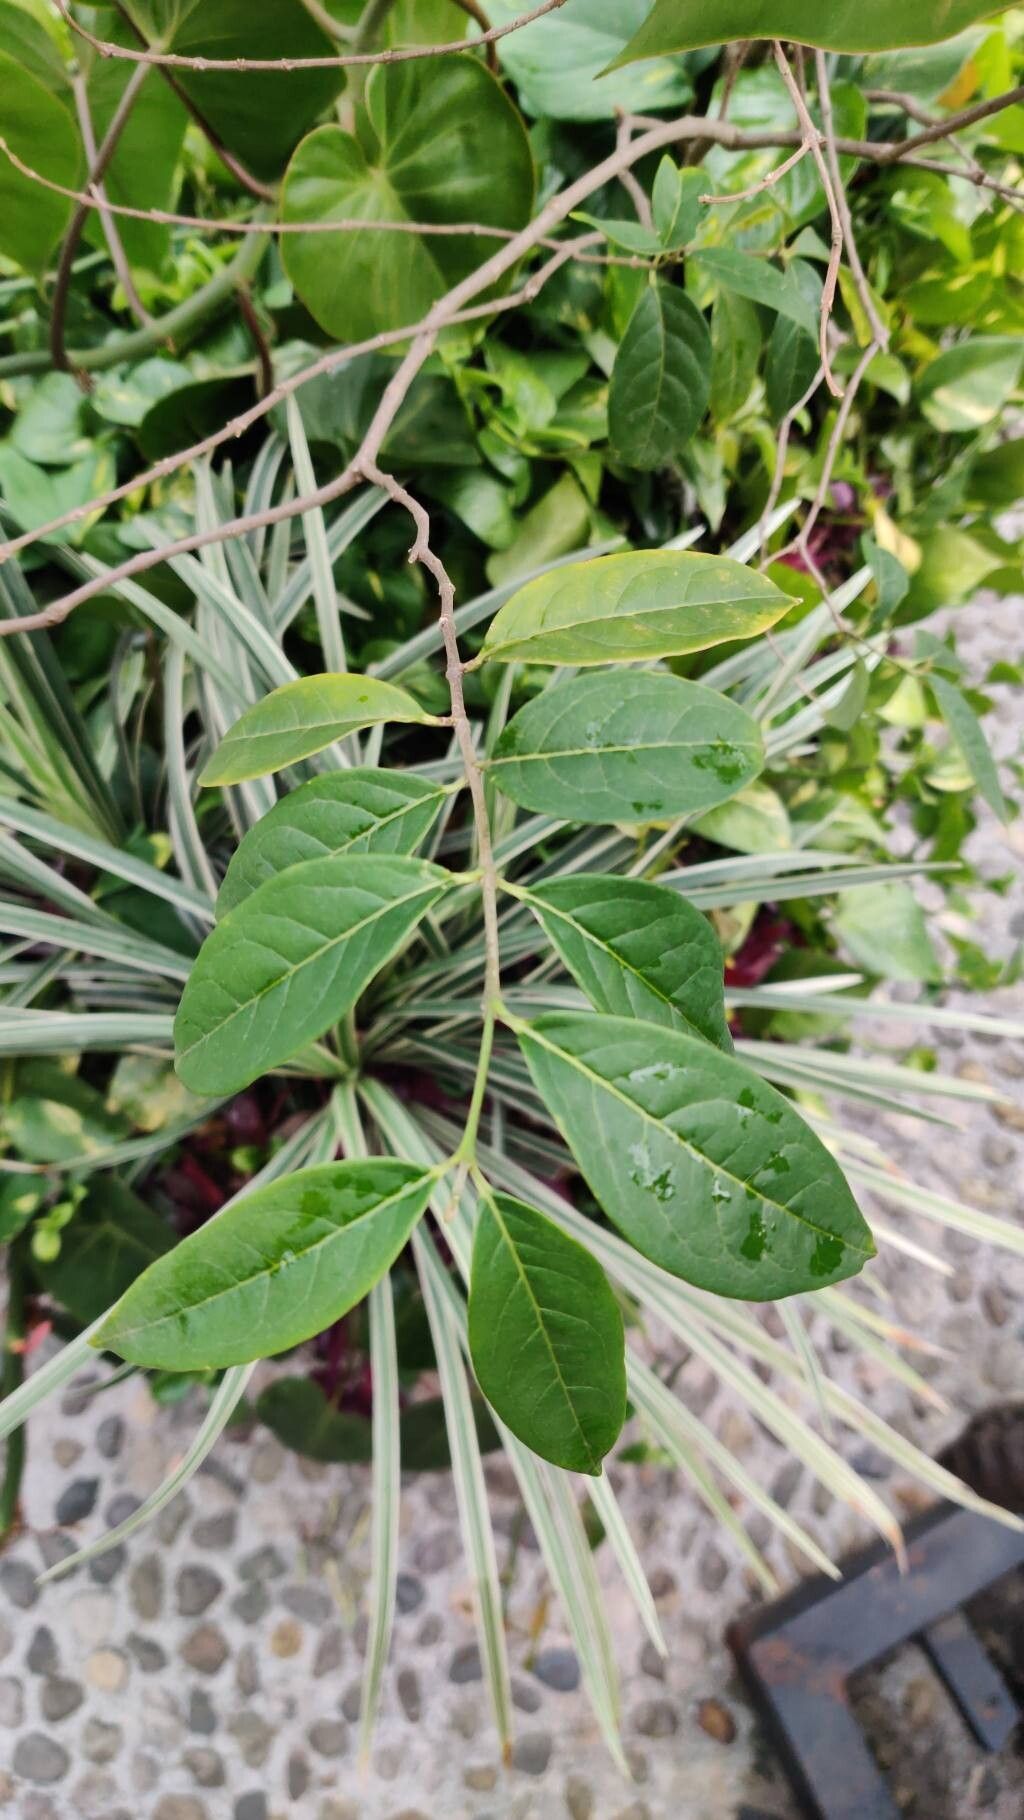
Hey there, fellow garden enthusiasts! Today, we’re diving into the wonderful world of Bunchosia nitida, also known as the Barbados cherry or plum. If you’ve ever tasted its sweet, tart, vibrant red fruits – or simply admired its lush, glossy foliage – you know it’s a special plant to have around. For us gardeners, there’s a deep satisfaction in coaxing new life from an existing beauty. And the good news? While it requires a touch of care and attention, propagating Bunchosia nitida is absolutely achievable, even for those of you just starting out on your green-thumb journey.
The Best Time to Start
When it comes to Bunchosia nitida, aiming for late spring to early summer is your sweet spot. This is when the plant is in its active growth phase, meaning it’s more receptive to taking root. You’re looking for semi-hardwood cuttings, which are stems that have started to firm up but aren’t woody and old. Think of it as the plant being in its prime, full of energy and ready to branch out.
Supplies You’ll Need
Here’s what I always have on hand when I’m ready to get some new Bunchosia plants going:
- Sharp pruning shears or a clean knife: For making clean cuts.
- Rooting hormone powder or gel: This is a fantastic helper for encouraging root development.
- Well-draining potting mix: A good blend is key. I often use a mix of peat moss, perlite, and a little bit of sand (about 50% peat, 30% perlite, 20% sand). You can also find specialized propagation mixes.
- Small pots or trays: Clean ones, of course! About 4-6 inch pots are usually a good size.
- Plastic bags or a propagation dome: To create a humid environment.
- Watering can or spray bottle: For gentle watering.
- Optional: A heat mat: This can really speed things up if your ambient temperature is a bit cool.
Propagation Methods: Stem Cuttings
This is my go-to method for Bunchosia nitida. It’s reliable and gives you a good chance of success.
-
Take Your Cuttings: In late spring or early summer, carefully select healthy, vigorous stems from your mature plant. Using your sharp pruning shears, snip off pieces about 6 to 8 inches long. Make your cut just below a leaf node (the point where a leaf joins the stem).
-
Prepare the Cuttings: Gently remove the leaves from the bottom half of the cutting. This prevents them from rotting when they’re in the soil. You can leave a few leaves at the top to help with photosynthesis.
-
Apply Rooting Hormone: Dip the cut end of each stem into your rooting hormone. You just want a light coating on the bottom 1-2 inches. Tap off any excess.
-
Pot Them Up: Fill your clean pots with the well-draining potting mix. Make a hole in the center of the soil with your finger or a pencil.
-
Insert the Cuttings: Place the rooting hormone-coated end of the cutting into the hole. Gently firm the soil around the stem to ensure good contact.
-
Water Gently: Water the soil thoroughly but gently. You want it to be moist but not waterlogged.
-
Create Humidity: Cover each pot loosely with a plastic bag, then secure it with a rubber band around the rim. If you have a propagation dome, use that. The goal is to trap moisture around the cutting. Place the pots in a bright spot that doesn’t get direct, scorching sunlight.
The “Secret Sauce” (Pro Tips)
Now, for a couple of little tricks I’ve learned over the years that can make a big difference:
- Don’t Let Leaves Dangle in Water (Unless You’re Doing Water Propagation): If you’re using soil, make sure none of the leaves are touching the soil surface. They’ll just invite fungal issues and rot. I sometimes trim off the very bottom larger leaves if they’re getting too close.
- Bottom Heat is Your Friend: Bunchosia nitida absolutely loves a little warmth from below. If you have a heat mat, placing your pots on it can significantly speed up root formation. It mimics the natural warmth of the soil when a fruit falls and germinates.
- Sterility is Key: Seriously, clean your tools and pots thoroughly. Any lingering bacteria or fungi can be a death sentence for a precious cutting before it even has a chance. A quick soak in a bleach solution (1 part bleach to 9 parts water) works wonders.
Aftercare & Troubleshooting
Patience is your best friend here! Keep the soil consistently moist but not soggy. You want to see some new leaf growth or resistance when you gently tug on the cutting – that’s a good sign roots are forming. This can take anywhere from 4 to 12 weeks, sometimes longer.
If your cuttings start to get mushy or black at the base, or if the leaves turn yellow and drop off without any new growth, that’s usually a sign of overwatering or a fungal issue. If you see this, try to drain excess water and ensure good air circulation. Sometimes, you might need to make fresh cuttings if the problem persists.
Once you’re confident your cuttings have rooted (you can give them a gentle tug and feel resistance, or see roots peeking out the drainage holes), gradually acclimate them to normal conditions. Remove the plastic bag for a few hours each day before taking it off completely. Continue to water regularly and keep them in bright, indirect light. You can then pot them up into slightly larger containers as needed.
A Encouraging Closing
Propagating plants is a beautiful dance with nature. It’s about observing, learning, and a little bit of hopeful waiting. Don’t be discouraged if your first few attempts aren’t perfect. Every cutting you take is a chance to learn more about your plant and your gardening style. Just enjoy the process, celebrate every tiny sign of new growth, and soon you’ll have your very own Bunchosia nitida family to share! Happy gardening!
Resource:
https://identify.plantnet.org/k-world-flora/species/Bunchosia%20nitida%20(Jacq.)%20DC./data