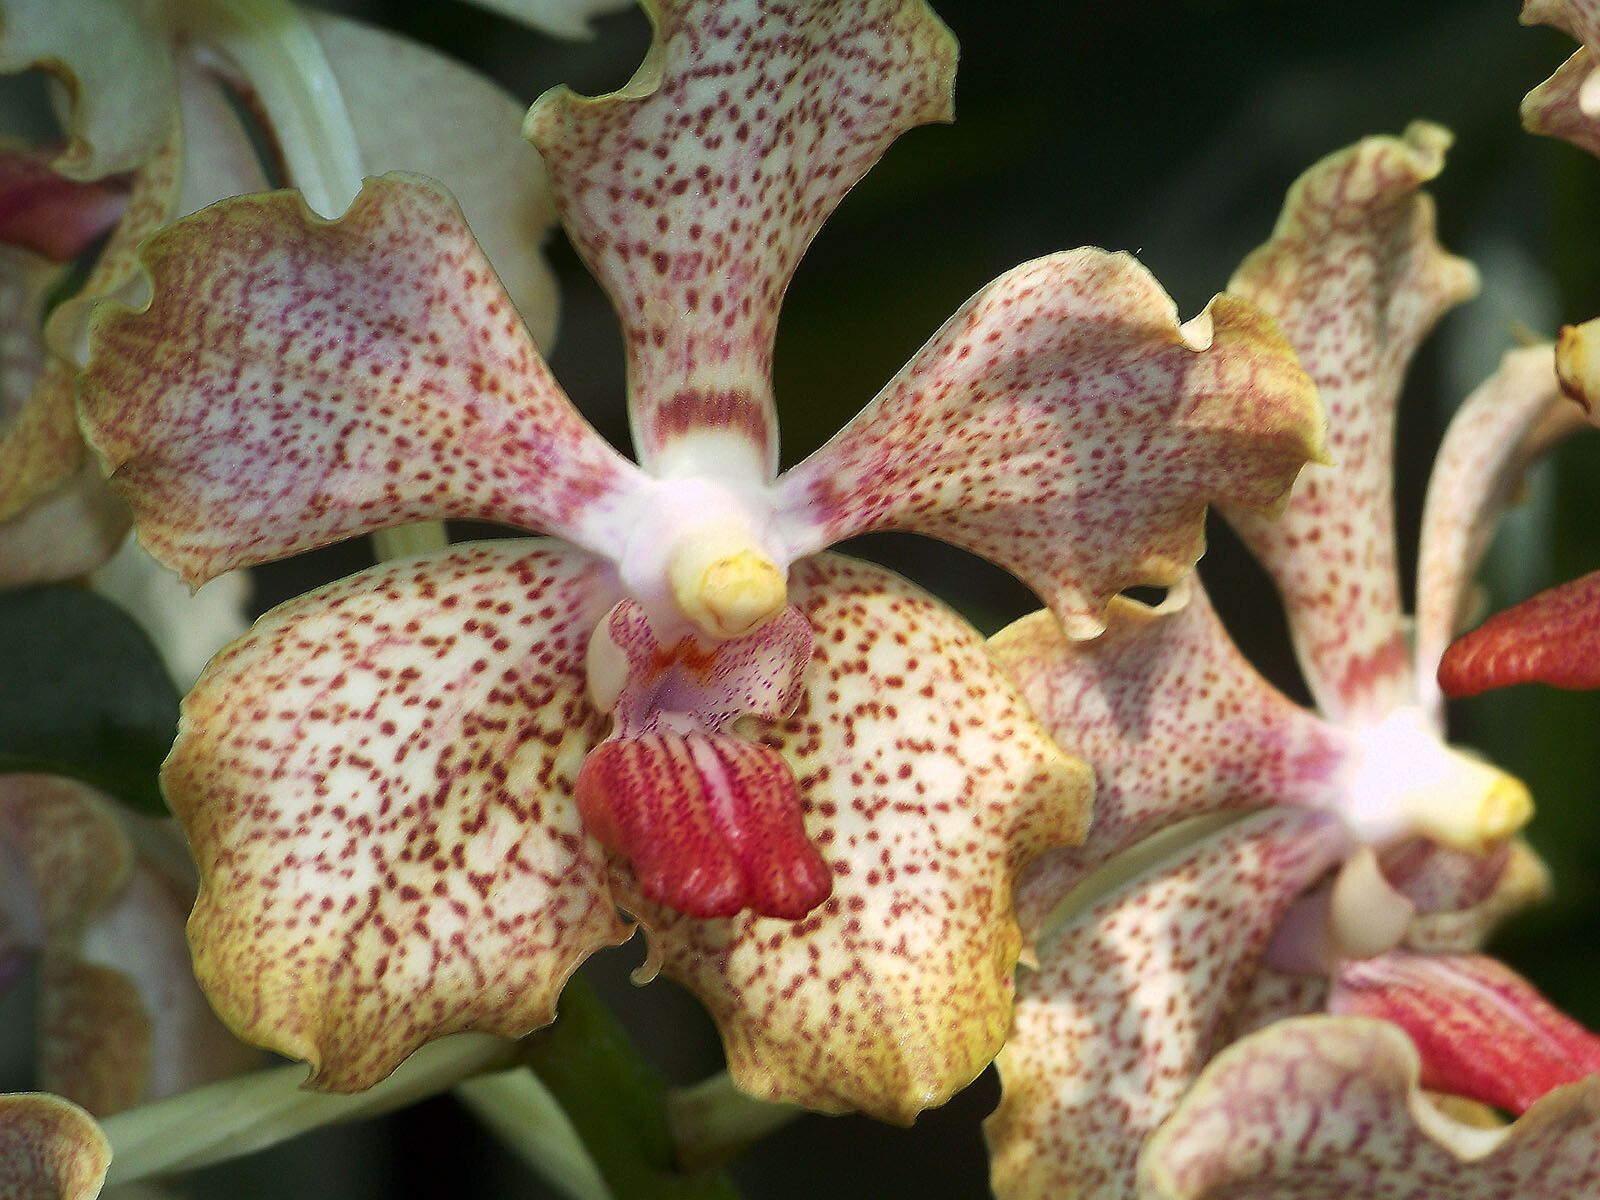
Hello fellow plant lovers! Today, we’re diving into the wonderful world of Vanda sanderiana, a truly magnificent orchid. Their stunning, vibrant blooms are like nature’s own artwork, and growing them from scratch is a wonderfully satisfying journey.
Now, I won’t sugarcoat it: propagating Vandas can be a little tricky, especially for absolute beginners. But with a bit of patience and a willingness to learn, you’ll find it’s also incredibly rewarding. Seeing a tiny piece of your beloved orchid grow into a new, thriving plant is pure magic!
The Best Time to Start
For Vandas, the sweet spot for propagation is during their active growth period. This generally means spring and early summer. You’ll notice new roots and leaves appearing, which indicates the plant has the energy reserves needed to kickstart new growth in its cuttings. Trying to propagate when the plant is resting is like asking for a big favor when it’s already exhausted – it’s just not going to work as well.
Supplies You’ll Need
Gathering your tools before you start makes the whole process smoother. Here’s what I always have on hand:
- Sharp, sterilized pruning shears or a clean, sharp knife: Crucial for making clean cuts and preventing disease.
- Cinnamon powder or activated charcoal: A natural fungicide to help seal cuts.
- Sphagnum moss: The best starter medium for Vanda cuttings. Make sure it’s horticultural grade and pre-moistened.
- Large planting pots or clear plastic containers: For housing your cuttings. Clear containers let you see root development.
- Rooting hormone (optional but recommended): A little boost can help speed things along.
- Watering can with a fine spray nozzle: Gentle watering is key.
- Small labels and a permanent marker: To keep track of your young charges.
- Bottom heat mat (highly recommended for faster rooting): This provides gentle warmth from below, mimicking natural conditions.
Propagation Methods
Vanda sanderiana is typically propagated by keikis or by stem cuttings. Keikis are essentially baby plants that grow from the base or nodes of the mother plant. Stem cuttings involve taking a section of the stem with a leaf or two and encouraging it to root.
Method 1: Propagating Keikis
This is often the easiest and most successful method for Vandas.
- Inspect your Vanda: Look for small plantlets, called keikis, that have started to form along the stem or at the base of the mother plant. They will usually have tiny leaves and sometimes even small roots.
- Wait for established roots: The most important step! Wait until the keiki has developed at least two or three healthy roots, about an inch or two long. This ensures it has a good start.
- Carefully separate the keiki: Using your sterilized shears, make a clean cut to separate the keiki from the mother plant. Try to get a small segment of the mother plant’s stem attached to the keiki if possible.
- Treat the cut: Dust the cut surface on both the keiki and the mother plant with cinnamon powder or activated charcoal. This helps to prevent fungal infections.
- Pot it up: Gently place the keiki in a pot filled with pre-moistened, horticultural-grade sphagnum moss. Ensure the roots are nestled within the moss. Don’t pack it too tightly; the roots need air.
Method 2: Stem Cuttings (More Advanced)
This method is for when you don’t have keikis but want to try propagating from a mature stem.
- Select a healthy stem: Choose a mature stem on your Vanda that looks vigorous. It should have at least two or three healthy leaves.
- Make the cut: Using your sterilized shears, cut a section of the stem that is about 3-4 inches long and includes at least one node (where a leaf attaches). If there are two leaves, try to position your cut just below a node.
- Prepare the cutting: Remove the lower leaf, if present, to expose the node. You can gently dip the cut end into rooting hormone, tapping off any excess.
- Pot it up: Place the cutting into a pot filled with pre-moistened sphagnum moss. The node should be buried just slightly in the moss, with the leaves extending above.
The “Secret Sauce” (Pro Tips)
Here are a couple of tricks I’ve learned over the years that can really make a difference:
- Don’t let the leaves touch the water (or overly wet moss): This is a BIG one for Vandas. Excess moisture on the leaves, especially in high humidity without good air circulation, is a fast track to rot. Make sure your setup allows for good airflow. When watering, aim to moisten the roots and moss, not drench the leaves.
- Bottom heat is your best friend: I can’t stress this enough! Placing your pots on a bottom heat mat set to around 75-80°F (24-27°C) will significantly speed up root development. It mimics the warmth orchids crave to initiate new growth. You’ll see roots forming much faster than without it.
Aftercare & Troubleshooting
Once your keiki or cutting is potted up, keep it in a location with bright, indirect light and good air circulation. Lightly mist the sphagnum moss when it starts to feel dry, but avoid waterlogging.
Watch for new root growth. This is your main indicator of success! Roots should look plump and green or white. Slowly begin to introduce it to slightly less humid conditions and closer to the light, mimicking the process of acclimating any new orchid.
Troubleshooting:
- Rot: The most common problem. If you see mushy, brown, or black stems or leaves, it’s likely rot. Act quickly! Remove the affected part with your sterilized tool, and dust the cut with cinnamon. Ensure much better air circulation. Sometimes, you can salvage a cutting by cutting away all rotten material until you reach healthy tissue.
- Wilting: This can sometimes happen if the cutting hasn’t rooted yet and is struggling to take up water. Ensure the sphagnum moss is consistently moist (not soggy).
- No growth: Be patient! Some cuttings take weeks, or even months, to show signs of rooting. Keep conditions stable and avoid overwatering.
A Little Patience Goes a Long Way
Successfully propagating Vanda sanderiana takes a bit of care and a lot of patience, but the reward of nurturing a new, blooming plant from a piece of another is truly special. Don’t be discouraged if your first attempt isn’t perfect. Every gardener learns from their experiences, and each new orchid you grow will teach you something new. Enjoy the process, and happy growing!
Resource:
https://identify.plantnet.org/k-world-flora/species/Vanda%20sanderiana%20(Rchb.f.)%20Rchb.f./data