Hello fellow plant lovers! Today, we’re diving into the wonderful world of propagating Scurrula elata. This is a plant that truly captures the imagination. Its delicate, often vibrant flowers bring such a cheerful splash of color to the garden. And trust me, there’s a special kind of satisfaction that comes from nurturing a tiny cutting into a thriving plant. If you’re new to this, don’t worry! While Scurrula elata can be a little finicky, with a bit of know-how and patience, you’ll be well on your way.
The Best Time to Start
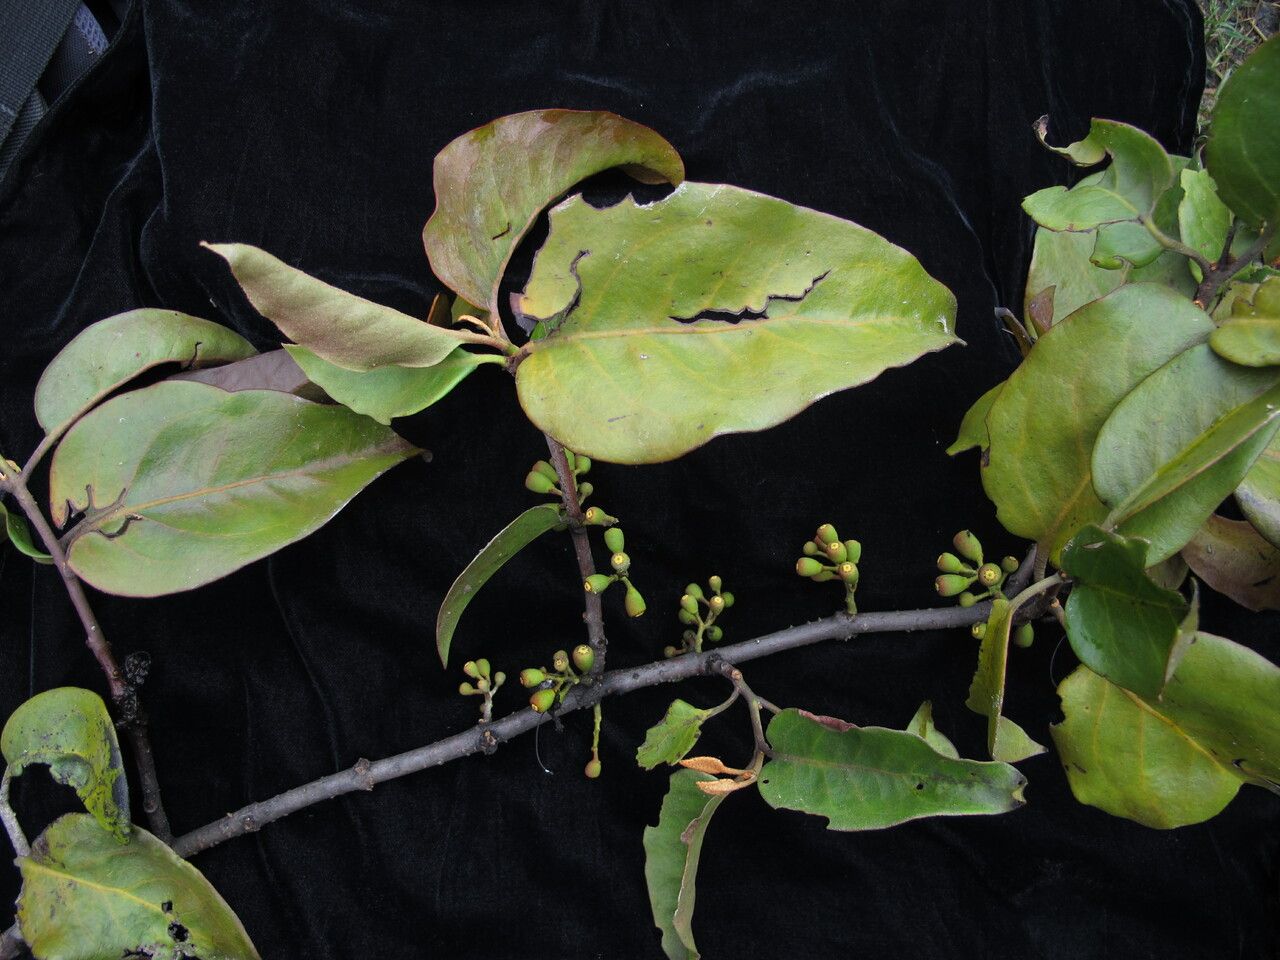
For the highest success rate with Scurrula elata, I’ve found that the late spring to early summer is absolutely prime time. This is when the plant is actively growing and has the best energy reserves to put into developing new roots. Look for stems that are healthy, green, and have just finished blooming or are about to. Avoid woody, old growth or brand-new, tender shoots.
Supplies You’ll Need
Gathering your supplies beforehand makes the whole process so much smoother. Here’s what I always have on hand:
- Sharp Pruning Shears or a Knife: Cleanliness is key to prevent disease.
- Rooting Hormone: This is a booster that really helps encourage root development. I prefer a powder form for ease of use.
- Well-Draining Potting Mix: A mix of equal parts perlite and peat moss or coco coir works wonderfully. You can also buy specific cactus or succulent mixes, which are often very suitable.
- Small Pots or Seed Trays: These should have drainage holes.
- Watering Can or Spray Bottle: For gentle watering.
- Plastic Bags or a Propagator: To create a humid microclimate.
- Optional: Bottom Heat Mat: This can significantly speed up rooting, especially if your propagation space is on the cooler side.
Propagation Methods
While Scurrula elata can be a bit of a diva, stem cuttings are generally the most reliable method for home gardeners.
- Take Your Cuttings: Using your clean shears, select healthy stems and cut pieces about 4-6 inches long. Make your cuts just below a leaf node (where a leaf attaches to the stem). This is where rooting hormones are most potent.
- Prepare the Cuttings: Gently remove the lower leaves from your cuttings. You want to expose a bit of the stem where roots will form. If the leaves are very large, you can even cut them in half to reduce water loss.
- Apply Rooting Hormone: Dip the cut end of each scurrula cutting into rooting hormone, tapping off any excess.
- Plant Your Cuttings: Fill your small pots with your well-draining potting mix. Make a small hole in the center with your finger or a pencil and insert the treated cutting. Firm the soil gently around it.
- Water Gently: Water the soil lightly. You want it moist but not waterlogged.
- Create Humidity: Place the pots inside a larger plastic bag or a propagator. Seal it loosely to allow for some air circulation. This humidity is crucial for keeping the cuttings from drying out.
The “Secret Sauce” (Pro Tips)
Here are a couple of things I’ve learned over the years that make a real difference:
- Don’t Let the Leaves Touch the Water: If you opt for water propagation (which can work, but is often less successful than soil for Scurrula), make sure only the cut stem is submerged. Any leaves in the water will quickly rot and can take your cutting down with them.
- Bottom Heat is Your Friend: Especially if your home tends to be cooler, a bottom heat mat under your propagator can work wonders. It mimics the conditions the plant would experience in warmer soil and encourages roots to form much more quickly and reliably.
- Patience with the “Callousing”: Sometimes, before rooting hormone, the cut end might form a slight “callous” over a day or two. This is actually a good sign! It means the plant is preparing to form roots. Don’t be tempted to repot immediately if you see this.
Aftercare & Troubleshooting
Once your cuttings have rooted (this can take anywhere from a few weeks to a couple of months), you’ll start to see new growth. This is your sign that all is well!
- Gradual Acclimation: Once you see roots and new growth, start to gradually remove the plastic bag or open the propagator for short periods each day. This helps the new plant adjust to normal humidity levels and avoid shock.
- Watering: Water only when the top inch of soil feels dry to the touch. Overwatering is the most common cause of failure, leading to root rot.
- Troubleshooting Rot: If your cutting turns black, mushy, or smells bad, it’s likely suffering from rot. Unfortunately, this is usually irreversible. Discard infected cuttings to prevent it from spreading. Ensure your potting mix is airy and that you’re not overwatering.
A Little Encouragement
Propagating plants is a journey, my friends. There will be successes, and there will be times when things don’t quite work out. That’s all part of the learning process! Don’t get discouraged if your first attempt isn’t perfect. Keep trying, observe your cuttings closely, and celebrate every little bit of progress. You’ve got this, and the reward of a new, thriving Scurrula elata plant you grew yourself is truly unparalleled. Happy propagating!
Resource:
https://identify.plantnet.org/k-world-flora/species/Scurrula%20elata%20(Edgew.)%20Danser/data