Hello green thumbs!
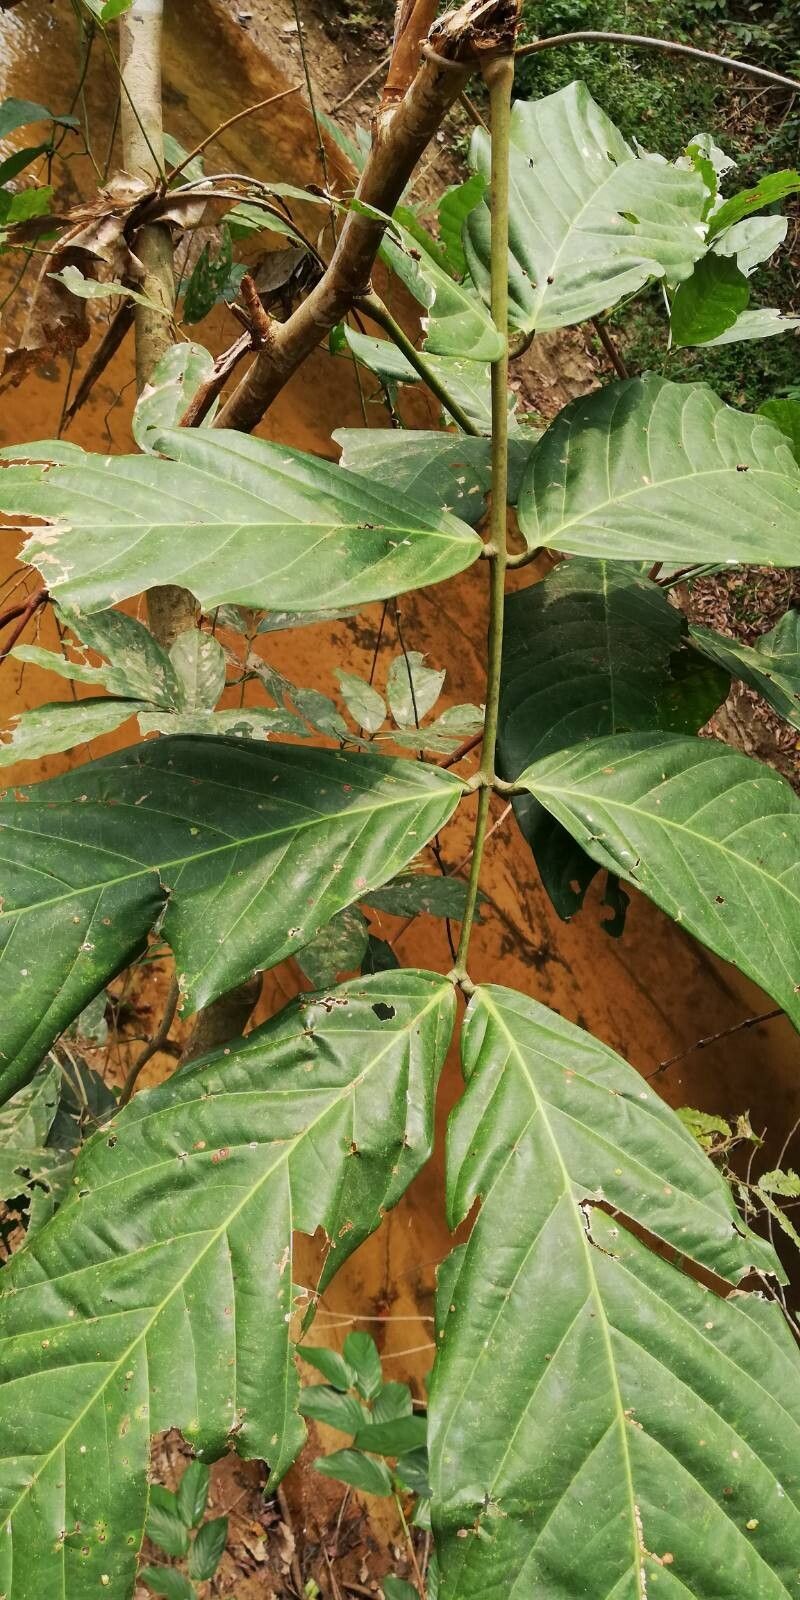
Isn’t Berlinia confusa just a jaw-dropper? Those glossy, deep green leaves and the potential for a grand display make it a real prize in any garden. And the best part? You can multiply this beauty, bringing that same lushness to other corners of your yard or sharing it with fellow plant lovers. I’ve been coaxing new life from my Berlinia for years, and let me tell you, it’s a truly satisfying journey. Now, is it a walk in the park for absolute beginners? Honestly, it can be a little on the finicky side, but with a bit of know-how and a sprinkle of patience, you’ll be celebrating success.
The Best Time to Start
For the most reliable results with Berlinia confusa, I always aim for late spring to early summer. This is when the plant is in its most vigorous growth phase. You’ll find that the new, slightly softer shoots are more amenable to rooting than old, woody stems. Give it a good drink a day or two before you plan to take cuttings.
Supplies You’ll Need
To get your propagation station ready, gather these essentials:
- Sharp, clean pruning shears or a sharp knife: Essential for making clean cuts.
- Rooting hormone powder or gel: This is your secret weapon to encourage root development.
- Well-draining potting mix: A good blend of perlite, peat moss, and regular potting soil works wonders. You can also buy specific propagation mixes.
- Small pots or seedling trays: With drainage holes, of course!
- Plastic bags or a propagator lid: To create a humid environment.
- Soft water or filtered water: Tap water can sometimes be harsh.
- Optional: Bottom heat mat: This can significantly speed up the rooting process.
Propagation Methods
While Berlinia confusa isn’t as keen on water propagation as some other plants, stem cuttings are my go-to method.
- Select your cutting: Look for healthy, semi-hardwood stems. These are usually about 4-6 inches long and have recently finished their vigorous flush of growth. You want a stem that’s green but not so soft it crushes easily when you pinch it. Find a point just below a leaf node (where a leaf attaches to the stem) – this is where roots are most likely to form.
- Make the cut: Using your clean shears or knife, make a decisive cut just below a leaf node.
- Prepare the cutting: Gently remove the lower leaves from the cutting, leaving just the top 2-3 leaves. If the remaining leaves are very large, you can cut them in half horizontally to reduce water loss through transpiration. This is a crucial step!
- Dip in rooting hormone: Moisten the cut end of the stem with a little water, then dip it into the rooting hormone powder or gel, shaking off any excess.
- Plant your cutting: Fill your small pots or trays with your prepared potting mix. Make a small hole in the center of the soil with your finger or a pencil. Insert the prepared cutting into the hole, ensuring the rooting hormone stays on the wound. Gently firm the soil around the base of the cutting so it stands upright.
- Create humidity: Water the soil lightly until it’s evenly moist but not waterlogged. Then, cover the pot or tray with a plastic bag, making sure it doesn’t touch the leaves of the cutting, or use a propagator lid. This creates a mini-greenhouse, keeping humidity high.
- Placement: Place your pots in a bright location but out of direct sunlight. Too much sun will scorch the young cuttings.
The “Secret Sauce” (Pro Tips)
Here are a couple of things I’ve learned that really make a difference:
- Bottom heat is brilliant: If you have access to a heat mat, place your pots on it. Berlinia roots love a bit of warmth from below, and it can significantly speed up root formation, often cutting the waiting time in half.
- Don’t be afraid to check: After a few weeks, gently tug on a cutting. If you feel resistance, new roots are forming! If it pulls out easily, it hasn’t rooted yet. You can also carefully peek at the drainage holes to see if any roots are emerging.
- Cleanliness is king: I can’t stress this enough. Always use clean tools and pots. This prevents diseases from setting in, which can quickly undo all your hard work.
Aftercare & Troubleshooting
Once your cuttings have rooted (which can take anywhere from 4-8 weeks, sometimes longer), you’ll notice new growth. This is your cue! Gradually acclimatize your new plants to normal room humidity by opening the plastic bag or propagator lid a little each day over a week. Continue to keep them in bright, indirect light and water when the top inch of soil feels dry.
The most common problem you’ll encounter is rot. This usually happens when the soil stays too wet, and the cuttings can’t get enough air circulation. If you see wilting, blackening at the base, or a moldy appearance, sadly, the cutting is likely lost. It’s better to err on the side of slightly drier than waterlogged. If a few cuttings fail, don’t despair! Just try again with fresh ones.
A Little Positivity Goes a Long Way
Propagating plants is a journey of observation and patience. Not every cutting will make it, and that’s perfectly normal. Celebrate the successes, learn from the challenges, and most importantly, enjoy the process of watching new life emerge from your efforts. You’ve got this!
Resource:
https://identify.plantnet.org/k-world-flora/species/Berlinia%20confusa%20Hoyle/data