Hey there, garden friends! I’m so excited to chat with you today about a plant that truly captures the imagination: Echium bethencourtii. If you’ve ever seen one of these beauties, you know what I mean. They’re like living sculptures, with their dramatic spikes of blue-purple flowers and fuzzy, architectural foliage. Growing them from scratch is a fantastic way to have more of these showstoppers gracing your garden, and honestly, it’s incredibly rewarding. Now, as for being a beginner plant, I’d say Echium bethencourtii falls into the “moderately challenging” category. It’s not impossible, not by a long shot, but it does appreciate a bit of attention and understanding.
The Best Time to Start
My favorite time to get new Echium bethencourtii plants going is in late spring or early summer. The days are longer, the temperatures are warming up nicely, and the plant is actively growing. This growth spurt means cuttings are usually full of vigor and ready to put down roots. You can also try it in early autumn if you have a greenhouse or a protected spot to keep your new babies warm through winter.
Supplies You’ll Need
To set yourself up for success, gather these bits and bobs:
- Sharp, clean pruning shears or a sharp knife: Essential for making clean cuts.
- Rooting hormone (optional but recommended): A little dip can give your cuttings a head start. Look for one formulated for woody cuttings.
- Well-draining potting mix: A mix designed for succulents or cacti works wonders. Or, you can create your own by combining equal parts perlite, coarse sand, and peat moss.
- Small pots or seed trays: With drainage holes, of course!
- Plastic bags or a propagator lid: To create a humid environment.
- Watering can or spray bottle: For gentle watering.
Propagation Methods
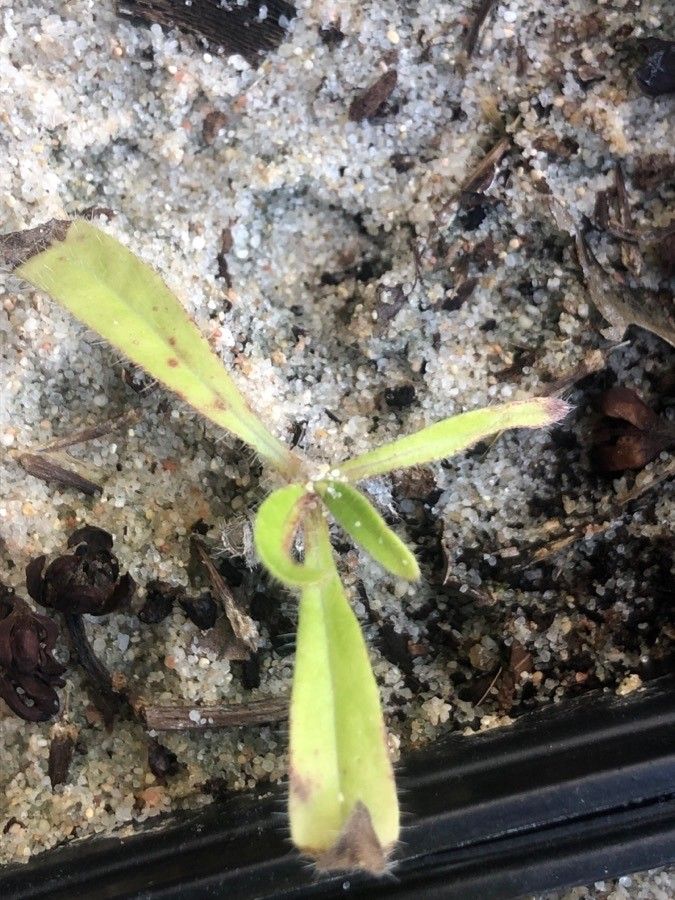
Let’s dive into the how-to! For Echium bethencourtii, stem cuttings are your best bet.
- Take Your Cuttings: In late spring or early summer, look for healthy, non-flowering stems. Using your sharp pruning shears or knife, take cuttings that are about 4-6 inches long. Try to get them from the side shoots, rather than the main, woody stem. You can also trim off any lower leaves to expose a bit of bare stem.
- Prepare the Cuttings: If you’re using rooting hormone, dip the cut end of the stem into the powder, tapping off any excess. Make sure you’re dipping directly into the container of hormone, not pouring it out into a separate dish, to avoid contaminating your main supply.
- Plant Your Cuttings: Fill your small pots or trays with your well-draining mix. Make a small hole with your finger or a pencil in the center of the soil. Gently insert the prepared cutting into the hole, ensuring the cut end is well-below the surface of the soil. You can fit several cuttings in one pot, as long as they aren’t directly touching each other.
- Create a Humid Environment: Water the soil lightly. Then, cover the pot with a clear plastic bag or place it inside a propagator with a lid. This traps moisture and creates the humid microclimate that cuttings love. Make sure the leaves aren’t touching the plastic if possible; you can use small stakes to prop it up.
- Find a Warm Spot: Place your cuttings in a bright spot that receives indirect sunlight. Direct sun can scorch young cuttings and dry them out too quickly.
The “Secret Sauce” (Pro Tips)
Here are a couple of tricks I’ve learned over the years that can really boost your success:
- Bottom Heat is Your Friend: If you have a seedling heat mat, pop your pots on top of it. Echium bethencourtii cuttings absolutely love a bit of warmth from below. It encourages root development without making the top part of the plant dry out too fast.
- Don’t Overwater, but Keep Them Moist: This is a delicate balance. You want the soil to be consistently moist, but never soggy. I often find myself misting the soil surface lightly every few days, checking to make sure the pot feels a bit heavy (meaning it’s holding moisture). If the soil looks dry, give it a gentle watering.
Aftercare & Troubleshooting
Once you start to see signs of new growth – tiny leaves unfurling or a slight tug on the cutting indicating it’s rooted – it’s time to gradually acclimate them. Remove the plastic bag or propagator lid for a few hours each day, slowly increasing the time until they’re fully uncovered. Continue to water gently.
If things go wrong, it’s usually a sign of too much moisture and not enough air circulation, leading to rot. Your cuttings will turn mushy and black at the base. Don’t be discouraged if this happens! It’s a learning curve, and often happens even to seasoned gardeners. The key is to ensure excellent drainage and avoid overwatering.
A Encouraging Closing
Growing Echium bethencourtii from cuttings is a journey, and patience is indeed a gardener’s greatest virtue. Don’t be surprised if it takes a few weeks for roots to form. Just keep an eye on them, provide a supportive environment, and celebrate every little bit of progress. Soon, you’ll have your very own magnificent Echium to admire and share. Happy growing!
Resource:
https://identify.plantnet.org/k-world-flora/species/Echium%20bethencourtii%20A.Santos/data