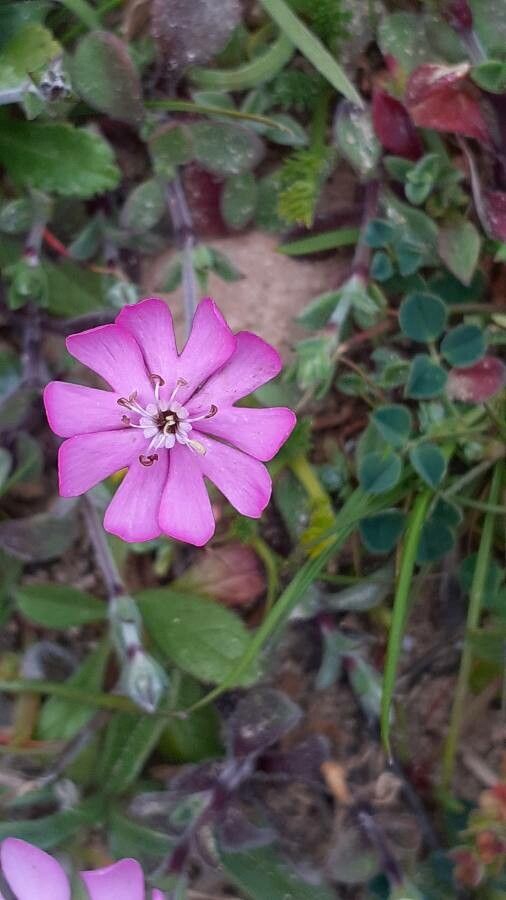
Hello there, fellow plant enthusiast! I’m so excited to chat with you today about a real gem of a plant: Silene arghireica. If you’re looking for something with beautiful silvery foliage and delicate flowers that can bring a touch of Mediterranean charm to your garden, this is it. Propagating it is incredibly rewarding, offering you more of these lovely plants and the joy of sharing them with friends. For those just starting out, I’d say Silene arghireica is moderately easy to propagate. A little patience goes a long way!
The Best Time to Start
When it comes to getting your Silene arghireica cuttings off to a good start, late spring to early summer is your golden window. This is when the plant is actively growing, and the new shoots are tender yet firm enough to strike. You want to aim for stems that aren’t too woody but have developed a bit of substance.
Supplies You’ll Need
Before we get our hands dirty, let’s gather our essentials:
- Sharp, clean pruning shears or a sharp knife: Crucial for making clean cuts that heal well.
- Rooting hormone powder or gel: This gives young cuttings a helpful boost.
- A well-draining potting mix: I like a blend of peat moss, perlite, and a little coarse sand. For Silene, excellent drainage is key.
- Small pots or seedling trays: Clean ones, please!
- A spray bottle with water: For misting.
- A clear plastic bag or dome: To create a humid environment for your cuttings.
- Optional: Bottom heat mat: This can significantly speed up root development.
Propagation Methods
While Silene arghireica can be grown from seed, I often find stem cuttings to be the most reliable and straightforward method for home gardeners.
Stem Cuttings:
- Take Your Cuttings: Gently select a healthy, non-flowering stem. Using your clean shears, make a cut just below a leaf node (where a leaf attaches to the stem). Aim for cuttings that are about 4-6 inches long.
- Prepare the Cuttings: Carefully remove the lower leaves, leaving just one or two at the very top. This prevents them from rotting in the soil. If the leaves are very large, you can even snip them in half to reduce water loss.
- Apply Rooting Hormone: Dip the cut end of each stem into your rooting hormone, tapping off any excess. This is like giving your cutting a little energy drink for root growth.
- Plant Your Cuttings: Fill your pots or trays with your well-draining mix. Make a small hole in the center of the soil with your finger or a pencil.
- Insert and Firm: Place the hormone-coated end of the cutting into the hole and gently firm the soil around it. You want good contact between the stem and the soil.
- Water Gently: Water the soil thoroughly but gently. You don’t want to dislodge your precious cuttings.
- Create Humidity: Cover the pots with a clear plastic bag or seedling dome. This creates a mini-greenhouse effect, keeping the humidity high, which is vital for cuttings to root before they dry out. Prop up the bag with stakes if it touches the leaves.
The “Secret Sauce” (Pro Tips)
Here are a couple of things I’ve learned over the years that can make a real difference:
- Don’t Let Leaves Touch the Water: If you decide to try water propagation (which can work for Silene, but I find soil to be more successful), ensure that no leaves dip below the waterline. Submerged leaves will inevitably rot and can infect the whole cutting.
- Bottom Heat is Your Friend: If you can manage it, placing your cuttings on a bottom heat mat will dramatically speed up root formation. It mimics the warmth of spring soil and gives those new roots a real kick-start. Aim for a temperature around 70-75°F (21-24°C).
Aftercare & Troubleshooting
Once your cuttings are planted, place them in a bright, indirect light location. Avoid direct sun, as it can scorch the tender cuttings. Keep the soil consistently moist but never waterlogged. Misting the leaves occasionally will also help maintain humidity.
You’ll know your cuttings have rooted when you see new growth appearing, or if you gently tug on a cutting and feel resistance. This usually takes anywhere from 4 to 8 weeks, sometimes longer depending on conditions.
The most common issue you might encounter is rot. If a cutting turns black and mushy, it’s likely rotted. This usually happens from too much moisture and poor air circulation. If you see this, discard the affected cutting immediately and ensure your other cuttings are in a well-draining mix with adequate air flow. Wilting can also occur if the cuttings are drying out too quickly – that’s where the humidity dome and misting really shine!
A Encouraging Closing
Propagating plants is a journey, and each cutting is a little experiment. Don’t be discouraged if not every single one takes. Celebrate the successes, learn from any challenges, and most importantly, enjoy the process of nurturing new life. Happy gardening!
Resource:
https://identify.plantnet.org/k-world-flora/species/Silene%20arghireica%20Vals./data