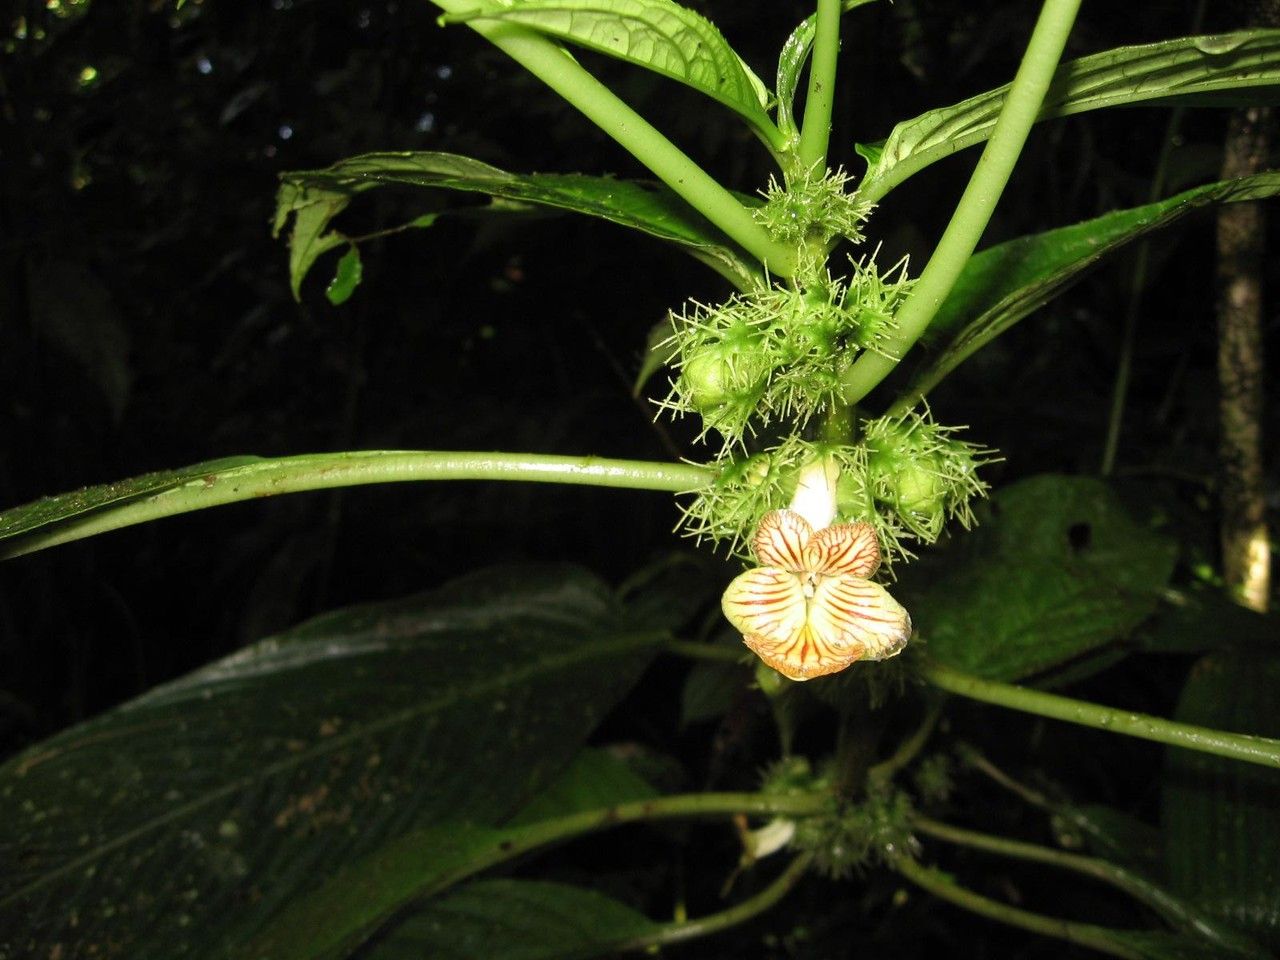
Oh, hello there! Come on in, grab a mug of your favorite beverage. Today, we’re diving into the wonderful world of Drymonia fimbriata. If you’re looking for a plant that adds a touch of the exotic to your home, with its dangling, fringed, trumpet-shaped flowers, then Drymonia is your gal. And even better? You can easily multiply this beauty yourself! Propagating Drymonia fimbriata is incredibly rewarding. It’s not a super fussy plant to start with, making it quite accessible, even for those of you who are newer to the propagation game.
The Best Time to Start
My favorite time to get busy with cuttings and divisions is when the plant is actively growing. Spring and early summer are your golden windows. You’ll see lots of new shoots emerging, and these are perfect for taking cuttings. The plant has plenty of energy stored up, which means your cuttings will be more eager to root. Waiting until after the plant has put on a good spurt of growth means you’re working with robust material.
Supplies You’ll Need
Here’s what you’ll want to have on hand before we get started:
- Sharp Pruning Shears or a Clean Knife: For making clean cuts.
- A Well-Draining Potting Mix: I like a blend of equal parts perlite, peat moss, and good quality potting soil for cuttings. For divisions, they’re a bit less picky, but drainage is key.
- Small Pots or Seed Starting Trays: Whatever you have that will hold your cuttings comfortably.
- Rooting Hormone (Optional but Recommended): Especially for stem cuttings, this can give them a helpful boost.
- Clear Plastic Bags or a propagator: To maintain humidity around your cuttings.
- Water: For water propagation.
- Gloves (Optional): If you find some plants make your hands a bit sticky.
Propagation Methods
Let’s get down to how we’ll create more Drymonias!
Stem Cuttings
This is my go-to method for Drymonia fimbriata.
- Select Your Cuttings: Look for healthy, non-flowering stems that are about 4-6 inches long. You want to take them from new growth, but not the super soft, floppy stuff. A slightly woody tip is ideal.
- Make the Cut: Using your clean shears, cut just below a leaf node. A leaf node is where a leaf joins the stem. This is where the magic happens, as it’s a prime spot for root development.
- Prepare the Cutting: Remove the lower leaves, leaving just two or three at the top. This reduces moisture loss and prevents leaves from rotting in the soil or water.
- Apply Rooting Hormone (If Using): Dip the cut end of the stem into rooting hormone, tapping off any excess.
- Plant Your Cuttings: Fill your small pots with your prepared, slightly damp potting mix. Make a little hole with your finger or a pencil and gently insert the cutting, ensuring the leaf nodes that were closest to the cut are buried in the soil. Firm the soil gently around the stem.
- Create a Humid Environment: Water the soil lightly. Then, cover the pot with a clear plastic bag, or place it in a propagator. Make sure the leaves aren’t touching the plastic if possible. This traps humidity, which is crucial for cuttings to root.
Water Propagation
This is a more visual and often quite speedy method.
- Prepare Your Cuttings: Follow steps 1-3 from the stem cutting method.
- Place in Water: Find a clean jar or glass and fill it with fresh water. Place your prepared cuttings into the water, making sure that at least one leaf node is submerged. Crucially, ensure no leaves are below the waterline. They will rot quickly.
- Find a Good Spot: Place the jar in bright, indirect light.
- Change the Water Regularly: Every few days, change out the water to keep it fresh and prevent bacterial growth.
Division
If your Drymonia has gotten a bit large and bushy, division is a fantastic way to get new plants and revitalize the mother plant.
- Remove from Pot: Gently take your Drymonia out of its pot.
- Inspect the Root Ball: You’ll often see that the root ball has naturally divided into sections, or you can see distinct crowns (where new shoots emerge).
- Separate Gently: Using your hands or a clean, sharp knife, gently pull or cut the root ball into sections. Each section should have healthy roots and at least one or two healthy shoots.
- Pot Up: Plant each division into its own pot with fresh, well-draining potting mix. Water them in well.
The “Secret Sauce” (Pro Tips)
Here are a few little tricks I’ve learned over the years that really help:
- Bottom Heat is Your Friend: For stem cuttings, placing your pots on a heat mat designed for seedlings can dramatically speed up rooting. It mimics the warmth of spring soil and encourages those roots to develop.
- Consistency is Key: Don’t let your cuttings dry out completely, but also don’t let them sit in soggy soil. Check them regularly. For water propagation, the fresh water is the secret weapon against rot.
- Be Patient with the Bloom: Sometimes, a stem cutting might try to bloom before it has rooted. While tempting, if you can, pinch off any tiny flower buds that appear. The plant’s energy is better spent on growing roots at this stage.
Aftercare & Troubleshooting
Once you see roots developing—yay! For stem cuttings, you’ll often see new leaf growth, or you can gently tug on the cutting; if there’s resistance, roots are forming. For water propagation, you’ll see visible roots.
- Transplanting: Once the roots are about an inch long, it’s time to transplant your cuttings from water into your potting mix. Treat them gently!
- Gradual Acclimation: If you’ve used a plastic bag or propagator, gradually introduce the new plant to lower humidity over a week or so by opening the bag a little more each day. This prevents shock.
- Watering: Water your new plants well after transplanting, then let the top inch of soil dry out before watering again. They are still babies and need consistent moisture, but good drainage is still vital.
- Troubleshooting Rot: The most common issue is rot, often due to overwatering or poor drainage. If a cutting turns black and mushy, it’s likely rot. Unfortunately, it’s usually a goner. If you see any browning or wilting that isn’t rot, it could be too dry or too much direct sun.
A Encouraging Closing
So there you have it! Propagating Drymonia fimbriata is a delightful way to expand your plant family, share with friends, or simply marinate in the satisfaction of coaxing new life from a cherished specimen. Don’t be discouraged if a few don’t make it – that’s part of the learning process for all of us, no matter how many years we’ve been at it. Just be patient, observe your little charges, and enjoy the journey. Happy propagating!
Resource:
https://identify.plantnet.org/k-world-flora/species/Drymonia%20fimbriata%20C.V.Morton/data