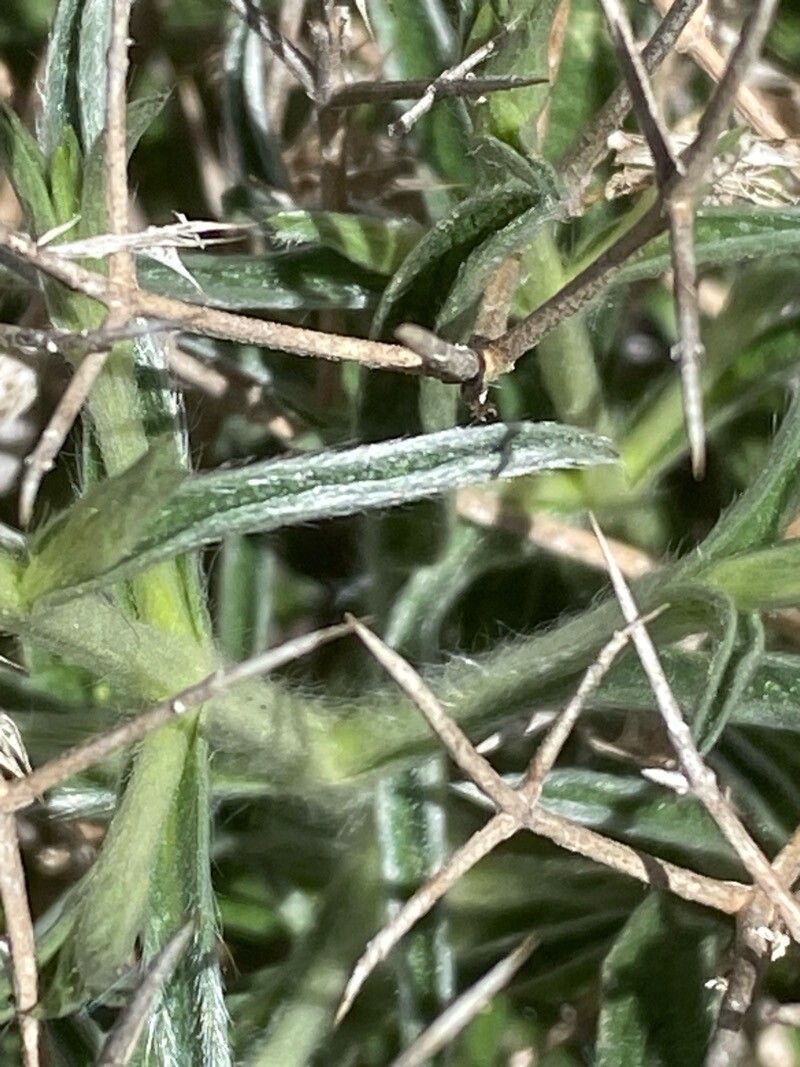
Hello, fellow plant lovers! It’s a joy to share my garden secrets with you. Today, we’re diving into the wonderful world of propagating Stachys spinosa, often known as Spanish Thyme or Woolly Betony. This charming plant, with its velvety, silver-green leaves and delicate spikes of purple flowers, brings such a lovely texture and color to any garden border or container. It’s also such a rewarding plant to multiply! If you’ve got a bit of a green thumb, or are just starting out, you’ll be pleased to know that Stachys spinosa is quite forgiving when it comes to propagation. It’s a great one for beginners to try their hand at!
The Best Time to Start
For the highest success rate, I always recommend propagating Stachys spinosa in late spring or early summer. This is when the plant is actively growing and has plenty of energy to put into developing new roots. You’re looking for stems that are firm but not yet woody – think of them as being in their prime, ready to branch out and start a new life.
Supplies You’ll Need
Gathering your supplies beforehand makes the whole process much smoother. Here’s what I usually have on hand:
- Sharp Pruning Shears or a Clean Knife: For making clean cuts.
- Potting Mix: A well-draining mix is crucial. I often use a blend of equal parts seed-starting mix and perlite, or a commercial succulent and cactus mix.
- Small Pots or Trays: Clean containers with good drainage holes.
- Rooting Hormone (Optional but helpful): Any brand will do, but a powder or gel is easiest.
- Plastic Bag or Dome: To create a humid environment.
- Watering Can or Spray Bottle: For gentle watering.
- Labels: To mark your new babies!
Propagation Methods
There are a couple of surefire ways to get more Stachys spinosa from your existing beauties.
Stem Cuttings
This is my go-to method for Stachys spinosa.
- Take Cuttings: In late spring or early summer, select healthy, non-flowering stems. Using your clean shears or knife, cut pieces about 4-6 inches long. Make the cut just below a leaf node (where a leaf attaches to the stem).
- Prepare the Cuttings: Gently remove the lower leaves from each cutting, leaving only the top few leaves. This prevents them from rotting in the soil.
- Apply Rooting Hormone (Optional): Dip the cut end of each stem into rooting hormone, tapping off any excess.
- Plant the Cuttings: Fill your clean pots or trays with your well-draining potting mix. Make small holes in the soil with a pencil or your finger. Insert the cut end of each Stachys spinosa cutting into the holes, ensuring the lower leaf nodes are buried.
- Water Gently: Water the potting mix thoroughly but gently, making sure the soil is evenly moist.
- Create Humidity: Cover the pots with a plastic bag or place them under a clear dome. This creates a mini-greenhouse effect, which is vital for cuttings to root.
Division
If your Stachys spinosa plant is getting a bit crowded or you want to quickly multiply, division is a fantastic option.
- Dig Up the Plant: In spring (before it gets too hot), carefully dig up your entire Stachys spinosa plant.
- Separate the Roots: Gently shake off excess soil. You should be able to see distinct clumps or offsets emerging from the main root ball. Carefully pull or use your knife to separate these into smaller sections, ensuring each section has a good amount of roots attached.
- Replant: Plant each divided section into its own pot or directly into the garden, treating it like a new plant. Water well.
The “Secret Sauce” (Pro Tips)
Here are a couple of things I’ve learned over the years that really make a difference:
- Don’t Let Leaves Touch the Soil (for cuttings): When you’re planting your stem cuttings, ensure that none of the leaves are buried directly in the soil. Any leaf in contact with damp soil is a potential invitation for rot. Above the soil is best!
- Bottom Heat is a Game Changer: While not strictly necessary, placing your pots on a seedling heat mat can significantly speed up root development. The gentle warmth encourages the plant to put its energy into rooting. You’ll see results faster!
Aftercare & Troubleshooting
Once your Stachys spinosa cuttings have developed some roots – you can gently tug on them to feel resistance, or even peek at the drainage holes – it’s time for them to transition. Gradually remove the plastic cover over a few days to help them acclimate to drier air. Continue to keep the soil consistently moist but not waterlogged. Once they’re well-established and you see new growth, you can transplant them into their own pots or their permanent garden spot.
The most common issue you’ll encounter is rot. If your cuttings turn black and mushy, it’s usually a sign of too much moisture and not enough air circulation. Make sure your soil drains well and don’t overwater. If your cuttings simply fail to root and shrivel up, it might be that they were too dry or didn’t have enough humidity, or perhaps the stem wasn’t healthy to begin with. Don’t be discouraged – just try again!
A Warm Encouragement
Propagating plants is an act of hope and patience. It’s a chance to share the beauty of your garden with others, or simply to enjoy the satisfaction of creating new life. Be patient with your Stachys spinosa, observe them, and enjoy the process. Happy propagating!
Resource:
https://identify.plantnet.org/k-world-flora/species/Stachys%20spinosa%20L./data