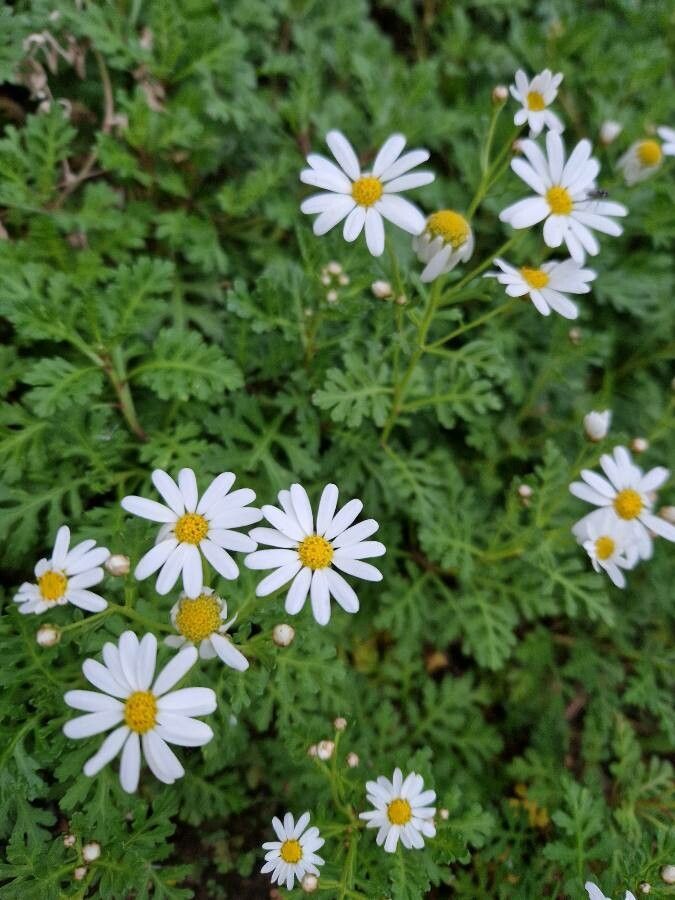
Ah, Argyranthemum hierrense! I’m so glad you’re interested in this charming plant. With its delicate, daisy-like blooms and lovely foliage, it really adds a touch of sunshine to any garden corner. And the best part? It’s surprisingly rewarding to propagate. If you’re new to the plant world, I’d say this is a fantastic one to start with. It’s not overly fussy, and seeing a tiny cutting develop into a whole new plant is just magical.
The Best Time to Start
For Argyranthemum hierrense, the sweet spot is usually spring or early summer. This is when the plant is actively growing and has plenty of juicy new shoots that are perfect for taking cuttings. You want to catch it before it gets too hot and stressed, and also before it puts all its energy into flowering. Look for stems that are firm but not woody – that bright green, slightly flexible growth is ideal.
Supplies You’ll Need
Getting your workspace ready makes all the difference. Here’s what I usually have on hand:
- Sharp pruning shears or a clean, sharp knife: A clean cut is crucial to prevent disease.
- Rooting hormone (optional but helpful): This is like a little boost for your cuttings, encouraging faster root development. I often use a powder form.
- Small pots or seedling trays: Clean ones are key!
- A light, well-draining potting mix: I like to use a mix of equal parts peat moss or coir and perlite or coarse sand. This ensures good aeration and prevents soggy soil.
- A spray bottle: For that gentle misting.
- Plastic bags or a clear plastic dome/lid: To create a mini-greenhouse effect.
- Labels: So you don’t forget what you’ve planted!
Propagation Methods
For Argyranthemum hierrense, stem cuttings are my go-to method. It’s reliable and gives you the best chance of success.
- Taking the Cuttings: In spring or early summer, select a healthy, non-flowering stem. Look for growth that’s about 4-6 inches long. Using your sharp pruning shears or knife, make a clean cut just below a leaf node (the point where leaves grow from the stem). Remove the lower leaves, leaving only the top few.
- Preparing the Cutting: If you’re using rooting hormone, dip the cut end of the stem into the powder, tapping off any excess.
- Planting the Cuttings: Fill your small pots or seedling trays with your prepared potting mix. Make a small hole in the center of each pot with your finger or a pencil. Insert the cut end of the Argyranthemum cutting into the hole, ensuring the leaf nodes are buried in the soil. Gently firm the soil around the stem to keep it upright.
- Creating a Humid Environment: Water the soil gently with your spray bottle. Then, carefully cover the pots with a plastic bag (secured with a rubber band around the rim) or place them under a clear plastic dome. This traps moisture and mimics the high humidity that cuttings love.
- Placement: Place your pots in a bright location with indirect sunlight. Avoid direct sun, as it can scorch the tender cuttings.
The “Secret Sauce” (Pro Tips)
Here are a couple of things I’ve learned over the years that can really make a difference:
- Don’t be afraid to harvest a bit more than you think you need. Not every cutting will take, and that’s perfectly normal. By taking multiple cuttings, you significantly increase your chances of getting several new plants.
- Bottom heat is your friend! If you have a seedling heat mat, placing your pots on it can be a game-changer. It encourages the roots to develop more quickly by keeping the soil at an optimal temperature. You’ll often see a noticeable difference in rooting speed.
Aftercare & Troubleshooting
Once your Argyranthemum cuttings are planted, it’s all about patience and maintaining that humid environment. Mist the leaves and soil lightly every day or two to keep things moist, but not waterlogged. You should start to see new growth within a few weeks, which is a good sign that roots are forming.
The biggest thing to watch out for is rot. If your cuttings start to look yellow, mushy, or black at the base, it’s usually a sign of too much moisture and not enough air circulation. If you see this, carefully remove the affected cutting and try to increase airflow around the remaining ones. Sometimes, a little less misting and a more open, airy environment is needed.
When you notice roots emerging from the drainage holes of your pots or the cutting feels firm when gently tugged, it’s time to transplant them into slightly larger pots. Continue to keep them in bright, indirect light and water them when the top inch of soil feels dry.
A Encouraging Closing
So there you have it! Propagating Argyranthemum hierrense is a wonderfully accessible way to expand your collection or share these beautiful blooms with friends. Don’t get discouraged if not every attempt is a success – gardening is a journey of learning and observation. Just keep at it, enjoy the process, and soon you’ll have a whole new generation of Argyranthemums ready to brighten your days. Happy propagating!
Resource:
https://identify.plantnet.org/k-world-flora/species/Argyranthemum%20hierrense%20Humphries/data