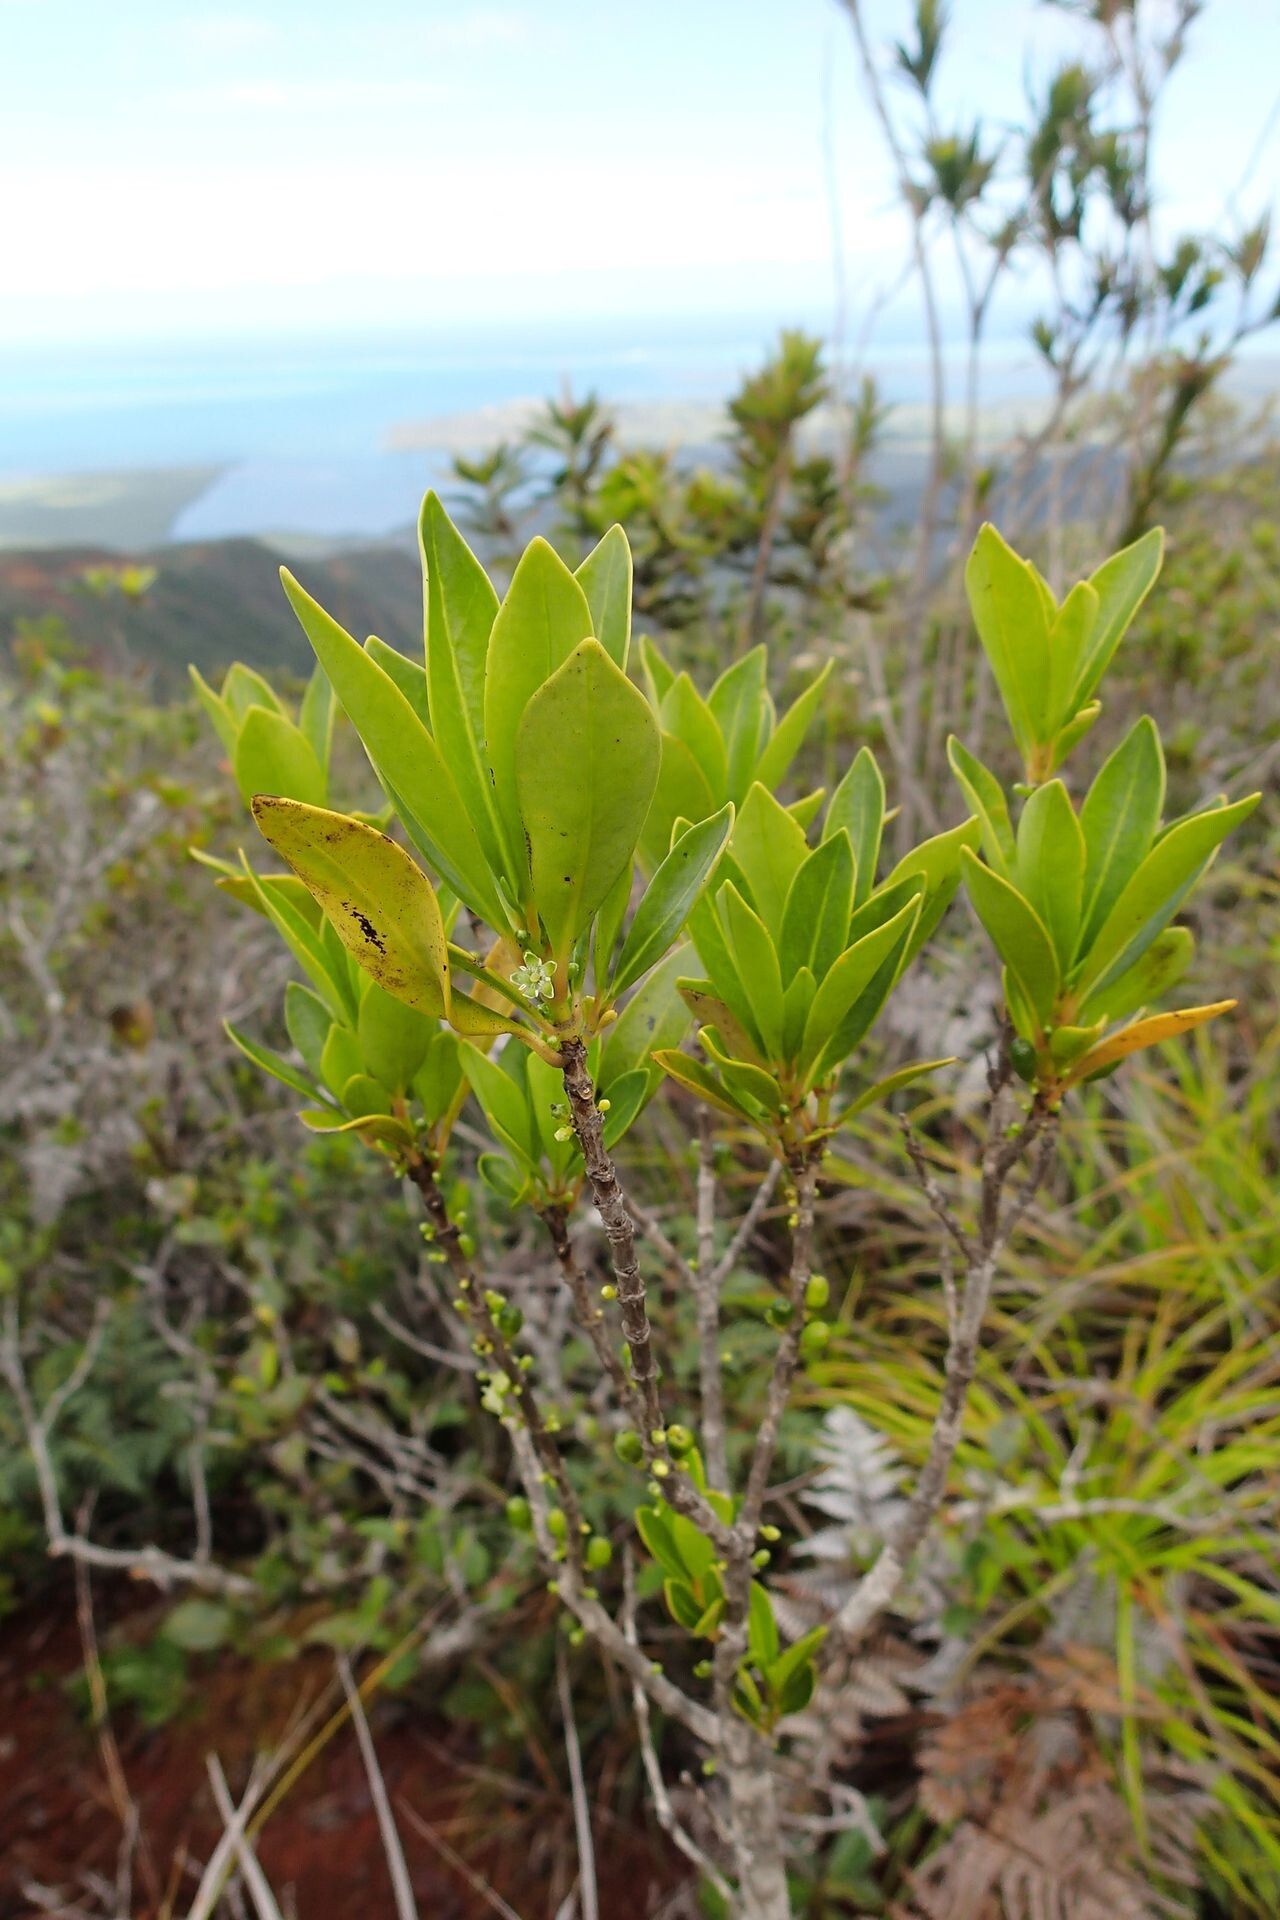
Oh, hello there! It’s so good to have you join me. Today, we’re diving into the wonderful world of Geniostoma densiflorum – a truly charming plant with its delicate, glossy leaves and often a cascade of charming little blooms. If you’ve ever admired this beauty in a friend’s garden or a nursery, you’ll be delighted to know that bringing more of it into your life is absolutely achievable! Propagating Geniostoma isn’t overly tricky, which makes it a really rewarding project, even for those of you who are just starting out on your plant journey. Getting a new plant from a piece of an existing one is like unlocking a little bit of gardening magic!
The Best Time to Start
My favorite time to try propagating Geniostoma densiflorum is in late spring or early summer. This is when the plant is in its most vigorous growth phase. The stems are typically fresh, pliable, and brimming with energy. Starting during this active period gives your cuttings the best chance to establish roots before the cooler, less active months arrive. Think of it as giving them a head start on life!
Supplies You’ll Need
To set yourself up for success, gather these handy items:
- Sharp Pruning Shears or a Clean Knife: You want a clean cut to minimize damage.
- Rooting Hormone (Optional but Recommended): This little helper can significantly boost your success rate.
- Well-Draining Potting Mix: A mix of perlite, peat moss, or coco coir works wonders. You can also buy a specialized propagation mix.
- Small Pots or Seedling Trays: Make sure they have drainage holes!
- Clear Plastic Bags or Humidity Domes: To create a mini-greenhouse environment.
- Watering Can or Spray Bottle: For gentle watering.
- Labels and a Pen: So you don’t forget what you’ve planted!
Propagation Methods
Let’s get our hands dirty! I find stem cuttings to be the most reliable method for Geniostoma densiflorum.
Stem Cuttings:
- Select Your Cuttings: Look for healthy, non-flowering stems. You want pieces that are about 4-6 inches long. Gently bend a stem – if it snaps cleanly, it’s usually a good sign of flexibility and readiness.
- Make the Cut: Using your sharp pruning shears or knife, make a clean cut just below a leaf node (the point where a leaf attaches to the stem). This is where roots are most likely to form.
- Prepare the Cutting: Gently remove the lower leaves from the cutting. You want to expose at least one or two leaf nodes near the bottom. If your cutting has any flowers, pinch them off. Flowers divert the plant’s energy from root development.
- Dip in Rooting Hormone (Optional): If you’re using rooting hormone, dip the cut end of the stem into the powder or gel. Tap off any excess.
- Plant Your Cuttings: Fill your small pots or trays with your well-draining potting mix. Make a small hole with your finger or a pencil, and insert the cut end of the stem. Gently firm the soil around the base to ensure good contact.
- Water Gently: Water the soil thoroughly but gently. You don’t want to dislodge the cutting. A light misting with a spray bottle can also be helpful.
- Create a Humid Environment: Place a clear plastic bag over the pot or use a humidity dome. This keeps the humidity high, which is crucial for cuttings that don’t yet have roots to absorb moisture. Make sure the leaves aren’t touching the plastic if possible – this can lead to rot.
- Find a Good Spot: Place the pots in a warm location with bright, indirect light. Avoid direct sunlight, as it can scorch the delicate cuttings.
The “Secret Sauce” (Pro Tips)
Here are a couple of things I’ve learned over the years that really make a difference:
This feels a bit like sharing a family recipe, but I’m happy to let you in on it! Firstly, when it comes to stem cuttings, I insist on removing all the lower leaves. Leaving them on can cause them to rot in the humid environment you create, introducing fungal issues before your cutting even has a chance. Secondly, while not always necessary, introducing a little gentle bottom heat can work wonders. If you have an old seedling heat mat, or even just place the pots on top of your refrigerator (they often give off a consistent, low warmth), it encourages root formation much faster.
Aftercare & Troubleshooting
Once you’ve got your cuttings planted, patience is key! Keep the soil consistently moist but not waterlogged. You’ll know your cuttings are happy when you see new leaf growth, usually within 3-6 weeks. Gently tug on a cutting – if it resists, you’ve got roots!
Now, what about when things go wrong? The most common issue you’ll face is rot. This usually happens if the environment is too wet, or if you’re not using a well-draining mix. If you see your cutting turning mushy or black, it’s unfortunately a sign that it’s not going to make it. Don’t be discouraged! Sometimes, the best cure is to try again with a fresh cutting and a slightly drier soil mix. Another sign of distress might be yellowing leaves, which could mean it’s not getting enough light or it’s staying too wet.
A Encouraging Closing
Propagating plants is such a fulfilling part of gardening. It connects you to the plant cycle in a very tangible way. Don’t be afraid to experiment and learn from every attempt. Each little success, no matter how small, is a reason to celebrate. So, give it a go, be patient with your little green babies, and enjoy the journey of creating new life for your beloved Geniostoma densiflorum! Happy gardening!
Resource:
https://identify.plantnet.org/k-world-flora/species/Geniostoma%20densiflorum%20Baill./data