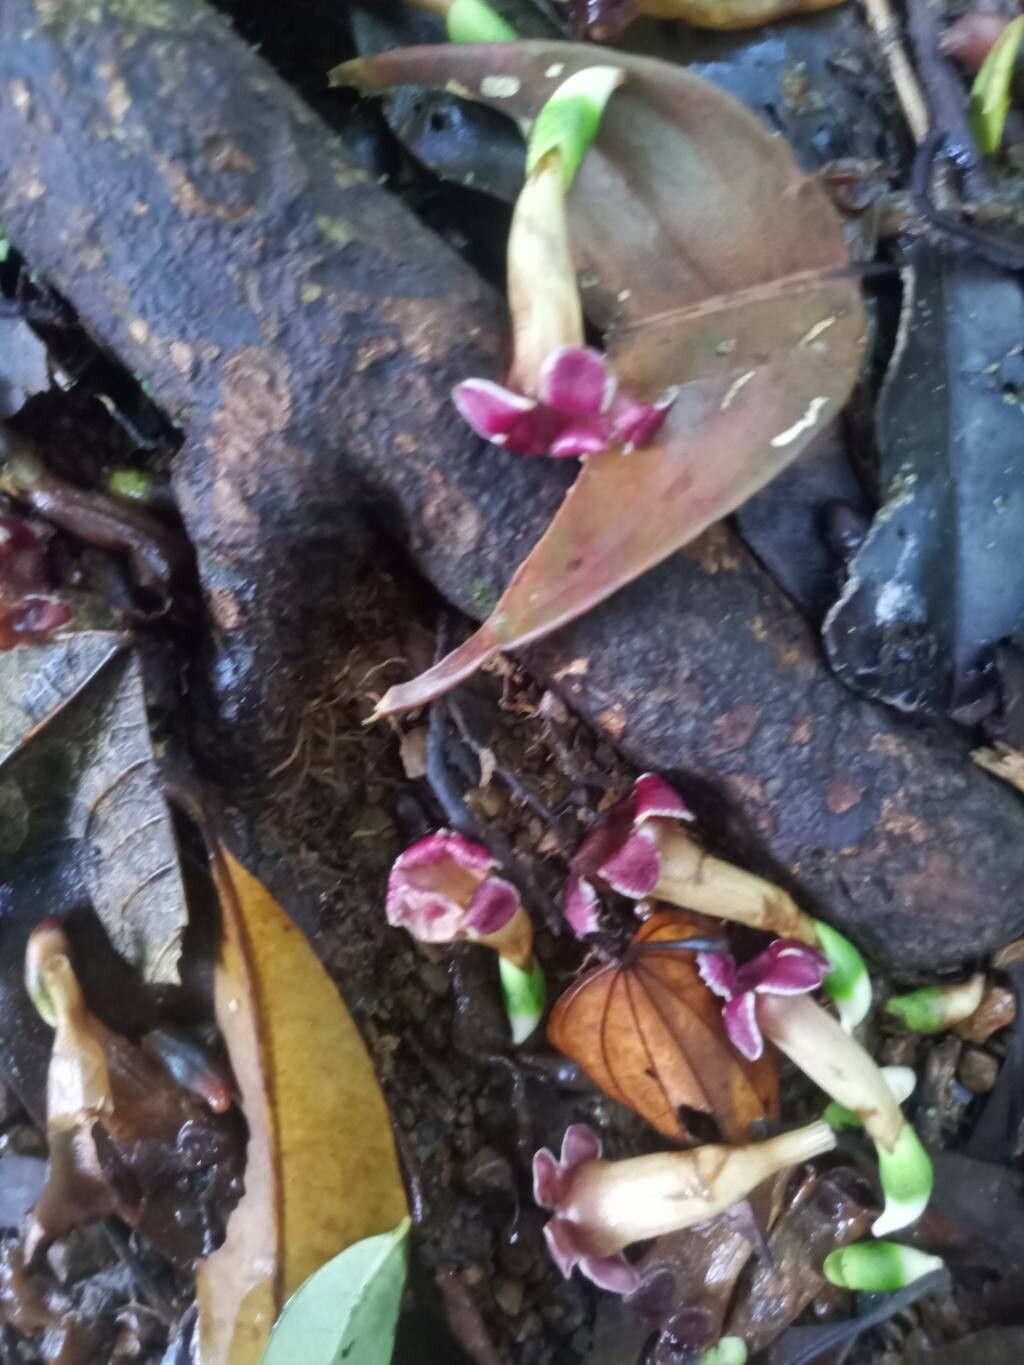
Oh, hello there! Grab a mug of your favorite brew, and let’s chat about a plant that brings a little bit of tropical magic to any garden: Schlegelia paraensis. I’ve been captivated by its vibrant blooms and lush foliage for years. It’s one of those plants that just whispers “paradise,” and the best part? It’s absolutely rewarding to multiply! For beginners, I’d say Schlegelia paraensis is moderately easy to propagate. It’s not exactly a weed, but with a little guidance, you’ll be well on your way.
The Best Time to Start
When you’re looking to create more Schlegelia, timing is key. The absolute sweet spot is during the active growing season, which for most of us means late spring through early autumn. This is when the plant is full of energy, channeling its vigor into new growth, making it more receptive to rooting. You’ll want to select healthy, new growth that’s starting to become slightly woody, not the flabby, brand-new green shoots.
Supplies You’ll Need
Gathering your tools beforehand makes the whole process so much smoother. Here’s what I always have on hand:
- Sharp Pruning Shears or a Hobby Knife: For clean cuts that heal well.
- Rooting Hormone: A product specifically designed to encourage root development.
- Well-Draining Potting Mix: A good blend for cuttings typically includes equal parts peat moss or coco coir and perlite or coarse sand.
- Small Pots or Seedling Trays: Clean ones are a must!
- Plastic Bag or Humidity Dome: To create a mini-greenhouse effect.
- Watering Can with a Fine Rose or Spray Bottle: For gentle watering.
- Optional: Seed Starting Heat Mat: For an extra boost if your room is on the cooler side.
Propagation Methods
We’ll focus on stem cuttings, which is generally the most reliable method for Schlegelia paraensis.
Stem Cuttings
- Select Your Cuttings: As I mentioned, choose healthy, semi-hardwood stems. Look for shoots that have grown this season but aren’t completely soft and green. They should be firm enough that they don’t flop over immediately. Each cutting should have at least 2-3 leaf nodes (where the leaves attach to the stem).
- Make the Cut: Using your clean pruning shears or knife, take cuttings about 4-6 inches long. Make a clean cut just below a leaf node. This is where the magic of root formation happens.
- Prepare the Cuttings: Gently remove the lower leaves, leaving just a couple at the very top. This prevents them from rotting in the soil and reduces moisture loss.
- Dip in Rooting Hormone: Lightly dip the cut end of each stem into your rooting hormone powder or gel. Tap off any excess. This step is like giving your cutting a little superpower to get those roots growing.
- Plant Your Cuttings: Fill your clean pots with your well-draining mix. Make a small hole with a pencil or your finger and insert the cuttings. Gently firm the soil around them. You can usually get a few cuttings per pot, ensuring they don’t touch each other. I usually aim for 3-4 cuttings per small pot.
- Create a Humid Environment: Water the soil gently. Then, cover the pot with a clear plastic bag or a humidity dome. Secure it with a rubber band or place it inside a larger clear bag if needed. This traps moisture, which is crucial for cuttings that can’t yet absorb water from the soil.
The “Secret Sauce” (Pro Tips)
Here are a few little tricks I’ve learned over the years that can really make a difference:
- The “Air Layer” Touch: When you take your cuttings, avoid crushing the stem. A clean cut is paramount. Think of it as a gentle surgical procedure, not a rough chop.
- Bottom Heat Heaven: If you have a heat mat, place your pots on it. Schlegelia absolutely adores a bit of warmth from below. It significantly speeds up root development. Just make sure the mat isn’t so hot that it dries out the soil too quickly.
- The “Don’t Drown Me!” Rule: If you’re doing water propagation (though cuttings in soil are often more successful for Schlegelia), make absolutely sure that no leaves are touching the water. Even those low ones you trimmed off can cause rot if they sit in the water. Only the stem should be submerged.
Aftercare & Troubleshooting
Once your cuttings are planted and covered, the waiting game begins. Keep them in a bright, indirect light location. Avoid direct sun, which can scorch the delicate cuttings. Misting the inside of the plastic bag occasionally is usually enough to maintain humidity.
You’ll know roots are forming when you see new leaf growth! This can take anywhere from 4 to 8 weeks, sometimes longer. You can also give the cutting a very gentle tug; if there’s resistance, roots are likely present.
The most common problem you might encounter is rot. This usually happens if the soil is too wet and there isn’t enough air circulation. If you see stems turning mushy or black, unfortunately, that cutting is likely lost. The best defense is a well-draining mix and not overwatering. If the leaves start to wilt and yellow, it could be a sign of insufficient moisture or the cutting is simply struggling – sometimes you have to accept that not every cutting will make it.
A Encouraging Closing
Propagating Schlegelia paraensis is a wonderful way to expand your collection and share these beautiful plants with friends. Be patient, enjoy the process of watching new life emerge, and don’t be discouraged if not every cutting takes off. That’s just part of gardening! Happy propagating!
Resource:
https://identify.plantnet.org/k-world-flora/species/Schlegelia%20paraensis%20Ducke/data