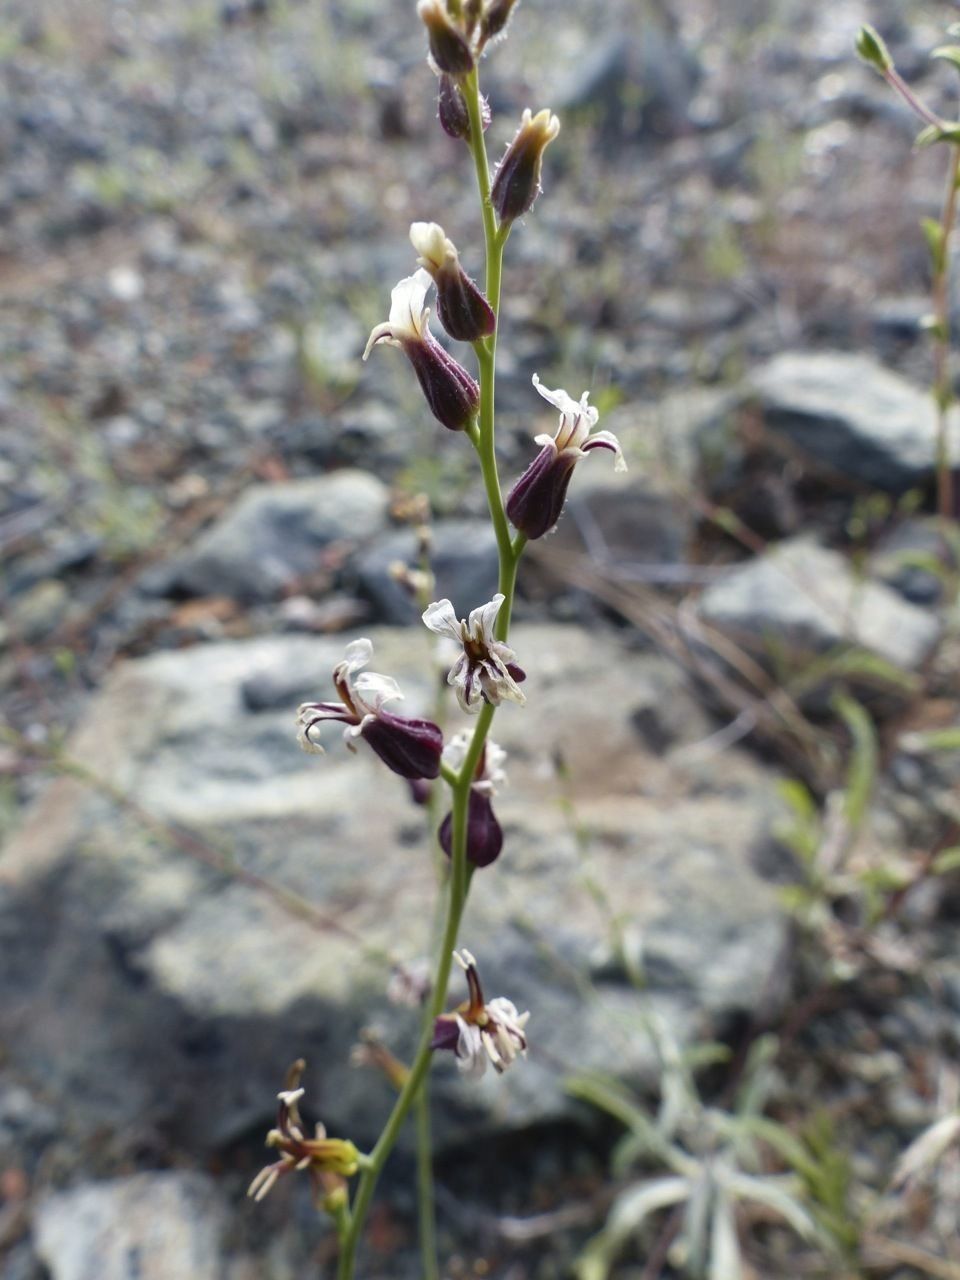
Hello there, fellow plant enthusiasts! Today, we’re diving into the delightful world of Streptanthus breweri, also known as Brewer’s Jewelflower. If you’ve ever seen this beauty gracing a garden bed or a wildflower meadow, you know its appeal. Those delicate, often rosy-tinged flowers are simply captivating. And the best part? You can bring that charm into your own space by propagating it. While it has a few quirks, I find propagating Streptanthus breweri to be a truly rewarding endeavor, and with a little patience, you’ll be well on your way to success. It’s not the absolute easiest plant for a complete beginner, but it’s certainly achievable with this guide!
The Best Time to Start
When it comes to Streptanthus breweri, spring is generally your golden ticket. This is when the plant is actively growing and has the most energy to put into developing new roots. You’re looking for healthy, vigorous new growth. I usually find the best cuttings come from stems that are just starting to mature, not the brand-new, floppy bits or the really woody, old ones.
Supplies You’ll Need
To give your Streptanthus breweri the best chance, gather these items:
- Sharp Pruning Shears or a Clean Knife: For making clean cuts.
- Rooting Hormone (Optional but Recommended): Particularly helpful for stem cuttings.
- Well-Draining Potting Mix: A mix of peat moss, perlite, and vermiculite is excellent. You can also use a good quality seed-starting mix.
- Small Pots or Seedling Trays: With drainage holes, of course!
- Spray Bottle: For misting.
- Clear Plastic Bag or Dome: To create a humid environment.
- Water: For watering and misting.
Propagation Methods
Let’s get our hands dirty! Here are the methods I find most effective for Streptanthus breweri:
Stem Cuttings: My Go-To Method
This is how I usually multiply my Streptanthus breweri collection.
- Take Your Cuttings: In spring, select healthy stems that are about 3-4 inches long. Make a clean cut just below a leaf node (the point where a leaf attaches to the stem). Remove the lower leaves, leaving just the top few.
- Apply Rooting Hormone (Optional): If you’re using it, dip the cut end of the stem into your rooting hormone powder or gel. Tap off any excess.
- Plant the Cuttings: Fill your small pots with your well-draining potting mix. Make a hole with your finger or a pencil and gently insert the cutting, firming the soil around it.
- Water and Cover: Water the soil thoroughly until it’s nicely moist but not soggy. Then, cover the pot with a plastic bag or a clear dome to maintain humidity. This is crucial for cuttings.
- Place in Bright, Indirect Light: Find a spot that gets plenty of light but isn’t in direct sun, which can scorch the delicate leaves.
Water Propagation: A Visual Treat
If you prefer to watch the roots develop, water propagation is a fun option, though I find stem cuttings tend to establish more robustly in soil.
- Select and Prepare Cuttings: Follow steps 1 and 2 above for taking cuttings.
- Place in Water: Put your cuttings in a clean jar or glass filled with room-temperature water. Make sure no leaves are submerged below the waterline, as this can lead to rot.
- Change Water Regularly: Change the water every few days to keep it fresh and prevent bacterial growth.
- Wait for Roots: You should start to see tiny white roots forming within a few weeks. Once the roots are about an inch long, it’s time to transplant them into soil.
The “Secret Sauce” (Pro Tips)
Here are a few things I’ve learned over the years that really make a difference:
- Cleanliness is Key: Always sterilize your pruning shears or knife between cuts, especially if you’ve been working with other plants. This prevents the spread of any diseases.
- Bottom Heat Works Wonders: For stem cuttings, placing your pots on a gentle heat mat can significantly speed up root development. It mimics the warmth of spring soil.
- Patience with the Leaves: When propagating in soil, I always make sure the leaves don’t touch the surface of the potting mix. If they do, they’re more prone to fungal issues and rot. I sometimes trim larger leaves in half.
Aftercare & Troubleshooting
Once you see those first signs of roots – new leaf growth is a good indicator of roots forming – it’s time to transition.
- Acclimatization: If you used the plastic bag method, gradually introduce your new plants to drier air over a week by opening the bag for longer periods each day.
- Light and Water: Continue to provide bright, indirect light. Water when the top inch of soil feels dry to the touch. Avoid overwatering, as this is the most common culprit for failure.
- Signs of Trouble: The biggest red flag is rot. If your cuttings turn black and mushy, it’s likely due to overwatering or poor drainage. Discard affected cuttings. Yellowing leaves can sometimes indicate too much direct sun or, again, overwatering.
A Encouraging Closing
Bringing new life into the garden, or even just a new pot on your windowsill, is such a rewarding feeling. Propagating Streptanthus breweri might take a little observation and a steady hand, but the joy of seeing those tiny roots emerge is worth every moment. Be patient with yourself and your little green babies. Happy propagating!
Resource:
https://identify.plantnet.org/k-world-flora/species/Streptanthus%20breweri%20A.Gray/data