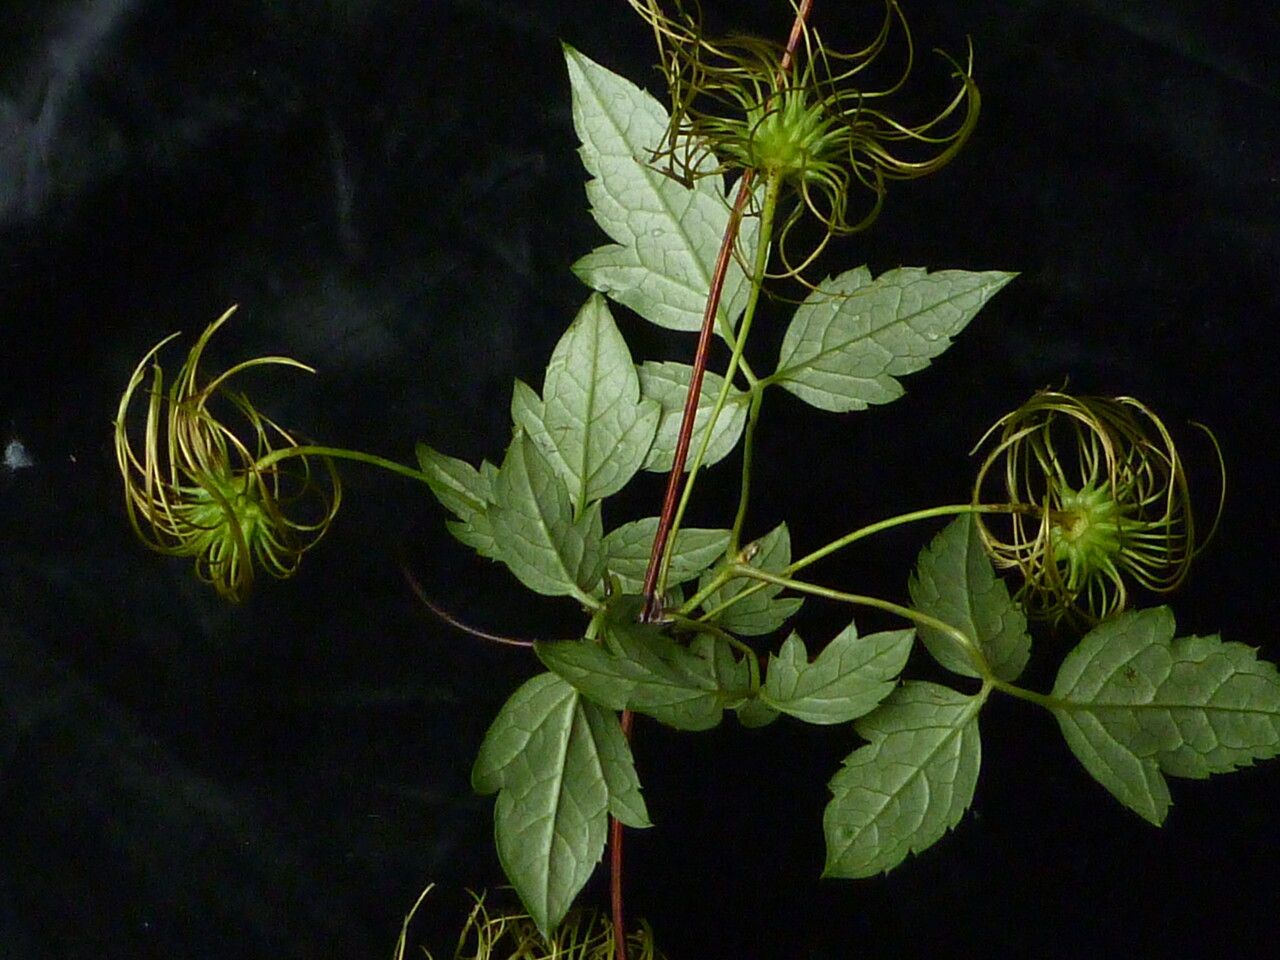
Well hello there, fellow garden enthusiasts! Pull up a chair and let’s talk clematis. Specifically, let’s dive into the wonderfully rewarding world of propagating Clematis barbellata. This particular clematis, with its delicate, almost bell-shaped blooms, is a real charmer. It’s not the flashiest, perhaps, but there’s an understated elegance to it that I just adore.
Propagating your own clematis is a fantastic way to expand your collection or share these beauties with friends. It connects you more deeply with your plants, and there’s a special kind of satisfaction in coaxing new life from a parent plant. Now, I’ll be honest, Clematis barbellata can be a touch finicky compared to some of the more common varieties, so it might present a small challenge for absolute beginners. But with a little patience and these tips, you’ll be well on your way!
The Best Time to Start
For clematis in general, the sweet spot for propagation is usually late spring to early summer. This is when the plant is actively growing, sending out plenty of new, semi-hardened shoots. You want to catch these stems when they’re flexible enough to root but have developed enough woody tissue to hold their shape. Think of it as a stem that’s no longer floppy-soft, but not hard and woody either.
Supplies You’ll Need
Gathering your tools beforehand makes the process much smoother. Here’s what I always have on hand:
- Sharp Pruning Shears or a Craft Knife: Cleanliness is key to preventing disease.
- Rooting Hormone: A powder or gel formulation. This is really helpful for clematis.
- Small Pots or Propagation Trays: Ensure they have drainage holes!
- Well-Draining Potting Medium: I like a mix of equal parts seedling starter mix and perlite or horticultural grit. This improves aeration and drainage, which is crucial.
- Plastic Bags or a Propagation Dome: To maintain humidity.
- Watering Can with a Fine Rose: For gentle watering.
- Labels: Don’t forget to label your cuttings!
- Optional: A Heat Mat: This can significantly speed up rooting.
Propagation Methods
Let’s explore how to best get new Clematis barbellata plants going. Stem cuttings are generally the most successful and accessible method for this clematis.
Stem Cuttings
This is my go-to method for clematis.
- Select Your Cuttings: Look for healthy, vigorous stems from the current season’s growth. You want stems that are about pencil-thick and have at least two sets of leaves.
- Take the Cuttings: Using your clean sharp tools, take cuttings that are about 4-6 inches long. Make the cut cleanly, just below a leaf node (where a leaf attaches to the stem). This is where the magic happens with root formation.
- Prepare the Cuttings: Gently remove the lower leaves, leaving just one or two at the very top. If you have a particularly long cutting, you can even remove the top pair of leaves to reduce stress on the developing roots. Dip the cut end into your rooting hormone, ensuring good coverage. Tap off any excess.
- Plant Your Cuttings: Fill your pots or trays with your prepared potting medium. Make a small hole with a pencil or your finger and insert the cutting, ensuring the leaf nodes are buried in the soil. Two nodes should ideally be below the surface. Gently firm the soil around the cutting.
- Water Gently: Water thoroughly but very gently, so you don’t dislodge the cuttings.
- Create a Humid Environment: Cover the pots with a clear plastic bag (propped up with stakes or skewers so it doesn’t touch the leaves) or place them under a propagation dome. This keeps the humidity high, preventing the cuttings from drying out.
- Provide Light and Warmth: Place the pots in a bright location out of direct sunlight. If you have a heat mat, place the pots on it. This encourages root development from below.
Water Propagation (Use with Caution for Clematis)
While often easy for other plants, water propagation can be trickier for clematis as the stems can rot easily. If you choose this route, be extremely diligent.
- Prepare Cuttings: Similar to stem cuttings, take 4-6 inch cuttings and remove lower leaves.
- Place in Water: Use a clean jar or glass and fill it with fresh, clean water. Place the cuttings in the water, ensuring that only the leaf nodes are submerged.
- Change Water Regularly: This is crucial! Change the water every 2-3 days to keep it fresh and prevent bacterial growth.
- Monitor Closely: Watch for signs of rot. If a cutting starts to look mushy or discolored, remove it immediately.
- Transplant Promptly: Once you see tiny roots forming, it’s time to transplant them into soil as quickly as possible. Don’t let them get too long in the water.
The “Secret Sauce” (Pro Tips)
Here are a couple of things I’ve learned over the years that make a difference:
- The Importance of the Node: When taking cuttings, always make your cut just below a leaf node. This is where the plant’s natural rooting hormones are concentrated, giving your cutting the best chance to sprout roots.
- Bottom Heat is Your Friend: If you can manage it, using a heat mat under your propagation tray is a game-changer for clematis. It mimics the warmth of spring soil and significantly speeds up root formation. Don’t get discouraged if it takes a few weeks – it’s a waiting game!
Aftercare & Troubleshooting
Once you start seeing new growth, it’s a sign that roots are forming!
- Check for Roots: Gently tug on a cutting. If you feel resistance, it’s likely rooted. You can also gently tease a little soil away from the base to peek.
- Acclimatize Gradually: Once rooted, gradually acclimatize your new plants to normal conditions. Slowly increase ventilation by opening the plastic bag or dome for longer periods over a week or two.
- Pot Up: When the new plant has a good root system and is strong enough, transplant it into a slightly larger pot with fresh potting mix.
- Signs of Trouble: The most common issue is rot, often caused by overwatering or poor drainage. If a cutting looks black and mushy, it’s unfortunately a goner. Wilting leaves can indicate it’s drying out – ensure humidity is maintained.
A Encouraging Closing
So there you have it! Propagating Clematis barbellata might require a little more attention than some plants, but the thrill of success is absolutely worth it. Be patient with your little ones. Some will take quicker than others. The most important thing is to enjoy the process of nurturing new life. Happy propagating, and may your garden be ever more beautiful!
Resource:
https://identify.plantnet.org/k-world-flora/species/Clematis%20barbellata%20Edgew./data