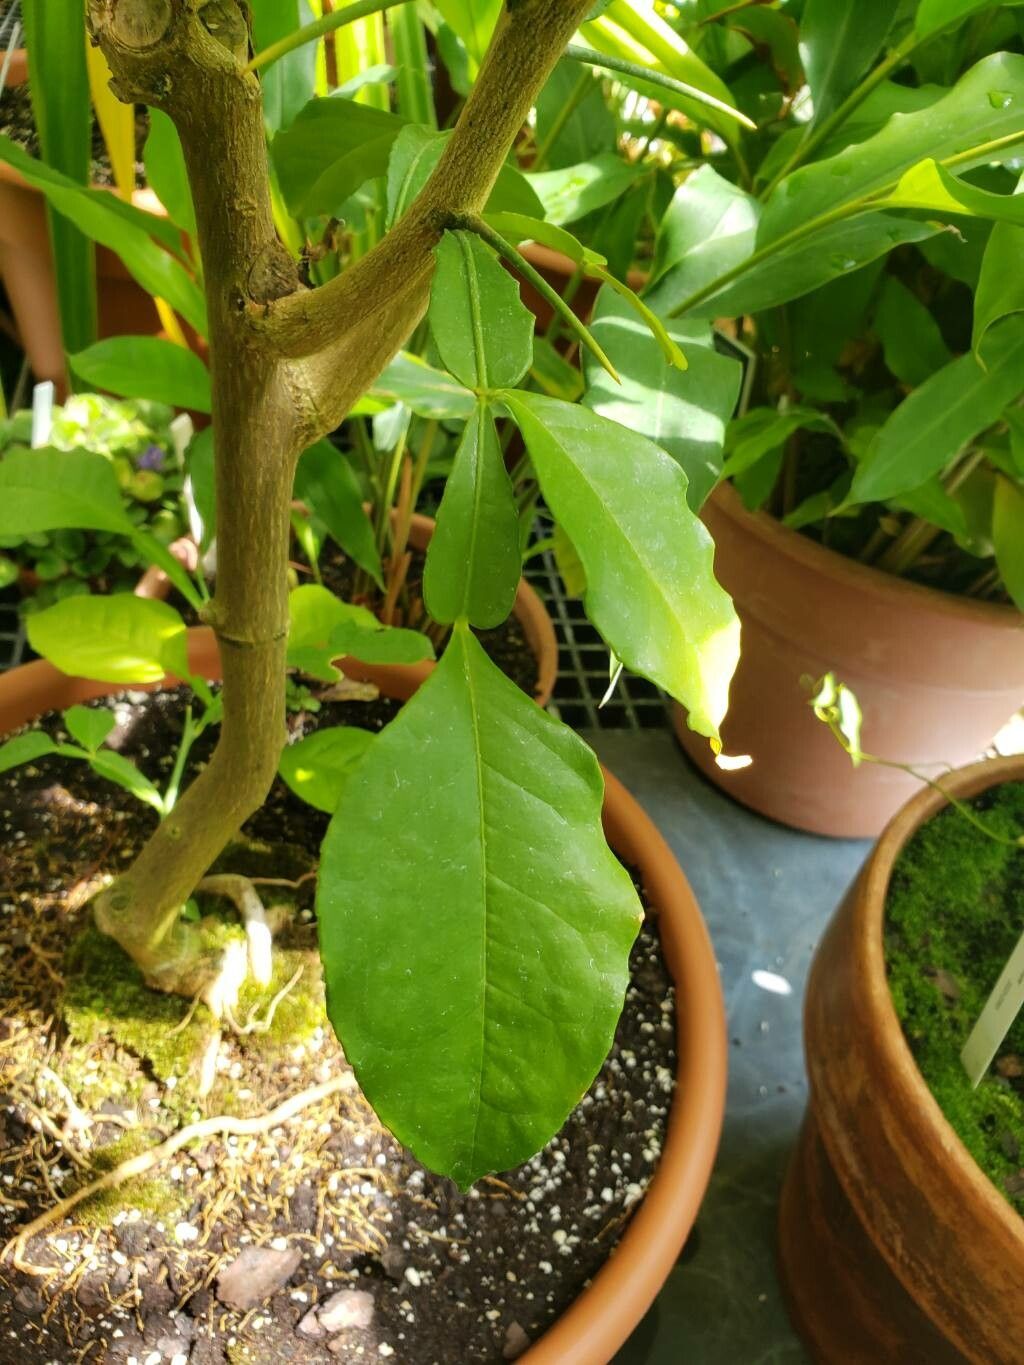
Hello, fellow plant enthusiasts! I’m so excited to dive into the wonderful world of Citropsis gilletiana with you today. You might know this beauty as the African cherry orange, and let me tell you, it’s a gem worth getting to know. Its glossy leaves and the promise of those little citrusy fruits are just captivating.
Propagating Citropsis gilletiana can feel like a little bit of magic, watching a piece of an existing plant transform into a whole new one. It’s incredibly satisfying! For those of you just starting out on your propagation journey, I’d say this one is moderately challenging. It’s not quite as straightforward as some of the super easy houseplants, but with a little care and attention, you’ll find a lot of success.
The Best Time to Start
My favorite time to take cuttings is when the plant is actively growing, which usually means late spring or early summer. The plant has plenty of energy then, and the warmth helps speed things along. You’re looking for stems that are semi-hardwood – not brand new, tender growth that will easily wilt, and not old, woody stems that are difficult to root. Think of stems that still have some flexibility but have started to firm up a bit.
Supplies You’ll Need
Here’s what you’ll want to have on hand:
- Sharp pruning shears or a clean, sharp knife: For making clean cuts.
- Rooting hormone: I prefer a powder or gel formulation. It really gives your cuttings an extra boost.
- Well-draining potting mix: A good blend is roughly 50% peat moss or coco coir and 50% perlite or coarse sand. This ensures good aeration and prevents waterlogged roots.
- Small pots or seed trays: With drainage holes, of course!
- Clear plastic bags or a small propagator: To create a humid environment.
- A watering can or spray bottle: For gentle watering.
- Optional: Bottom heat mat: This can make a big difference, especially if your house is a bit cooler.
Propagation Methods
Let’s get our hands dirty with two reliable methods:
1. Stem Cuttings:
This is my go-to for Citropsis gilletiana.
- First, select a healthy, non-flowering stem. Make a clean cut just below a leaf node (where a leaf attaches to the stem). You’re aiming for cuttings about 4-6 inches long.
- Remove the lower leaves, leaving just a few at the top. This helps prevent them from rotting in the soil.
- Dip the cut end into your rooting hormone, tapping off any excess.
- Gently insert the cutting about an inch or two deep into your prepared potting mix.
- Water lightly to settle the soil around the stem.
- Now, create that humid microclimate! Cover the pot with a clear plastic bag (tenting it so it doesn’t touch the leaves) or place it in a propagator. This is crucial for preventing the cuttings from drying out.
2. Water Propagation (with a caveat!):
While I usually lean towards soil for citrus family members, you can try water propagation, but it requires a bit more vigilance.
- Prepare your cuttings just as you would for stem cuttings (clean cut, remove lower leaves).
- Place the cuttings in a jar or glass of clean water. Make sure no leaves are submerged in the water. Any leaves below the waterline will quickly rot and can kill your cutting.
- Change the water every few days to keep it fresh and prevent bacterial growth.
- Once you see tiny roots developing (this can take a few weeks), you’ll need to carefully transplant them into soil. This transition can be tricky for citrus, as they can be sensitive to the change.
The “Secret Sauce” (Pro Tips)
Here are a few things I’ve learned over the years that really help:
- Don’t Overwater: This is probably the most common mistake. Your cuttings need moisture, but soaking wet soil is a recipe for disaster. Water when the top inch of soil feels dry. It’s better to slightly underwater than overwater, especially in the initial stages.
- Bottom Heat is Your Friend: If you can, place your pots on a bottom heat mat. This gentle warmth from below encourages root formation and can significantly increase your success rate, especially if your home isn’t naturally warm.
- Patience is Key (Seriously!): I know it’s tempting to dig around or panic if you don’t see roots immediately, but avoid disturbing your cuttings. It can take anywhere from 4-8 weeks, sometimes even longer, to see significant root development. Trust the process!
Aftercare & Troubleshooting
Once you see new leaf growth, that’s a great sign that roots are forming!
- You can begin to gradually acclimate your new plant to normal humidity by opening the plastic bag a little more each day.
- Continue to water gently, allowing the soil to dry out slightly between waterings.
- The biggest problem you’ll likely encounter is rot. If your cutting looks mushy or black, it’s usually a sign of too much moisture and lack of air circulation. If this happens, there’s not much you can do to save it, unfortunately.
- Another sign of failure is a cutting that completely wilts and never revives. This can happen if it dries out too much or if it just wasn’t healthy enough to begin with.
A Little Encouragement
Growing new plants from cuttings is such a rewarding part of gardening. It connects you to the plant’s life cycle in a really tangible way. Don’t get discouraged if your first attempt isn’t perfect. Every gardener has lost cuttings! Just learn from it, adjust your approach, and enjoy the journey of coaxing new life into being. Happy propagating!
Resource: