Hello, fellow plant lovers! It’s so nice to have you join me today. We’re going to dive into the wonderful world of Cleistocactus parviflorus, a cactus that really captures the heart with its elegant, slender form and beautiful, delicate flowers. There’s something incredibly special about coaxing a new life from an existing plant. It’s a little bit of magic, right in your own home.
Why Cleistocactus parviflorus?
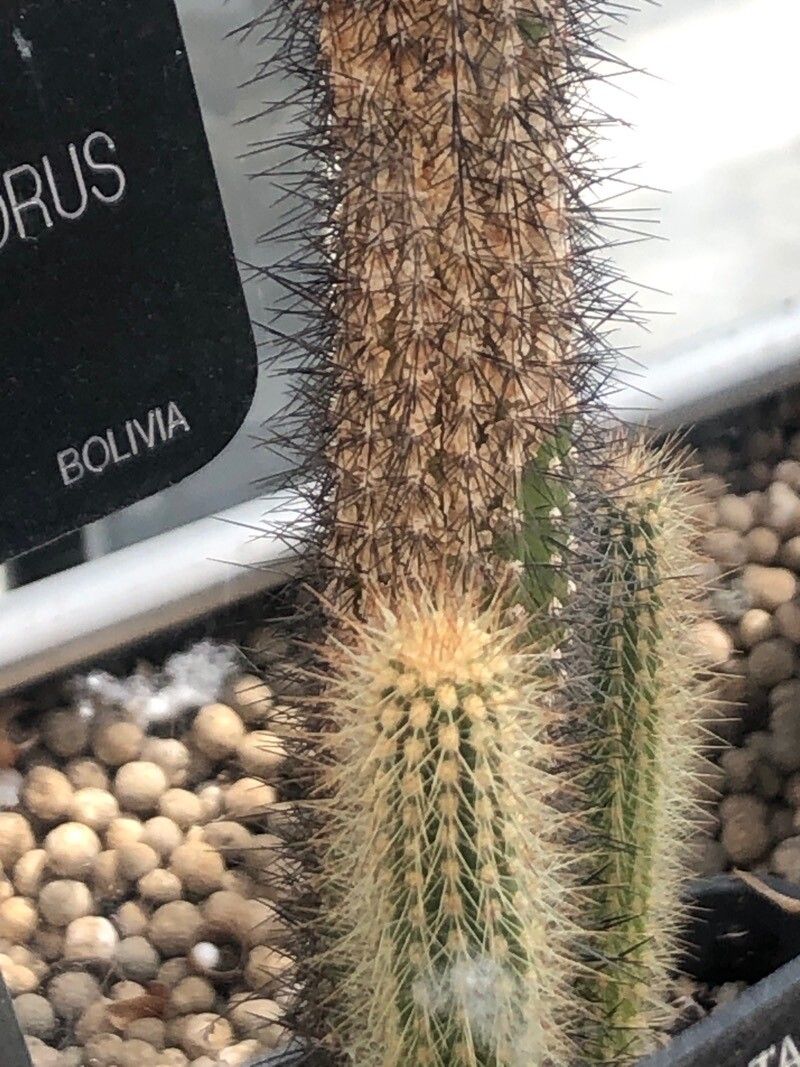
This cactus, with its fuzzy stems and vibrant blooms, is a real showstopper. And the best part? You can easily multiply its beauty! Propagating Cleistocactus parviflorus is a deeply satisfying experience. Watching a tiny cutting transform into a thriving plant is a unique kind of joy. Don’t worry if you’re new to this; while some cacti can be finicky, this one is generally quite forgiving, making it a great choice for beginners looking to expand their collection.
The Best Time to Start
The sweet spot for propagating your Cleistocactus parviflorus is during its active growing season. For most of us, that means spring and early summer. When the days are longer and warmer, your cuttings will have the best chance of rooting quickly. You’re aiming for healthy, vigorous growth, not a plant that’s stressed from heat or dormancy.
Supplies You’ll Need
Gathering your tools before you begin makes the whole process smoother. Think of it as gathering your ingredients for a delicious garden recipe!
- Sharp, clean pruning shears or a knife: For making clean cuts to avoid disease.
- Well-draining potting mix: A cactus or succulent mix is ideal. You can also create your own by mixing potting soil with perlite or pumice for extra aeration.
- Rooting hormone (optional but recommended): This can give your cuttings a helpful boost.
- Small pots or trays: For your new cuttings to grow in. Make sure they have drainage holes!
- Watering can or spray bottle: For gentle watering.
- Gloves (optional): If you’re sensitive to cactus spines.
- A sunny, bright spot: For your cuttings to receive adequate light.
Propagation Methods
We’ll focus on a couple of the easiest and most effective ways to grow more Cleistocactus parviflorus.
Stem Cuttings: The Classic Approach
This is hands-down my favorite method for this cactus. It’s straightforward and usually yields great results.
- Select a healthy stem: Look for a mature, healthy stem that’s at least a few inches long. You want to take a section of growth that isn’t too old or too young.
- Make a clean cut: Using your sharp, clean shears or knife, make a swift cut at the base of the stem you’ve chosen. This is crucial for preventing rot.
- Allow it to callous: This is a very important step! Place the cut stem in a dry, well-ventilated spot for a few days, or even a week. You’ll see the cut end dry and form a protective layer, like a little scab. This prevents moisture from entering the cut and causing rot when you plant it.
- Apply rooting hormone (optional): Once calloused, you can dip the cut end into rooting hormone powder. Tap off any excess.
- Plant the cutting: Fill your small pot with your well-draining potting mix. Make a small hole in the soil with your finger or a pencil. Gently insert the calloused end of the cutting into the hole, making sure it’s snug. You might want to support it with a small pebble if it’s wobbly.
- Wait and water sparingly: Resist the urge to water immediately. Wait a few days after planting, then water very lightly. The soil should be barely moist, not wet. Your goal is to encourage roots to seek out moisture, not to have them sitting in a soggy environment.
Water Propagation: A View of the Progress
While not my go-to for Cleistocactus due to the increased risk of rot if not monitored, it can be done, and it’s fascinating to watch!
- Prepare your cutting: Follow steps 1-4 from the stem cutting method (select, cut, callous, and apply hormone).
- Place in water: Find a clean jar or glass. Fill it with fresh water.
- Suspend the cutting: The key here is to ensure the cut end just touches the water surface. You don’t want any of the stem that will be above the water to be submerged. You can use a piece of mesh or even suspend it carefully by its spines if needed.
- Location and water changes: Place the jar in a bright spot, but out of direct scorching sun. Change the water every few days to keep it fresh and oxygenated.
- Monitor for roots: You should start to see tiny white roots emerge from the cut end. Once the roots are about an inch long, it’s time to plant your cutting in soil using the method described above.
The “Secret Sauce” (Pro Tips)
Over the years, I’ve picked up a few tricks that seem to make a real difference.
- Bottom heat is your friend: If you can, place your potted cuttings on a seedling heat mat. This gentle warmth encourages root development from below, mimicking the feeling of spring soil. Just a few degrees above ambient temperature is perfect.
- Don’t be too eager to water: I know it’s tempting, but overwatering newly potted cuttings is the quickest way to disaster. Think of it as getting them to work for that moisture. Water only when the soil has dried out completely, and even then, water lightly.
- Air circulation is king: Good airflow around your cuttings helps prevent fungal issues and rot. If you have them in a humid corner, consider a tiny fan on a low setting nearby.
Aftercare & Troubleshooting
Once you see those first signs of roots – maybe the little plant looks a bit more stable, or you’ve peeked and seen them – congratulations!
- Gradual watering: You can start watering a bit more regularly now, but still always let the soil dry out between waterings.
- Acclimatize to light: Gradually introduce your new cactus to brighter light. Start with indirect sunlight and slowly move it to a spot that receives more direct sun over a week or two.
- Watch for rot: The most common pitfall is rot, which looks like the stem turning black and mushy. If you see this, unfortunately, that cutting is likely lost. Remove it immediately to prevent it from affecting other cuttings. This is why that initial callousing and sparing watering are so critical.
- Patience with growth: Don’t expect rapid growth overnight. Cacti are slow and steady. You’re looking for small signs of activity, like a slight thickening of the stem or the beginnings of new fuzzy growth.
Keep Growing!
Propagating Cleistocactus parviflorus is a journey, and like any good garden adventure, it’s about the process. Be patient, observe your cuttings, and trust your instincts. Each success, no matter how small, is a testament to your green thumb and your willingness to nurture life. Happy propagating, and enjoy your new cactus family!
Resource: