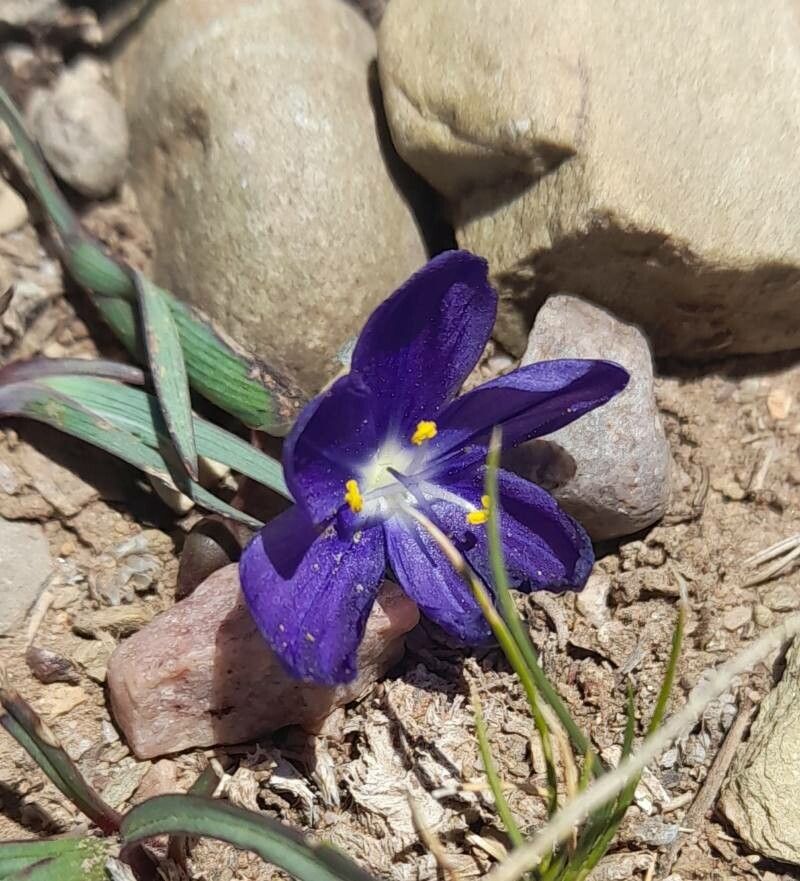
Well hello there, fellow plant lovers! If you’ve ever admired those charming little bells of Sisyrinchium humahuacense, with their starry blue flowers often kissed by sunlight, you’re in for a treat. There’s something incredibly satisfying about coaxing new life from your existing plants, and let me tell you, Sisyrinchium humahuacense is a joy to propagate. It’s a relatively easy plant to work with, making it a wonderful choice even if you’re just dipping your toes into the world of plant propagation. The reward of watching these beauties spread is just immense!
The Best Time to Start
When it comes to Sisyrinchium humahuacense, I find the spring is truly its golden hour for propagation. Once the last frost has waved goodbye and new growth is just starting to emerge, that’s your signal. The plant is energized, and the warmer temperatures encourage roots to form much more readily. You can also have success with division in the fall, after flowering has finished, but spring gives you the best head start for new plants.
Supplies You’ll Need
Gathering your supplies beforehand makes the whole process so much smoother. Here’s what I like to have on hand:
- Sterile potting mix: A well-draining blend is crucial. I often mix equal parts peat moss or coco coir with perlite or coarse sand.
- Sharp pruning shears or a clean knife: For making clean cuts.
- Small pots or trays: Choose ones with drainage holes, of course!
- Rooting hormone (optional but helpful): Especially for cuttings.
- Watering can or spray bottle: For gently moistening the soil.
- Small trowel or dibber: For making planting holes.
Propagation Methods
Sisyrinchium humahuacense is wonderfully obliging and can be propagated in a couple of ways. Division is your go-to for established clumps, while cuttings work well if you’re feeling a bit more adventurous.
1. Division: The Clump Builder’s Best Friend
This is definitely the easiest and most straightforward method for Sisyrinchium humahuacense.
- Gently unearth the clump: In spring, carefully dig up the entire plant. You can do this with your trowel or by hand if the soil is already loose.
- Inspect the roots: You’ll often see natural divisions where the plant has grown and spread.
- Separate the sections: Gently pull apart the root ball. If it’s stubborn, use your clean knife or shears to slice through the roots, making sure each section has some roots and a bit of leafy growth attached.
- Replant immediately: Pot up each new division into its own pot with your fresh, well-draining potting mix. Water them in gently.
2. Stem Cuttings: For a Touch of Technique
This method takes a little more finesse, but it’s very rewarding.
- Take your cuttings: In spring or early summer, select a healthy, non-flowering stem. Using your clean shears, make a cut just below a leaf node (where a leaf attaches to the stem). Aim for cuttings that are about 3-4 inches long.
- Prepare the cutting: Remove the lower leaves, leaving just a couple at the very top. This prevents them from rotting when buried.
- Dip in rooting hormone (optional): If you’re using it, dip the cut end into the rooting hormone powder. Tap off any excess.
- Plant the cutting: Make a hole in your prepared potting mix with a dibber or your finger. Insert the cut end of the stem into the hole and gently firm the soil around it.
- Water and mist: Water the pot lightly to settle the soil. You can also give the leaves a gentle misting.
The “Secret Sauce” (Pro Tips)
Now, for a couple of little tricks I’ve picked up over the years that really make a difference.
- Don’t drown your cuttings: When propagating from cuttings, the biggest mistake people make is overwatering. The soil should be consistently moist but never soggy. A good way to check is to poke your finger about an inch into the soil. If it feels dry, it’s time to water.
- A little warmth goes a long way: Sisyrinchium humahuacense loves warmth for root development. I often place my pots or trays on a heat mat set to a low temperature (around 70°F or 21°C), especially for cuttings. This really encourages those roots to get going.
- Patience with the pots: For cuttings, patience is key! Don’t be tempted to pull them out to check for roots too early. It can take anywhere from 4 to 8 weeks for roots to form sufficiently. You’ll see signs of new growth at the top, which is a good indicator.
Aftercare & Troubleshooting
Once roots have appeared on your divisions or cuttings, it’s time to treat them like new little plants.
- Gradual transition: If your cuttings were in a very humid environment (like under a dome), gradually expose them to open air over a week or so.
- Keep them moist: Continue to water them regularly, but always check the soil first.
- Future planting: Once your new Sisyrinchium humahuacense are robust enough and have a good root system, you can transplant them into their permanent garden spot or larger pots.
Now, what if things don’t go as planned? The most common culprit for failure, especially with cuttings, is rot. This usually happens from overwatering or poor drainage. If you see your cuttings turning mushy or developing black spots, it’s a sign that things are too wet. In this case, you might need to discard them and start again, making sure your soil mix is really free-draining and you’re not over-watering. For divisions, if they look wilted and aren’t recovering, it might be that the root system was too compromised during the separation.
A Little Encouragement
Remember, gardening is a journey, and propagation is a wonderful part of that. Not every attempt will be a runaway success, and that’s perfectly okay! Be patient with your new little Sisyrinchium humahuacense, give them a bit of love, and most importantly, enjoy the process of creating more of these delightful blue beauties. Happy propagating!
Resource:
https://identify.plantnet.org/k-world-flora/species/Sisyrinchium%20humahuacense%20C.A.Zanotti/data