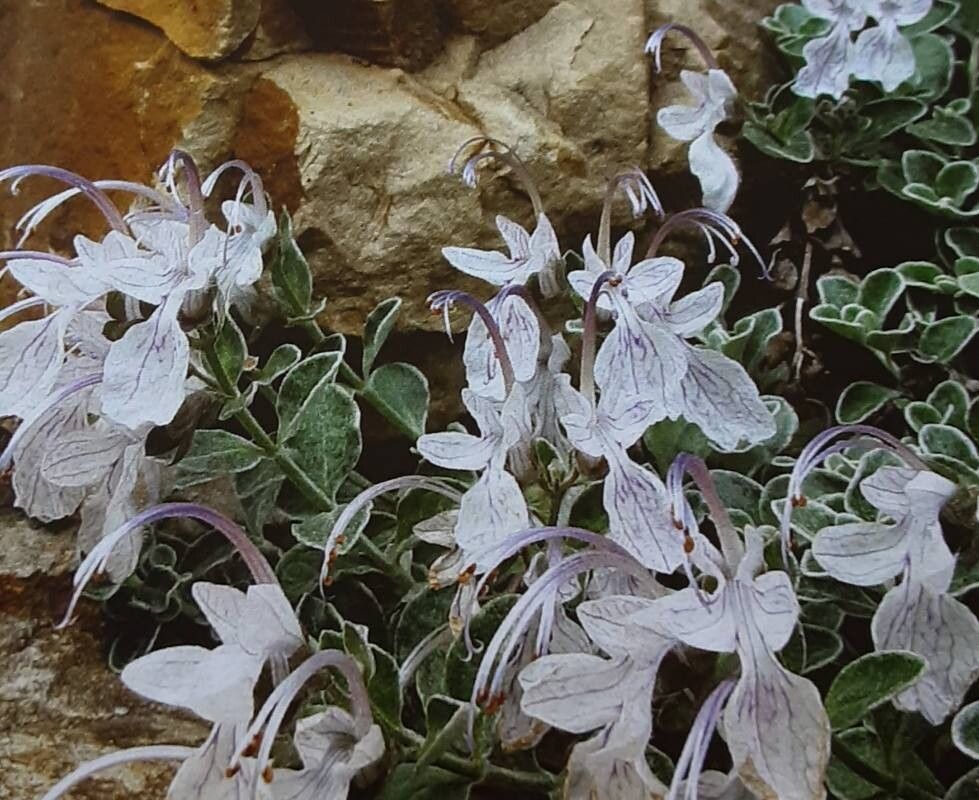
Oh, isn’t Teucrium aroanium just a delight? I’ve had it gracing my garden for years, and its delicate, silvery foliage and charming little flowers always bring a smile to my face. It has this wonderful way of smelling so fresh, especially after a warm day. Propagating it yourself is incredibly satisfying. You get to share this beauty with friends, fill in any empty spots in your own landscape, and honestly, just feel that delightful sense of accomplishment. Now, for beginners? I’d say it’s moderately easy. It’s not one of those plants that demands constant fussing, but it does appreciate a little know-how.
The Best Time to Start
My favorite time to get Teucrium aroanium going is in late spring to early summer. This is when the plant is actively growing and has plenty of fresh, semi-hardwood growth. The stems are flexible enough to root easily but have started to firm up, which reduces the risk of them rotting before they form roots.
Supplies You’ll Need
Here’s what I like to have on hand for this little project:
- Sharp pruning shears or a clean, sharp knife: For making clean cuts.
- Rooting hormone powder or gel: This really gives cuttings a boost.
- A well-draining potting mix: I love a mix of equal parts peat moss, perlite, and a bit of compost. Some gardeners also use pure perlite or a sandy mix.
- Small pots or seed trays: Clean ones are key!
- A plastic bag or propagation dome: To keep humidity high.
- Watering can or spray bottle: For gentle watering.
Propagation Methods
I usually stick to stem cuttings for Teucrium aroanium, as it’s usually the most reliable and straightforward method.
Stem Cuttings:
- Select your cuttings: Look for healthy, non-flowering shoots that are about 3-6 inches long. You want stems that are a bit soft at the tip but firming up along the rest of their length. These are often called “semi-hardwood” cuttings.
- Make the cut: Using your clean shears or knife, make a clean cut just below a leaf node. A leaf node is where a leaf attaches to the stem – this is where roots are most likely to form.
- Prepare the cutting: Gently remove the lower leaves from the cutting so that only the top few leaves remain. This prevents them from rotting when they’re in the soil. If there are any flower buds, pinch them off.
- Apply rooting hormone: Dip the cut end of the stem into your rooting hormone powder or gel. Tap off any excess.
- Pot them up: Make a small hole in your potting mix with a pencil or your finger. Gently insert the cutting into the hole, making sure the hormone-coated part is in good contact with the soil. Firm the soil gently around the stem.
- Water gently: Water the soil thoroughly but gently so it’s moist but not waterlogged.
- Create a humid environment: Cover the pot with a plastic bag or a propagation dome. You want to create a mini-greenhouse effect to keep the humidity high. Make sure the leaves don’t touch the plastic if possible – poke some straws into the soil to prop it up if needed.
The “Secret Sauce” (Pro Tips)
Here are a couple of things I’ve learned over the years that can really make a difference:
- Don’t overcrowd your pots: Give each cutting a little space. If they’re too close together, they’re more prone to fungal issues and can compete for light. For smaller cuttings, I often put one or two per small pot.
- Bottom heat is your friend: If you have a heat mat for seedlings, placing your pots on it can significantly speed up root formation. It mimics the warmth of summer soil and gives these little guys a great start. Just make sure the soil doesn’t dry out excessively when using bottom heat.
Aftercare & Troubleshooting
Once your cuttings are potted and covered, place them in a bright spot that receives indirect sunlight. Avoid direct sun, as it can scorch the delicate new leaves. Keep the soil consistently moist. Check it every few days and mist or water as needed. You can gently tug on a cutting after about 4-6 weeks. If you feel resistance, congratulations – you have roots!
The main thing to watch out for is rot. If a cutting turns mushy and black, it’s likely succumbed to a fungal infection. This usually happens if the soil is too wet or the humidity is too high without enough air circulation. If you see this, remove the affected cutting immediately to prevent it from spreading.
A Encouraging Closing
Growing new plants takes a little patience, but it’s such a rewarding journey. Don’t be discouraged if not every cutting takes – it’s part of the learning process! Just keep experimenting, enjoy the gentle rhythm of garden care, and be ready to celebrate those tiny roots when they finally appear. Happy propagating!
Resource:
https://identify.plantnet.org/k-world-flora/species/Teucrium%20aroanium%20Orph.%20ex%20Boiss./data