Hello there, fellow plant enthusiasts! I’m so glad you’ve found your way here. Today, we’re diving into the wonderful world of Coprosma virescens, a truly delightful plant that deserves a spot in more gardens.
Why You’ll Love Propagating Coprosma virescens
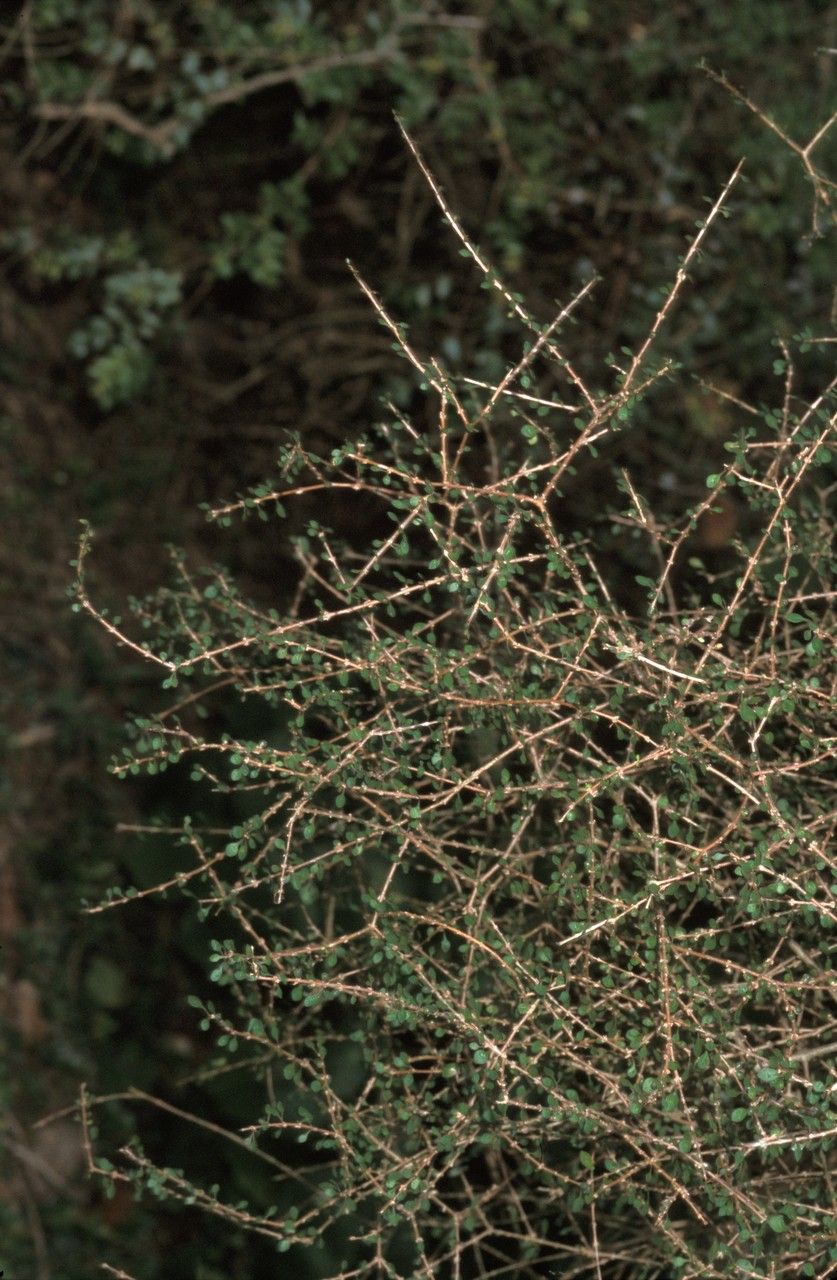
Coprosma virescens, often called Mirror Plant or Taupata, offers this fantastic glossy, leathery foliage that comes in stunning shades of green, bronze, and even variegated patterns. It’s tough, tolerant of coastal conditions, and just generally a joy to have around. Propagating it yourself? It’s incredibly satisfying. You get to multiply your collection for free and share these beauties with friends. For beginners, I’d say Coprosma virescens is generally quite forgiving, making it a great plant to practice your propagation skills on.
When Will You Have the Best Luck?
The sweet spot for propagating Coprosma virescens is during its active growing season, which typically runs from late spring through summer. You want to be taking cuttings when the plant is actively producing new growth. Avoid trying this when the plant is stressed or dormant in winter; you’ll have much less success.
Gathering Your Arsenal: What You’ll Need
Before we get our hands dirty, let’s make sure we have everything ready. This will make the process smoother:
- Sharp Pruning Shears or a Craft Knife: Cleanliness is key to preventing disease.
- Small Pots or Trays: About 4-6 inches deep are perfect.
- Propagating Mix: A good quality, well-draining seed-starting mix or a blend of equal parts peat moss and perlite works beautifully. You can even add a bit of horticultural sand.
- Rooting Hormone: While not strictly mandatory for Coprosma, it can give your cuttings a helpful boost. Gel or powder forms are fine.
- Plastic Bags or a Propagation Dome: To create a humid environment.
- Water: For moistening the mix and for some methods.
- Labels: So you don’t forget what you’ve planted where!
Getting Cuttings to Take Root: Our Go-To Methods
There are a couple of tried-and-true ways to get new Coprosma plants going. My preference is usually stem cuttings, but water propagation can be a fun visual.
Method 1: Stem Cuttings (My Personal Favorite!)
- Select Your Cuttings: Look for healthy, non-flowering stems that are about 4-6 inches long. You want to snip just below a leaf node, which is the spot where a leaf attaches to the stem.
- Prepare the Cuttings: Gently remove the lower leaves from the cutting, leaving just two or three at the very top. This prevents leaves from rotting when buried in the soil. If your cuttings are particularly long, you can even halve the remaining leaves to reduce water loss.
- Dip in Rooting Hormone (Optional): If you’re using rooting hormone, dip the cut end of the stem into it. Tap off any excess.
- Plant Them Up: Make a small hole in your prepared potting mix with a pencil or your finger. Insert the cutting, ensuring the leaf nodes are covered by soil. Gently firm the soil around the stem.
- Water Gently: Lightly water the soil to settle it around the cuttings.
- Create Humidity: Cover the pots with a plastic bag or a propagation dome. Make sure the leaves aren’t touching the plastic if possible. Just enough air circulation is good, so you can prop the bag open slightly or vent your dome daily.
Method 2: Water Propagation (Best for Observation)
- Prepare the Cuttings: Follow steps 1 and 2 from the stem cutting method.
- Place in Water: Find a clean jar or glass and fill it with water. Place the prepared cuttings into the water, ensuring that the leaf nodes are submerged, but the remaining leaves are not touching the water.
- Find a Bright Spot: Place the jar in a bright location, but out of direct, scorching sunlight.
- Change Water Regularly: This is crucial! Change the water every few days to keep it fresh and prevent bacterial growth.
The “Secret Sauce”: My Insider Tips for Success
After years of tinkering, I’ve picked up a few tricks that have made a world of difference.
- Bottom Heat is Your Friend: If you have a bit of space, using a heat mat designed for seedlings can dramatically speed up root development, especially if your home is a bit on the cool side. It mimics the warm soil of summer.
- Don’t Overwater! This is probably the most common mistake. Soggy soil is a recipe for rot. The propagating mix should be moist but not waterlogged. A good finger test is best – if the top inch feels dry, it’s time for a gentle watering.
- Cleanliness is Non-Negotiable: I can’t stress this enough. Sterilize your tools (a quick wipe with rubbing alcohol does the trick) and pots before you start. This is your first line of defense against fungal diseases that can take out your precious cuttings before they even get a chance.
Keeping Them Happy: Aftercare and What to Watch For
Once you start seeing new leaf growth or notice roots emerging from the drainage holes (for stem cuttings), you know your effort is paying off!
- Acclimatization: Gradually introduce your rooted cuttings to less humid conditions over a week or so before removing the plastic cover completely.
- Transplanting: Once they have a decent root system, you can carefully transplant them into their own small pots filled with a good quality potting mix.
- Watch for Rot: The biggest enemy is rot. If your cuttings turn mushy, black, or develop fuzzy mold, it’s a sign of too much moisture and not enough air circulation. Unfortunately, these are usually a lost cause. Clear away any affected material immediately. If the whole batch seems unhappy, re-evaluate your watering and humidity levels.
Go Forth and Grow!
Propagating plants is such a rewarding journey. It teaches you patience and gives you a deeper connection to the plant world. Don’t be discouraged if your first attempt isn’t a runaway success; every gardener has had their share of wilting disappointments! Just keep trying, learn from each experience, and celebrate every little bit of progress. Happy propagating!
Resource:
https://identify.plantnet.org/k-world-flora/species/Coprosma%20virescens%20Petrie/data