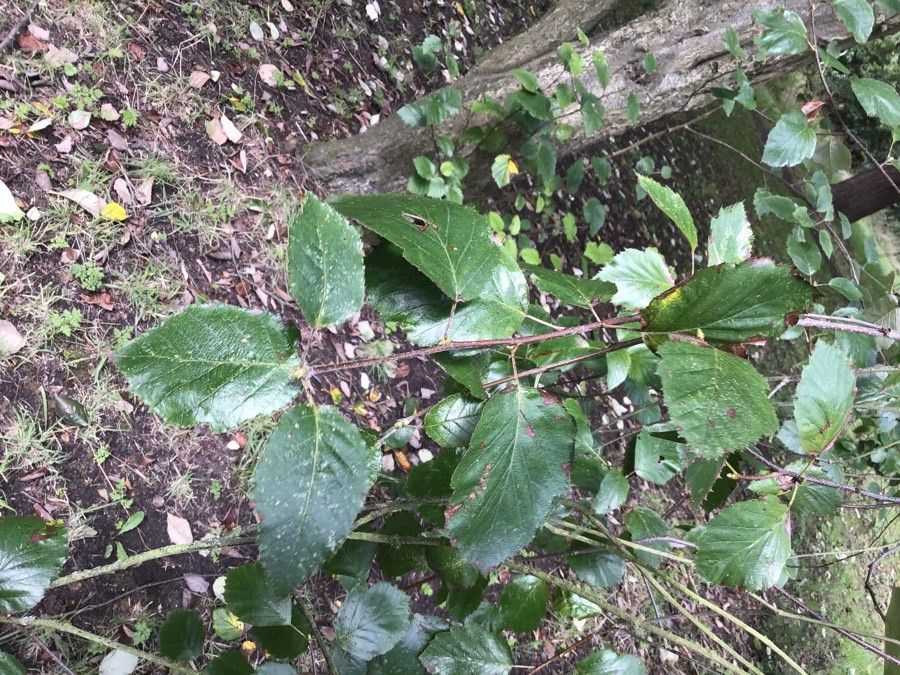
Oh, hello there! Pull up a chair and let’s chat about one of my absolute favorite plants: Karpatiosorbus devoniensis. You’ve probably seen those stunning, deep green leaves, haven’t you? They have a way of just adding a touch of sophisticated wildness to any space. Propagating these beauties isn’t just about making more plants; it’s about understanding their rhythm and nurturing new life. It’s a truly rewarding process, and while it might seem a little daunting at first, I promise, it’s well within your reach.
The Best Time to Start
For Karpatiosorbus devoniensis, the magic happens in late spring to early summer. This is when the plant is actively growing, with plenty of energy reserves to put into developing new roots. You want to take cuttings when the stems are semi-hardwood – not brand new, floppy growth, but not old, woody stems either. Think of it like a teenager: full of life and ready to branch out!
Supplies You’ll Need
To give your cuttings the best chance, have these on hand:
- Sharp Pruning Shears or a Clean Knife: For clean cuts that heal well.
- Rooting Hormone: A powder or gel will significantly boost root development.
- Well-Draining Potting Mix: I like a mix of equal parts perlite and peat moss, or a commercial seed-starting mix.
- Small Pots or Propagation Trays: Clean pots are essential to prevent disease. 3-4 inch pots are usually a good size.
- Plastic Bags or a Propagation Dome: To create a humid environment for your cuttings.
- Watering Can with a Fine Rose or Spray Bottle: For gentle watering.
- Labels: For remembering what you propagated and when!
Propagation Methods
Most often, I rely on stem cuttings for Karpatiosorbus devoniensis. It’s tried and true!
- Take Your Cuttings: On a bright, but not scorching, day in late spring or early summer, select a healthy, vigorous stem. Using your sharp pruning shears, take a cutting that’s about 4-6 inches long. Make the cut just below a leaf node. A leaf node is where a leaf attaches to the stem – this is where roots will most likely emerge.
- Prepare the Cuttings: Gently remove the lower leaves from your cutting, leaving just a few at the top. If the remaining leaves are very large, I often cut them in half horizontally. This helps reduce water loss through transpiration while still allowing the cutting to photosynthesize.
- Apply Rooting Hormone: Dip the cut end of the stem into your rooting hormone, tapping off any excess. Ensure the hormone covers the node where you made the cut.
- Plant Your Cuttings: Fill your clean pots with your well-draining potting mix. Make a pilot hole in the center of the soil with your finger or a pencil. Carefully insert the prepared cutting into the hole, ensuring the rooting hormone-coated end is fully submerged and the soil is making good contact. Gently firm the soil around the cutting.
- Create Humidity: Water the soil gently until it’s evenly moist, but not soggy. Now, cover the pot with a plastic bag secured with a rubber band or a propagation dome. This creates a mini-greenhouse, keeping the humidity high, which is crucial for cuttings before they develop roots. Place the pots in a bright location that receives indirect sunlight.
The “Secret Sauce” (Pro Tips)
Here are a couple of things I’ve learned over the years that really seem to make a difference:
- You know how a lot of people tell you to stick the leaves of certain plants in water? For Karpatiosorbus devoniensis, it’s vital that no leaves touch the water directly in your propagation setup. If they sit in stagnant water, they’ll just rot. Make sure your setup keeps them above the moisture level.
- I’ve found that a little bit of gentle bottom heat can be a game-changer, especially if your house tends to be on the cooler side. A seedling heat mat placed under your propagation tray can encourage roots to form much more quickly. Just ensure the heat isn’t so intense that it cooks your cuttings!
Aftercare & Troubleshooting
Once your cuttings are planted, mist them occasionally if they look dry, but mostly, you’ll just want to keep that humidity high by keeping the cover on. You’ll know roots have formed when you see new leaf growth appearing. It can take anywhere from 4 to 8 weeks, so don’t lose heart!
The biggest thing to watch out for is rot. If your cutting turns mushy, black, or starts to smell funky, it’s likely succumbed to rot. This is usually a sign of too much moisture and not enough air circulation. If you see this, sadly, it’s time to discard the affected cutting. Sometimes, if you catch it early and the rot is localized, you can try to cut away the bad bit and repot, but often, it’s best to start fresh.
A Encouraging Closing
Propagating Karpatiosorbus devoniensis is a wonderful journey. There will be times when a cutting doesn’t take, and that’s perfectly okay. Every gardener learns through trial and error. Be patient with your little green charges, celebrate their successes, and enjoy the magic of watching new life unfurl. Happy propagating!
Resource: