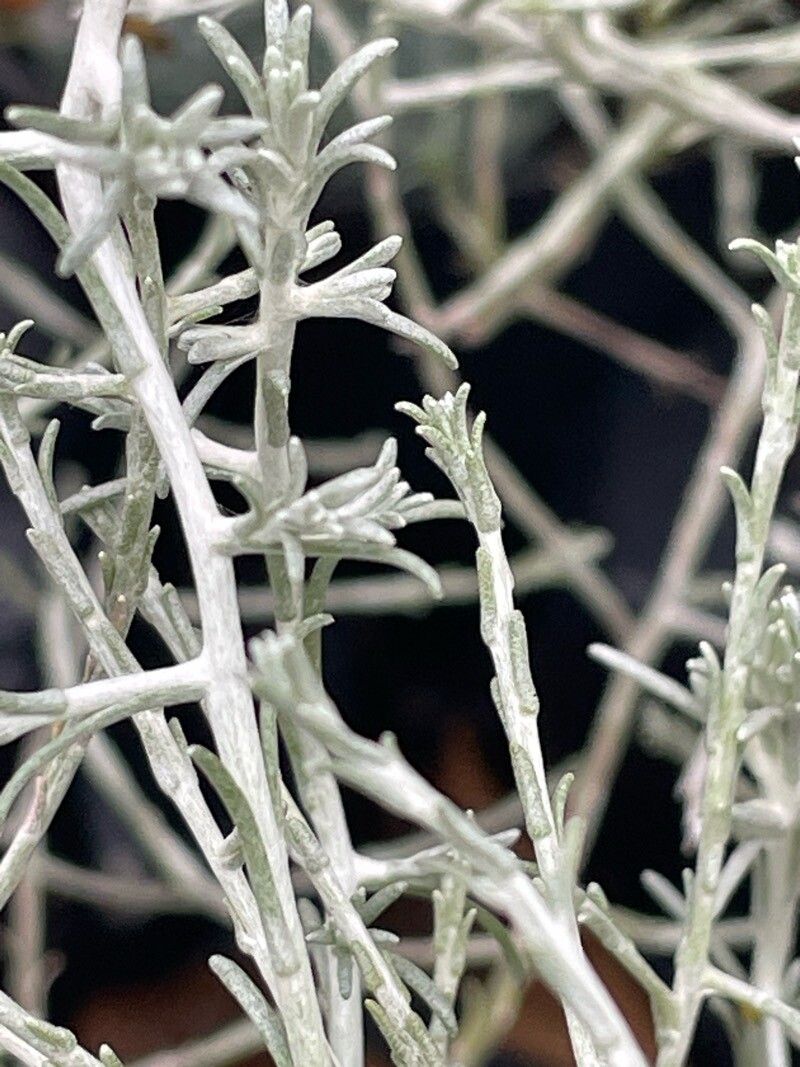
Oh, hello there! Pull up a chair and let’s chat about one of my absolute favorite garden treasures: Calocephalus lacteus, often known as Cushion Bush or Silver Bush. Isn’t it just a dream with its delicate, silvery foliage that seems to glow in the sunlight? I find its airy texture and soft color so incredibly versatile in combination plantings. And the best part? You can easily fill your garden or your pots with more of this beauty by propagating it yourself! If you’re new to this, don’t fret; while it has a few quirks, I find it to be quite rewarding for most keen gardeners.
The Best Time to Start
For me, the sweet spot for propagating Calocephalus lacteus is in late spring to early summer. This is when the plant is actively growing, and the stems are tender but not too soft. You’ll want to select pieces of new, healthy growth for the best chance of success. Avoid trying to propagate from old, woody stems.
Supplies You’ll Need
Before we get our hands dirty, let’s gather our tools:
- Sharp, clean pruning shears or a sharp knife: Essential for making clean cuts.
- Rooting hormone powder or gel: While not always strictly necessary, it can give your cuttings a helpful boost.
- A well-draining potting mix: I like a blend of standard potting compost with plenty of perlite or coarse sand. Aim for something that won’t stay soggy.
- Small pots or seed trays: Clean ones are a must!
- A plastic bag or propagation dome: To maintain humidity around your cuttings.
- Water spray bottle: For misting.
- Optional: Heat mat: This can significantly speed up root development.
Propagation Methods: Stem Cuttings
This is my go-to method for Calocephalus lacteus. It’s straightforward and yields great results.
- Take the Cuttings: Using your clean shears or knife, select young, healthy stems that are about 4-6 inches long. Make your cut just below a leaf node (where the leaves join the stem). This is where the plant is most likely to develop roots.
- Prepare the Cuttings: Gently remove the lower leaves from the bottom half of each cutting. This prevents them from rotting in the soil. You can leave the top few leaves for photosynthesis.
- Apply Rooting Hormone (Optional but Recommended): Dip the cut end of each prepared stem into your rooting hormone. Tap off any excess.
- Plant the Cuttings: Moisten your well-draining potting mix in your pots or trays. Make small holes in the soil with a pencil or your finger. Insert the base of each cutting into the holes, ensuring the part with the removed leaves is buried. Gently firm the soil around them.
- Create a Humid Environment: Water your cuttings lightly to settle the soil. Then, cover the pots with a plastic bag or propagation dome. This traps humidity, which is crucial for the cuttings. You can prop up the bag with sticks if it touches the leaves.
- Provide Light and Warmth: Place the pots in a bright spot out of direct, harsh sunlight. If you have a heat mat, place the pots on it. This warmth from below really encourages root growth.
The “Secret Sauce” (Pro Tips)
Now, for a couple of little tricks I’ve learned over the years:
- The “Air Shower” Trick: Once your cuttings have rooted (we’ll talk about that soon!), try giving them a very gentle misting with plain water every few days. It seems to mimic a natural rainfall and really helps them transition. But, be mindful – avoid letting water stagnate for too long around the base.
- Patience is Key with Water: While some plants root beautifully in water, Calocephalus lacteus can be a bit finicky this way. If you do try water propagation, make sure not a single one of the submerged leaves touches the water. They tend to rot quickly. I find soil propagation much more reliable for this particular plant.
Aftercare & Troubleshooting
Keep an eye on your cuttings. You’ll know they’ve rooted when you see new growth appearing or when you gently tug on a cutting and feel resistance. This usually takes anywhere from 3 to 6 weeks, depending on conditions.
Once rooted, gradually acclimate them to normal room conditions by opening the plastic bag or dome a little more each day for a week. Then, you can remove it completely. Water them when the top inch of soil feels dry.
The most common issue you might face is rot. If you see stems turning mushy and black, or if cuttings don’t root and just decay, it’s usually due to too much moisture and poor air circulation. This is why that well-draining soil and the temporary plastic cover are so important initially. Sometimes, too much direct sun can also scorch the tender new cuttings.
A Little Encouragement
Propagating plants is a wonderful way to connect with nature and grow your garden sustainably. Don’t be discouraged if your first few attempts aren’t perfect. Every gardener has lost a cutting or two! Just keep trying, observe your plants, and most importantly, enjoy the fascinating process of coaxing new life from a simple stem. Happy propagating!
Resource:
https://identify.plantnet.org/k-world-flora/species/Calocephalus%20lacteus%20Less./data