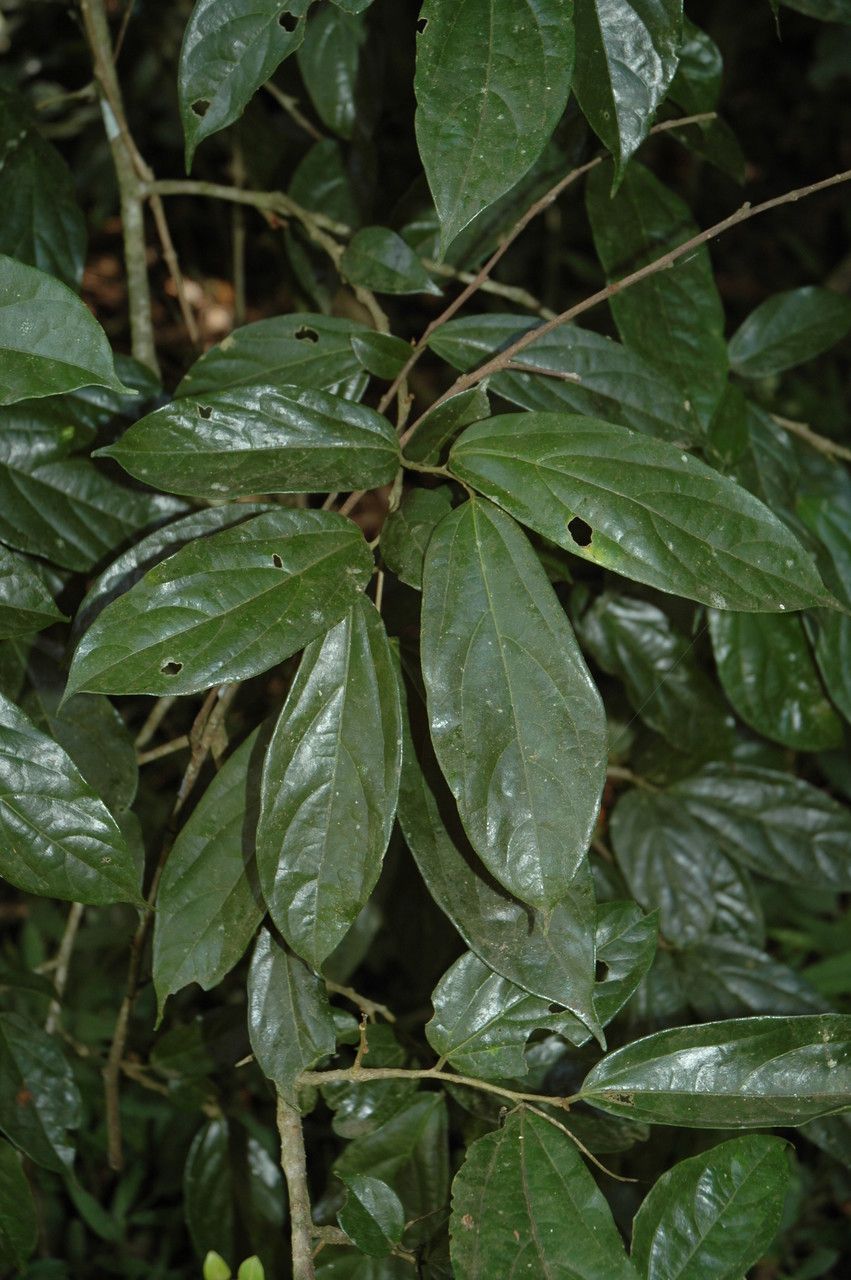
Oh, hello there! I’m so glad you’ve decided to delve into the wonderful world of propagating Alangium salviifolium, or as it’s commonly known, the Autumn Brilliance Alangium. This native beauty might not be a household name yet, but trust me, it’s one of those plants that just keeps on giving. Its graceful, often cascading branches, adorned with delicate white flowers in the fall that give way to stunning dark berries, are a real treat for the senses. And the best part? You can bring more of this magic into your garden by simply propagating it yourself.
Now, a little honesty upfront: Alangium salviifolium isn’t always the easiest plant for absolute beginners to propagate. It can be a touch on the patient side. But that’s precisely why it’s so rewarding when you get it right! Consider it a lovely challenge to hone your green thumb.
The Best Time to Start
For the highest success rate with Alangium salviifolium, I find that the late spring to early summer is absolutely the prime time. This is when the plant is actively growing, meaning its stems have good energy reserves to put towards developing roots. Aim to take cuttings from healthy, vigorous new growth that is semi-hardwood – meaning it’s starting to firm up but still has a bit of flexibility. You don’t want to take anything too soft and green, or anything that’s already woody and brittle.
Supplies You’ll Need
Here’s a little toolkit to get you started:
- Clean, sharp pruning shears or a sharp knife: For making clean cuts, which helps prevent disease.
- Propagation pots or small containers: With drainage holes, of course!
- A good quality potting mix or propagation mix: I like a blend of peat moss, perlite, and a little coir. It needs to be well-draining.
- Rooting hormone (optional but recommended): A powder or gel form can give your cuttings a nice boost.
- A plastic bag or clear plastic dome: To create a humid environment for your cuttings.
- A mister or spray bottle: For keeping humidity levels up.
- Labels and a permanent marker: To keep track of your propagated plants.
Propagation Methods
For Alangium salviifolium, I’ve found that stem cuttings are generally the most successful and straightforward method.
Stem Cuttings: Step-by-Step
- Select Your Cuttings: Gently bend some of those semi-hardwood stems I mentioned. When the stem snaps cleanly, rather than bending, it’s usually about right. Aim for cuttings that are about 4-6 inches long.
- Prepare the Cuttings: Using your clean shears, remove any leaves from the lower half of the cutting. You can also cut any larger leaves in half to reduce water loss through transpiration. Make a clean cut just below a leaf node (where a leaf attaches to the stem). This is where the magic of rooting often happens!
- Apply Rooting Hormone (Optional): Dip the cut end of the stem into your rooting hormone, tapping off any excess.
- Plant Your Cuttings: Fill your propagation pots with your chosen potting mix. Make a small pilot hole in the center of the mix with a pencil or your finger. Gently insert the cutting into the hole, making sure the leaf nodes are below the soil surface. Firm the soil gently around the stem.
- Create a Humid Environment: Water the soil thoroughly but gently. Then, cover the pot with a clear plastic bag or a plastic dome. This will trap moisture and create the humid microclimate that cuttings crave. If you’re using a bag, you might want to use a skewer or two to prop it up so it doesn’t directly touch the leaves.
- Place in Bright, Indirect Light: Find a warm spot that receives bright, indirect light. Avoid direct sun, which can scorch those delicate cuttings.
The “Secret Sauce” (Pro Tips)
Here are a few little tricks I’ve learned over the years that often make a big difference:
- Think “Bottom Heat”: If you have it, using a seedling heat mat underneath your pots can dramatically speed up root development. It encourages those roots to form from the bottom up.
- Don’t Let Leaves Touch Water (if water propagating): While I prefer soil for Alangium, if you ever do try water propagation for other plants, remember this: make sure no leaves are submerged in the water. Rot sets in quickly if leaves sit in soggy conditions. This principle applies even to the soil surface – don’t let foliage sit directly on damp soil for extended periods if you can help it.
- A Gentle Mist is Your Friend: While you want that humidity, don’t let the soil become waterlogged. Lightly misting the leaves and the inside of your plastic propagator every few days is usually sufficient. You’ll know it’s good when you see condensation on the inside of the plastic.
Aftercare & Troubleshooting
Once you start to see signs of new growth – little buds or tiny leaves appearing – it’s a good indication that roots are forming. You can gently tug on a cutting; if you feel resistance, it’s likely rooted!
When your cuttings have a decent root system (you might see them poking out the drainage holes), it’s time to transplant them into slightly larger pots with your regular potting mix. Continue to keep them in bright, indirect light and water them when the top inch of soil feels dry. Gradually acclimatize them to less humid conditions before planting them out into their permanent home.
The most common sign of failure is wilting and browning, often followed by rot. If you see this happening, it could be due to poor drainage (too much water), lack of humidity, or taking cuttings from unhealthy parent plants. Rotting at the base of the stem is a sure sign something’s gone wrong, usually from being too wet for too long. Don’t be discouraged if a few don’t make it; it’s all part of the learning process!
A Warm Encouragement
Propagating plants is a journey, and Alangium salviifolium is a beautiful one to embark on. Be patient, observe your cuttings closely, and celebrate every little sign of success. The joy of watching a new plant thrive, knowing you helped bring it into the world, is truly unparalleled. Happy propagating!
Resource:
https://identify.plantnet.org/k-world-flora/species/Alangium%20salviifolium%20(L.f.)%20Wangerin/data