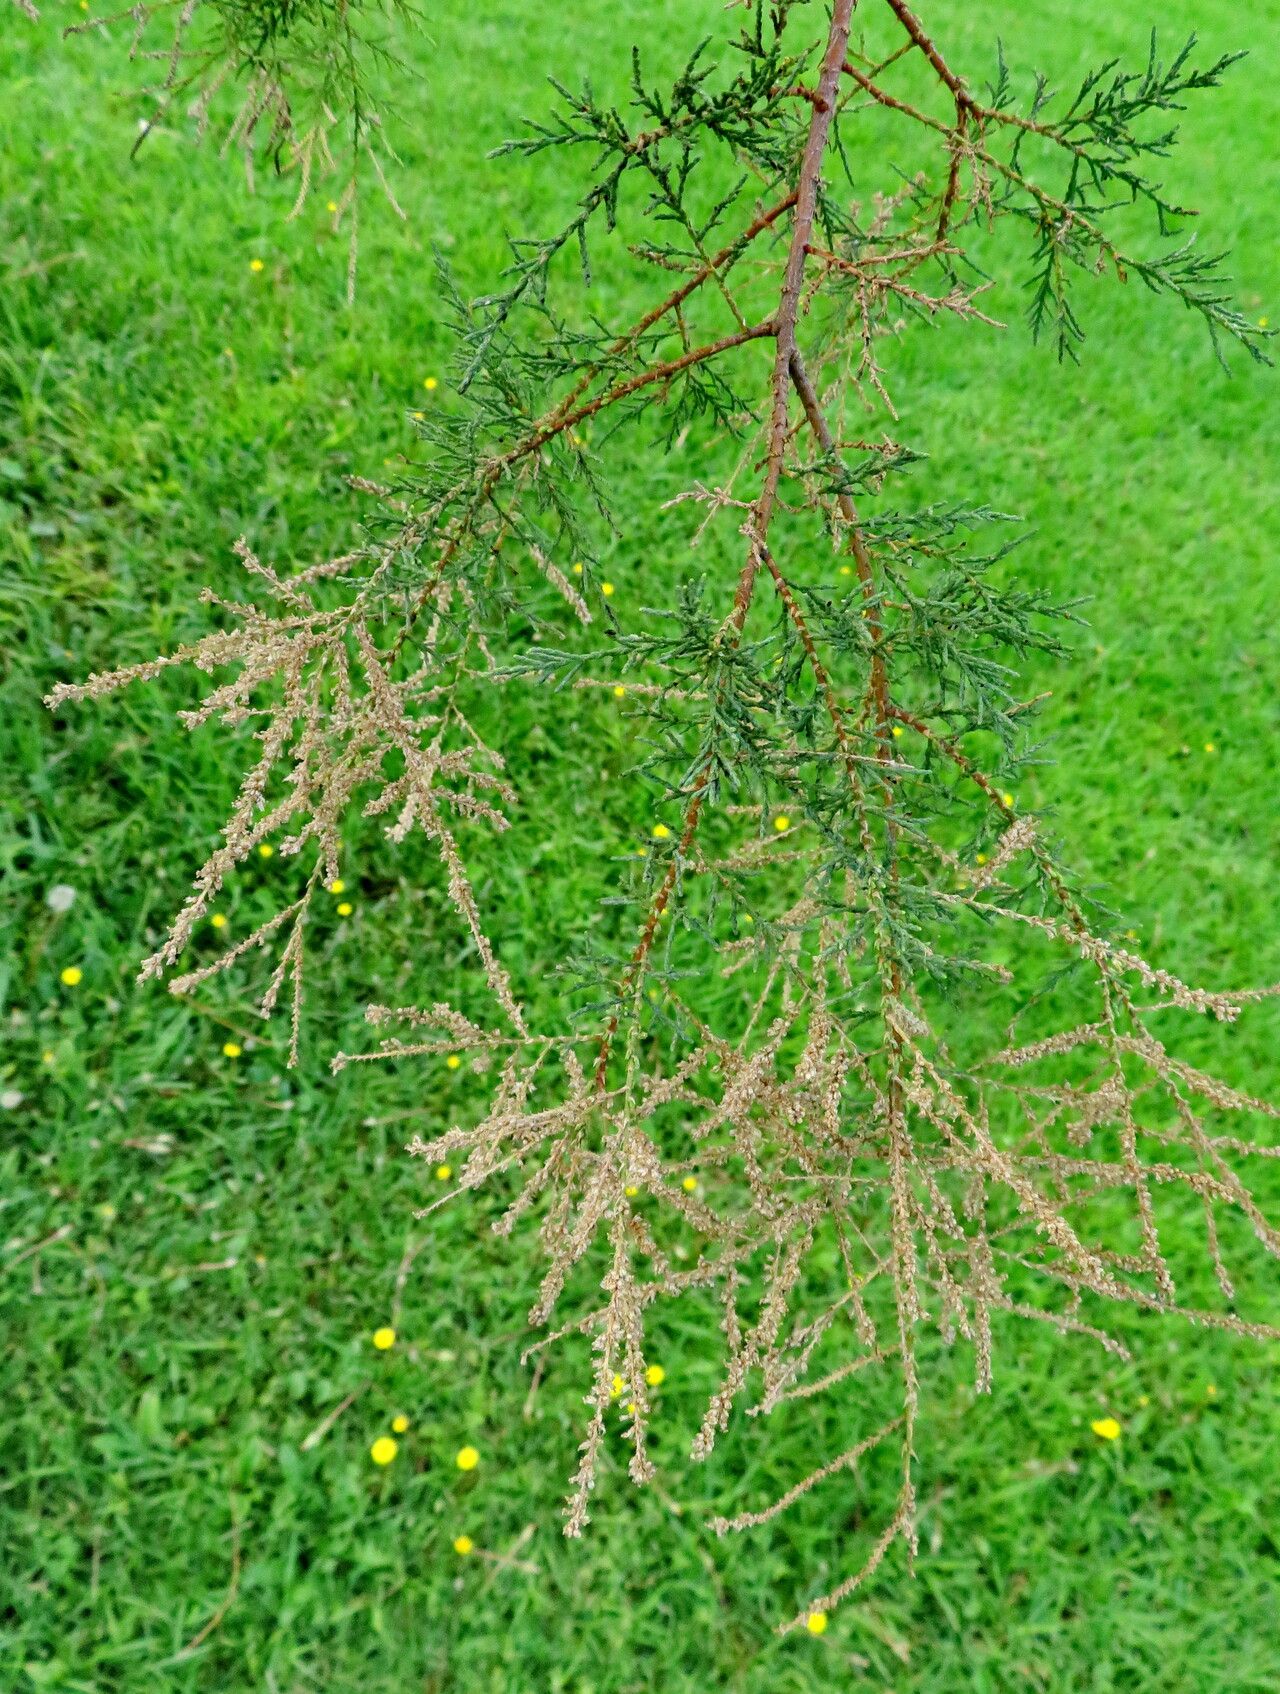
Hello fellow garden enthusiasts! It’s such a joy to be back, sharing a little of what I’ve learned over two decades of getting my hands in the dirt. Today, we’re diving into the wonderful world of Tamarix smyrnensis, also known as Smyrna tamarisk.
If you’ve ever admired those graceful, feathery branches of Tamarix gracing a coastal garden or a dry, sunny spot, you’re in for a treat. Their delicate foliage offers a unique texture, and their ability to thrive in challenging conditions makes them a resilient addition to any landscape. Propagating them is not only a fantastic way to expand your own garden or share with friends, but it’s also surprisingly rewarding. For beginners, I’d say Tamarix is moderately easy to propagate, offering a good learning curve without too much frustration.
The Best Time to Start
The sweet spot for taking cuttings of Tamarix smyrnensis is generally in late spring to early summer. This is when the plant is actively growing, and you’ll be looking for what we call semi-hardwood cuttings. These are stems that have started to toughen from the current season’s growth but are still somewhat flexible. You want to avoid entirely soft, new growth that wilts too easily, and old, woody stems that are much harder to root.
Supplies You’ll Need
Gathering your tools beforehand makes the whole process smoother. Here’s what I usually have on hand:
- Sharp Pruning Shears or a Knife: Cleanliness is key to prevent disease.
- Rooting Hormone (Optional, but Recommended): A powder or gel will give your cuttings a helpful boost.
- Potting Mix: A well-draining mix is crucial. I like to combine equal parts peat moss or coir with perlite or coarse sand.
- Small Pots or Trays: Clean containers with drainage holes are essential.
- Plastic Bag or Dome: To create a humid environment for your cuttings.
- Labeling Sticks: To keep track of what you’ve planted and when!
- Watering Can with a Fine Rose: For gentle watering.
Propagation Methods: Stem Cuttings
Stem cuttings are my go-to for Tamarix. It’s straightforward and yields great results.
- Select Your Cuttings: On a healthy Tamarix plant, find stems that are about pencil-thick and around 6-8 inches long. Look for those semi-hardwood ones I mentioned.
- Prepare the Cuttings: Using your sharp shears, make a clean cut just below a leaf node (where a leaf attaches to the stem). Remove the leaves from the bottom two-thirds of the cutting. This prevents them from rotting in the soil and encourages root development. You can leave 2-3 leaves at the top.
- Apply Rooting Hormone: If you’re using rooting hormone, dip the cut end of the stem into the powder or gel. Gently tap off any excess.
- Plant the Cuttings: Fill your pots with the well-draining potting mix. Make a small hole with a pencil or your finger. Insert the prepared cutting into the hole, ensuring that the leaf nodes are buried. Gently firm the soil around the base of the cutting.
- Water and Cover: Water the soil thoroughly but gently. Then, cover the pot with a plastic bag or place a clear plastic dome over it. This creates a mini-greenhouse, keeping the humidity high around your cuttings, which is vital for their survival.
The “Secret Sauce” (Pro Tips)
After years of coaxing plants to grow, I’ve picked up a few little tricks that can make all the difference:
- Don’t Be Afraid to Make Plenty: Not every cutting will take, and that’s perfectly normal! I always plant more than I think I’ll need to increase my chances of success. It’s the nature of the game.
- Bottom Heat is Your Friend: If you’re propagating indoors, placing your pots on a heated propagation mat can significantly speed up root formation. The warmth encourages root development from below.
- Observe the Leaves: Keep an eye on those top leaves. If they start to look plump and healthy, it’s a good sign that your cutting is drawing moisture and working towards rooting. If they look shriveled or yellow, it might indicate a problem with moisture or temperature.
Aftercare & Troubleshooting
Once your cuttings have rooted – and you’ll know this when you see new leaf growth or feel a gentle resistance when you lightly tug on the cutting – it’s time for a little more attention.
Carefully remove the plastic cover gradually over a few days to acclimate your new plants to normal humidity. Water them regularly, keeping the soil consistently moist but never waterlogged. You can repot your rooted cuttings into slightly larger pots once they have a good root system established.
If you notice your cuttings turning black and mushy, that’s usually a sign of rot. This often happens when the soil is too wet and there’s not enough air circulation. Ensure your potting mix is well-draining and try to avoid overwatering. If you see a cutting wilting severely and it hasn’t rotted, it might just be a bit thirsty or the humidity might be too low.
A Encouraging Closing
Growing new plants from cuttings is such a rewarding part of gardening. It connects us more deeply to the cycle of life. Be patient with your Tamarix cuttings. Some will be slow to start, and that’s okay. Enjoy the process of nurturing these tiny beginnings, and soon you’ll have beautiful new Tamarix to admire and share. Happy growing!
Resource:
https://identify.plantnet.org/k-world-flora/species/Tamarix%20smyrnensis%20Bunge/data