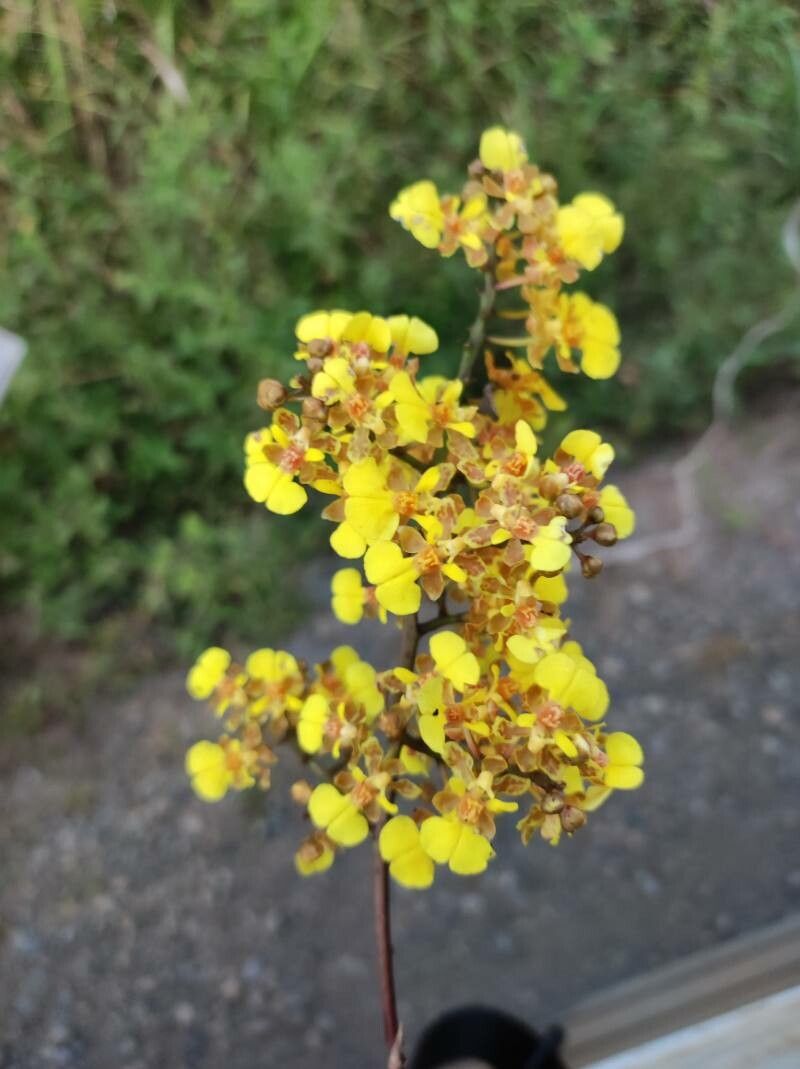
Hello fellow plant lovers! Grab a mug of your favorite brew, and let’s chat about something truly special: Trichocentrum ascendens. This little orchid, with its charming, star-shaped blooms and delightful fragrance, is a real gem. For me, the joy of growing these is amplified when I can share them, or simply expand my own collection, through propagation. It’s incredibly rewarding to nurture a tiny piece of a beloved plant into a thriving new life. Now, for a bit of honesty – while not as straightforward as some houseplants, Trichocentrum ascendens is definitely achievable with a bit of attention and patience. It’s a lovely challenge that really makes you feel connected to your plants.
The Best Time to Start
For the highest chance of success with Trichocentrum ascendens, I’ve found that the late spring or early summer is your sweet spot. This is when the plant is actively growing after its resting period. You’re looking for a healthy, vigorous specimen that has just finished blooming or is showing signs of new growth, like a developing pseudobulb or a new leaf shoot. Starting during this active growth phase means the plant has plenty of energy to dedicate to rooting.
Supplies You’ll Need
Here’s a quick rundown of what you’ll want to have on hand:
- Sharp, sterilized pruning shears or a clean knife: For making precise cuts. I always sterilize mine with rubbing alcohol between each cut to prevent disease.
- Cinnamon powder or a commercial rooting hormone: Cinnamon acts as a natural antifungal and can help seal the cut. Rooting hormone can give an extra boost if you’re feeling it.
- A well-draining potting mix: For orchids, this usually means a special bark-based mix with perlite or charcoal. You want good aeration.
- Small pots or trays: Whatever you choose, make sure they have drainage holes.
- A spray bottle: For gentle misting.
- Optional: A heat mat: This isn’t strictly necessary, but bottom heat can really encourage root development.
Propagation Methods
While you can attempt a few things, the most reliable method for Trichocentrum ascendens is division. These orchids tend to clump, making this approach quite natural.
Method: Division
- Gently remove the plant from its pot. If it’s been in the same pot for a while, you might need to carefully tease away some of the old potting medium or even soak the root ball for a bit to loosen it up.
- Inspect the root system and pseudobulbs. Look for natural breaks where a new growth point (a pseudobulb with at least two or three healthy pseudobulbs behind it) can be separated cleanly. You’re aiming for divisions that have their own healthy roots.
- Using your sterilized shears or knife, carefully separate the divisions. Try to make a clean cut through the rhizome (the creeping stem that connects the pseudobulbs). If you can’t get a clean cut, it’s okay to gently tease the roots apart, but minimizing damage is key.
- Treat the cuts. Lightly dust any cut surfaces with cinnamon powder or dip them in rooting hormone. This helps prevent rot and encourages healing.
- Pot up the new divisions. Plant each division into its own pot with your orchid mix. Make sure the pseudobulbs are sitting just on top of the potting medium, not buried.
I’ve also heard of people trying keikis (baby plantlets that sometimes form on orchids), but honestly, division has been far more successful and straightforward for me with Trichocentrum ascendens.
The “Secret Sauce” (Pro Tips)
Here are a few things I’ve learned over the years that seem to make a difference:
- Don’t overwater after dividing. It’s tempting to drench them, but the new divisions need time to heal. Let the potting mix dry out more than usual in the first week or two. A light misting on the leaves is usually sufficient.
- Placement is paramount. Keep your new divisions in a bright, indirect light location. Avoid direct sun, which can scorch delicate new growth. And that bottom heat I mentioned? Placing them on a seedling heat mat set to around 70-75°F (21-24°C) can dramatically speed up root formation.
Aftercare & Troubleshooting
Once your divisions are potted, treat them gently. Water only when the potting medium feels dry to the touch. You can begin a very dilute orchid fertilizer regimen about a month after potting, once you see signs of new growth.
The biggest challenge you’ll likely face is rot. If you see a pseudobulb turning black and mushy, it’s usually a sign of too much moisture and poor air circulation. If you spot this early, you might be able to save the division by carefully removing the rotted part with your sterilized knife and allowing the rest to dry out thoroughly. Another sign of trouble is a lack of new growth after a long time. This could mean the roots aren’t establishing, possibly due to a lack of warmth or too much stress from the division process.
A Encouraging Closing
Propagating Trichocentrum ascendens is a journey. There will be moments of intense satisfaction and maybe a little bit of nail-biting anxiety. But trust your instincts, be patient with your new plants, and celebrate every little bit of progress. Enjoy the process of watching these little wonders grow into something beautiful you can call your own! Happy gardening!
Resource: