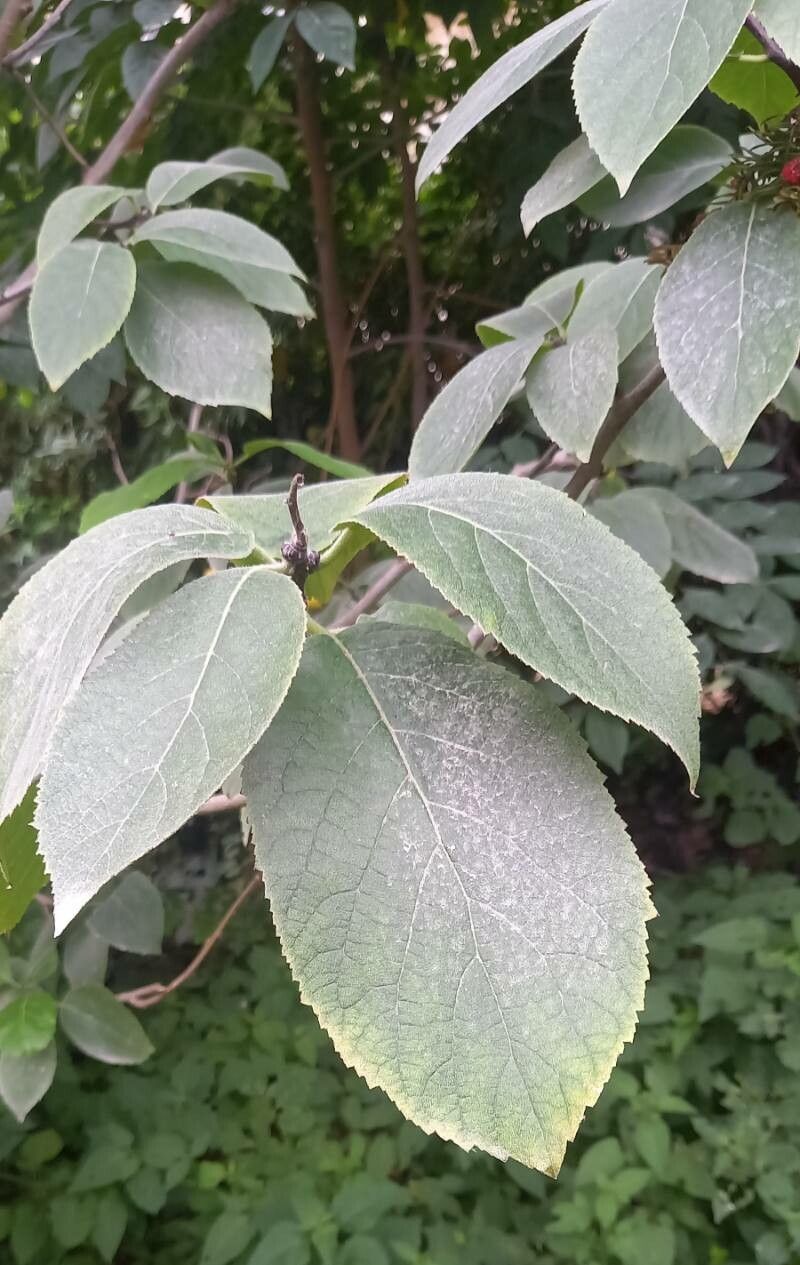
Hello there, fellow plant enthusiasts! It’s so lovely to have you join me in my little corner of the garden world. Today, we’re going to talk about a truly delightful subject: Ehretia dicksonii. If you haven’t met this gem yet, imagine a shrub that’s a quiet achiever – it offers beautiful clusters of white, fragrant flowers that bees absolutely adore, followed by attractive dark berries. It’s a plant that brings understated elegance to any garden, and the reward of growing your own from scratch? Priceless!
Now, a little about ease: for those of you just dipping your toes into propagation, Ehretia dicksonii is a wonderfully forgiving plant. You’ll likely find it easier than some of those fussier specimens out there. It’s a great one to start with, and I think you’ll be thrilled with your success.
The Best Time to Start
When it comes to Ehretia dicksonii, timing is everything for those plump, happy roots. I find the absolute best time to take cuttings is in late spring to early summer. This is when the plant is actively growing, full of vigor, and has plenty of semi-hardwood to offer. Think of it as the plant reaching its peak – perfect for sharing!
Supplies You’ll Need
Before we get our hands dirty, let’s gather our tools. Here’s what I always have on hand:
- Sharp Pruning Shears or a Knife: Clean cuts are crucial for healthy rooting.
- Rooting Hormone: A small amount can make a big difference. I prefer a powder form, but liquid works too.
- Potting Mix: A light, well-draining blend is key. I like to mix equal parts peat moss and perlite, or you can use a good quality seed-starting mix.
- Small Pots or Trays: Clean containers are a must to prevent disease.
- Watering Can or Mister: Gentle watering is important.
- Plastic Bags or a Propagation Dome: To create a humid environment.
- Labels: Trust me, you’ll thank yourself later!
Propagation Methods
We’re going to focus on the most reliable method for Ehretia dicksonii: stem cuttings. It’s straightforward and very effective.
Step 1: Taking the Cuttings
On a nice day, head out to your Ehretia. Look for healthy, current season’s growth that has started to firm up a bit – not too soft and leafy, and not woody. You’re looking for semi-hardwood cuttings. Using your clean shears, take cuttings that are about 4-6 inches long. Try to get them from the tip of a branch.
Step 2: Preparing the Cuttings
Once you have your cuttings, it’s time to get them ready for their new life. Gently remove the lower leaves, leaving only two to four leaves at the very top. If any of the remaining leaves are very large, you can cut them in half horizontally. This reduces water loss while still allowing photosynthesis.
Step 3: Applying Rooting Hormone
Now for the magic! Dip the cut end of each cutting into rooting hormone. Gently tap off any excess. You want a light coating, not a thick glob.
Step 4: Planting the Cuttings
Fill your small pots with your prepared potting mix. Make a small hole in the center of the soil with a pencil or your finger. Carefully insert the dipped end of the cutting into the hole, ensuring the rooting hormone stays on the cut end. Gently firm the soil around the base of the cutting to ensure good contact.
Step 5: Creating a Humid Environment
This is a critical step! Water the soil gently until it’s moist but not waterlogged. Then, cover the pot with a clear plastic bag or pop on a propagation dome. This creates that essential humid environment that helps cuttings develop roots. You can also loosely tent a plastic bag over individual cuttings stuck in a larger tray.
The “Secret Sauce” (Pro Tips)
Here are a few little tricks I’ve learned over the years that can really boost your success:
- Bottom Heat is Your Friend: If you can, place your pots on a heated propagation mat. This gently warms the soil, encouraging faster root development. It’s like a cozy little spa day for your cuttings!
- Don’t Let Those Top Leaves Drip: Pay attention to your bagged cuttings. If the leaves are touching the inside of the plastic, it can encourage rot. Gently prop up the bag or trim leaves slightly if needed.
- Patience, Young Grasshopper! I know it’s tempting to lift and peer, but resist the urge to tug on the cuttings. You want to leave them undisturbed for at least 4-6 weeks, sometimes longer. You’ll know roots are forming when you see new leaf growth or gently feel resistance if you very carefully tug.
Aftercare & Troubleshooting
Once you see healthy new growth and feel that resistance when giving a gentle tug, it’s time for the next stage!
Acclimating Your New Plant: Gradually remove the plastic bag or dome over a week or two. Start by opening it for a few hours each day. This allows your new plant to adjust to normal humidity levels.
Watering: Keep the soil consistently moist but not soggy. As the plant grows, you can introduce it to its permanent pot or nursery location. Use a well-draining soil mix for its final home too.
Troubleshooting: The most common issue you’ll face is rot. This usually happens when the soil is too wet and there isn’t enough air circulation. If you see cuttings turning black or mushy, unfortunately, they’re likely beyond saving. The best prevention is good drainage, proper watering, and that crucial humid environment without over-saturation.
So there you have it! Propagating Ehretia dicksonii is a journey well worth taking. Don’t be discouraged if your first attempts aren’t perfect. Every gardener has lost a cutting or two – it’s part of the learning curve! Just keep at it, enjoy the process of nurturing new life, and soon you’ll have a whole garden full of these lovely plants. Happy propagating!
Resource:
https://identify.plantnet.org/k-world-flora/species/Ehretia%20dicksonii%20Hance/data