Oh, hello there! It’s so lovely to have you drop by my little corner of the garden world. Today, we’re diving into the joyful practice of making more of a plant I absolutely adore: Phygelius aequalis, also known as the Cape Fuchsia.
Why Phygelius is Worth Getting to Know
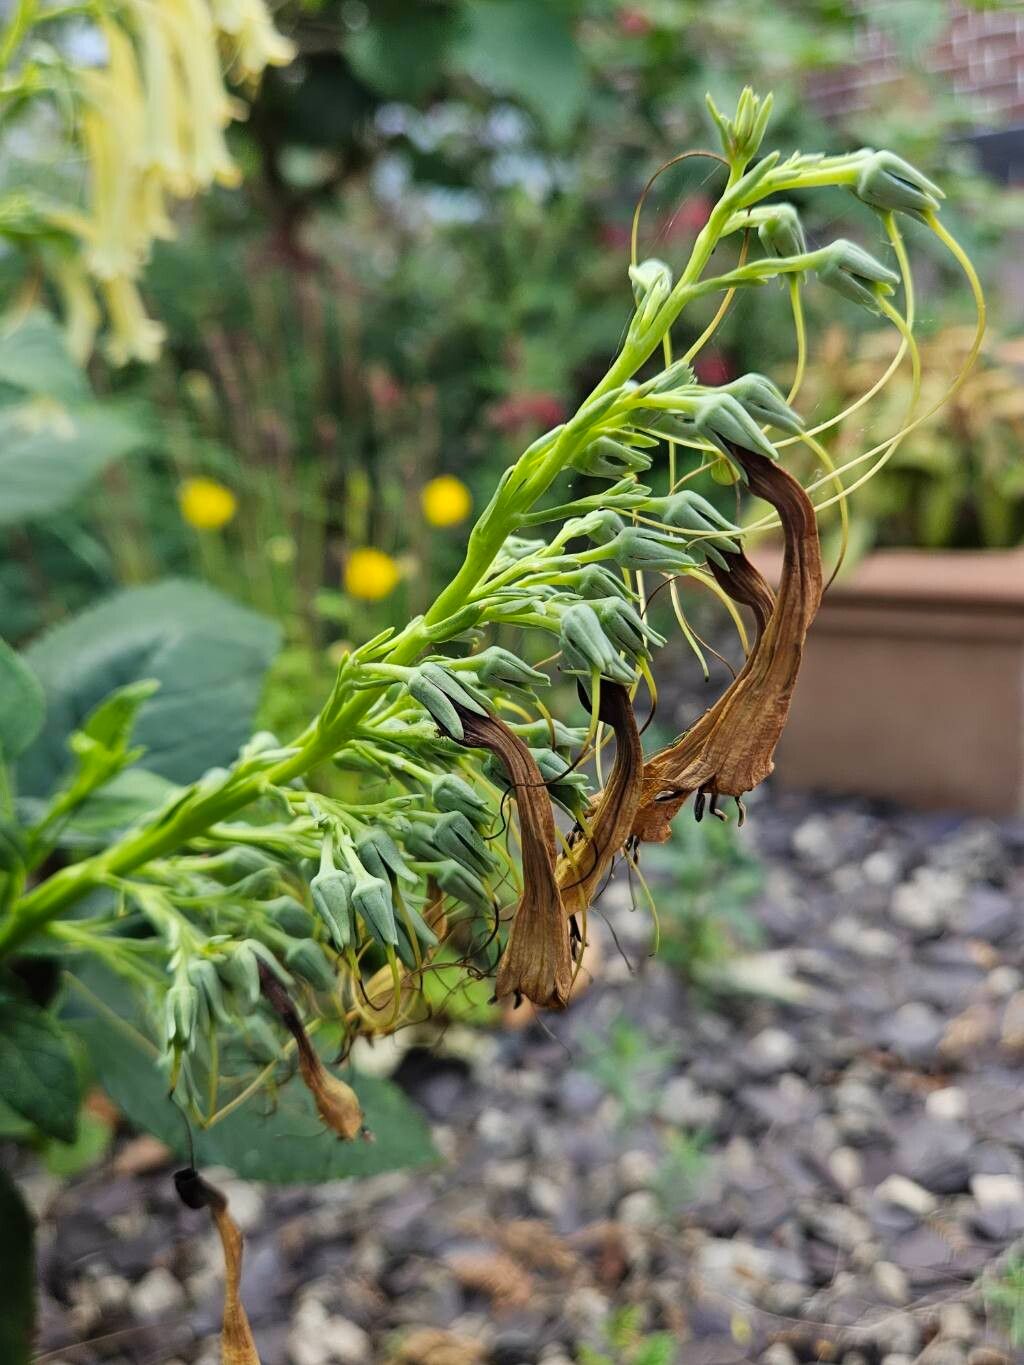
These beauties are just delightful! With their spires of vibrant, tubular flowers in shades of coral, salmon, and crimson, they attract hummingbirds and bees like no other. They bring a splash of effortless summer color to the garden and look fantastic in drifts or as a striking focal point. And the best part? They’re surprisingly generous when it comes to sharing their offspring. For us plant enthusiasts, propagating is not just about getting more plants; it’s about the satisfaction of nurturing life, of understanding the intricate magic of growth. Honestly, I find Phygelius to be a very rewarding plant to propagate, even for those new to the gardening game. You’ll likely have great success!
When to Get Your Hands Dirty
The sweet spot for propagating Phygelius is when the plant is in its active growing season, which generally means late spring through mid-summer. You’re looking for stems that are semi-hardwood – not the brand new, floppy green shoots, and not the old, woody growth from last year. Think of that stage where the stem is firm but still has a bit of flexibility to it. This gives the cuttings the best chance to root.
All Your Propagation Tools
You won’t need a lot of fancy gear, just a few essentials:
- Sharp Pruning Shears or a Clean Knife: For making those precise cuts.
- Rooting Hormone (Optional but Recommended): A good quality rooting powder or gel really gives your cuttings a boost.
- Well-Draining Potting Mix: I find a good blend of equal parts peat moss (or coir) and perlite works wonders. You can also buy specific seed starting or cutting mixes.
- Small Pots or Trays: Clean pots are a must to prevent disease.
- Plastic Bags or a Propagator: To create a humid environment.
- Watering Can with a Fine Rose: For gentle watering.
- Labels: To remember what you’ve planted and when!
Let’s Get Propagating!
There are a couple of fantastic ways to make more Phygelius, and I find stem cuttings to be the most reliable and straightforward.
Method: Stem Cuttings
- Take Your Cuttings: On a bright morning, select healthy, semi-hardwood stems that are about 4-6 inches long. Using your clean pruners or knife, make a clean cut just below a leaf node. A leaf node is that little bump where a leaf grows from the stem – that’s where the magic happens, where roots will emerge.
- Prepare the Cuttings: Gently remove the lower leaves from the cutting, leaving just the top two or three leaves. If the remaining leaves are very large, you can even cut them in half horizontally. This reduces water loss through transpiration.
- Apply Rooting Hormone (If Using): Dip the cut end of the stem into your rooting hormone. Gently tap off any excess.
- Pot Them Up: Fill your clean pots or trays with your well-draining potting mix. Make a small hole with a pencil or your finger in the center of the mix.
- Insert the Cuttings: Carefully place the prepared cutting into the hole, ensuring the leaf nodes are buried, as this is where roots will form. Gently firm the soil around the base of the cutting.
- Water Gently: Water the pots thoroughly with your fine-rose watering can. You want the soil to be moist but not waterlogged.
- Create Humidity: Cover the pots with a clear plastic bag, or place them in a propagator. This creates a mini-greenhouse effect, keeping humidity high and preventing the cuttings from drying out. Make sure the leaves aren’t touching the plastic if possible; you can use little sticks to prop it up if needed.
- Find a Cozy Spot: Place your pots in a bright spot with indirect light. Avoid direct sun, which can scorch the tender cuttings. A warm windowsill is often ideal.
Method: Division (A Bit Less Common for Cuttings, But Works for Established Plants)
If you have a mature, well-established Phygelius, you can also divide it.
- Dig Up Carefully: In the dormant season (late fall or early spring before new growth starts), carefully dig up the entire plant.
- Separate the Roots: Gently pull apart the root ball into smaller sections. Look for sections that have healthy roots and at least a few shoots. You might need a clean spade or knife to help with stubborn divisions.
- Replant Immediately: Replant these divisions into their new spots in the garden or into pots, watering them in well.
The “Secret Sauce” – Insider Tips
Working with plants for years, you learn a few little tricks! Here are a couple that have really made a difference for me with Phygelius:
- Bottom Heat is Your Friend: If you have the option, providing a gentle bottom heat from a heat mat can significantly speed up root development. Roots love warmth! Just keep the ambient air temperature moderate.
- Don’t Over-Water, But Keep Them Moist: This is crucial. Cuttings want moisture, but they hate sitting in soggy soil. Root rot is the number one enemy. When you water, let the top of the soil dry out slightly between waterings. The plastic bag helps retain initial moisture, so you might not need to water for a while.
- Patience with the Leaves: If your cuttings dehydrate a bit and the leaves start to droop, don’t despair immediately. As long as the stem is still firm and green, they might perk up once they start rooting and can access water.
Aftercare and What to Watch For
Once your cuttings have developed a good root system – you’ll know when you gently tug on them and feel resistance, or see roots emerging from the drainage holes – it’s time for them to move up!
- Potting Up: Carefully transplant your rooted cuttings into their own small pots filled with a good quality potting mix.
- Acclimatize: Gradually remove the plastic bag or open the propagator vents over a few days to help your new plants adjust to normal humidity levels.
- Watering: Water them regularly, keeping the soil consistently moist but not sodden. As they grow, you can start feeding them with a diluted liquid fertilizer every few weeks during the growing season.
Troubleshooting:
- Wilting or Drooping: This is usually a sign of underwatering or too much direct sun. Check the soil moisture. If they’re drooping and the soil is wet, they might be getting too much sun or have a fungal issue.
- Black Stem or Mushy Base: This is a sure sign of root rot, often caused by overwatering or poor drainage. Unfortunately, a cutting with rot is unlikely to recover. Discard it and start again, being more careful with watering next time.
- No Growth: Some cuttings just take their time! If after several weeks there’s no sign of rooting, don’t give up hope too soon. Sometimes they’re just slow starters.
Happy Propagating!
And there you have it! Making more of these wonderful Cape Fuchsias is a simple pleasure, a rewarding journey that connects you more deeply with your garden. Be patient with the process, don’t be afraid to experiment, and most importantly, enjoy the satisfaction of nurturing a new plant into life. Happy gardening!
Resource:
https://identify.plantnet.org/k-world-flora/species/Phygelius%20aequalis%20Harv.%20ex%20Hiern/data