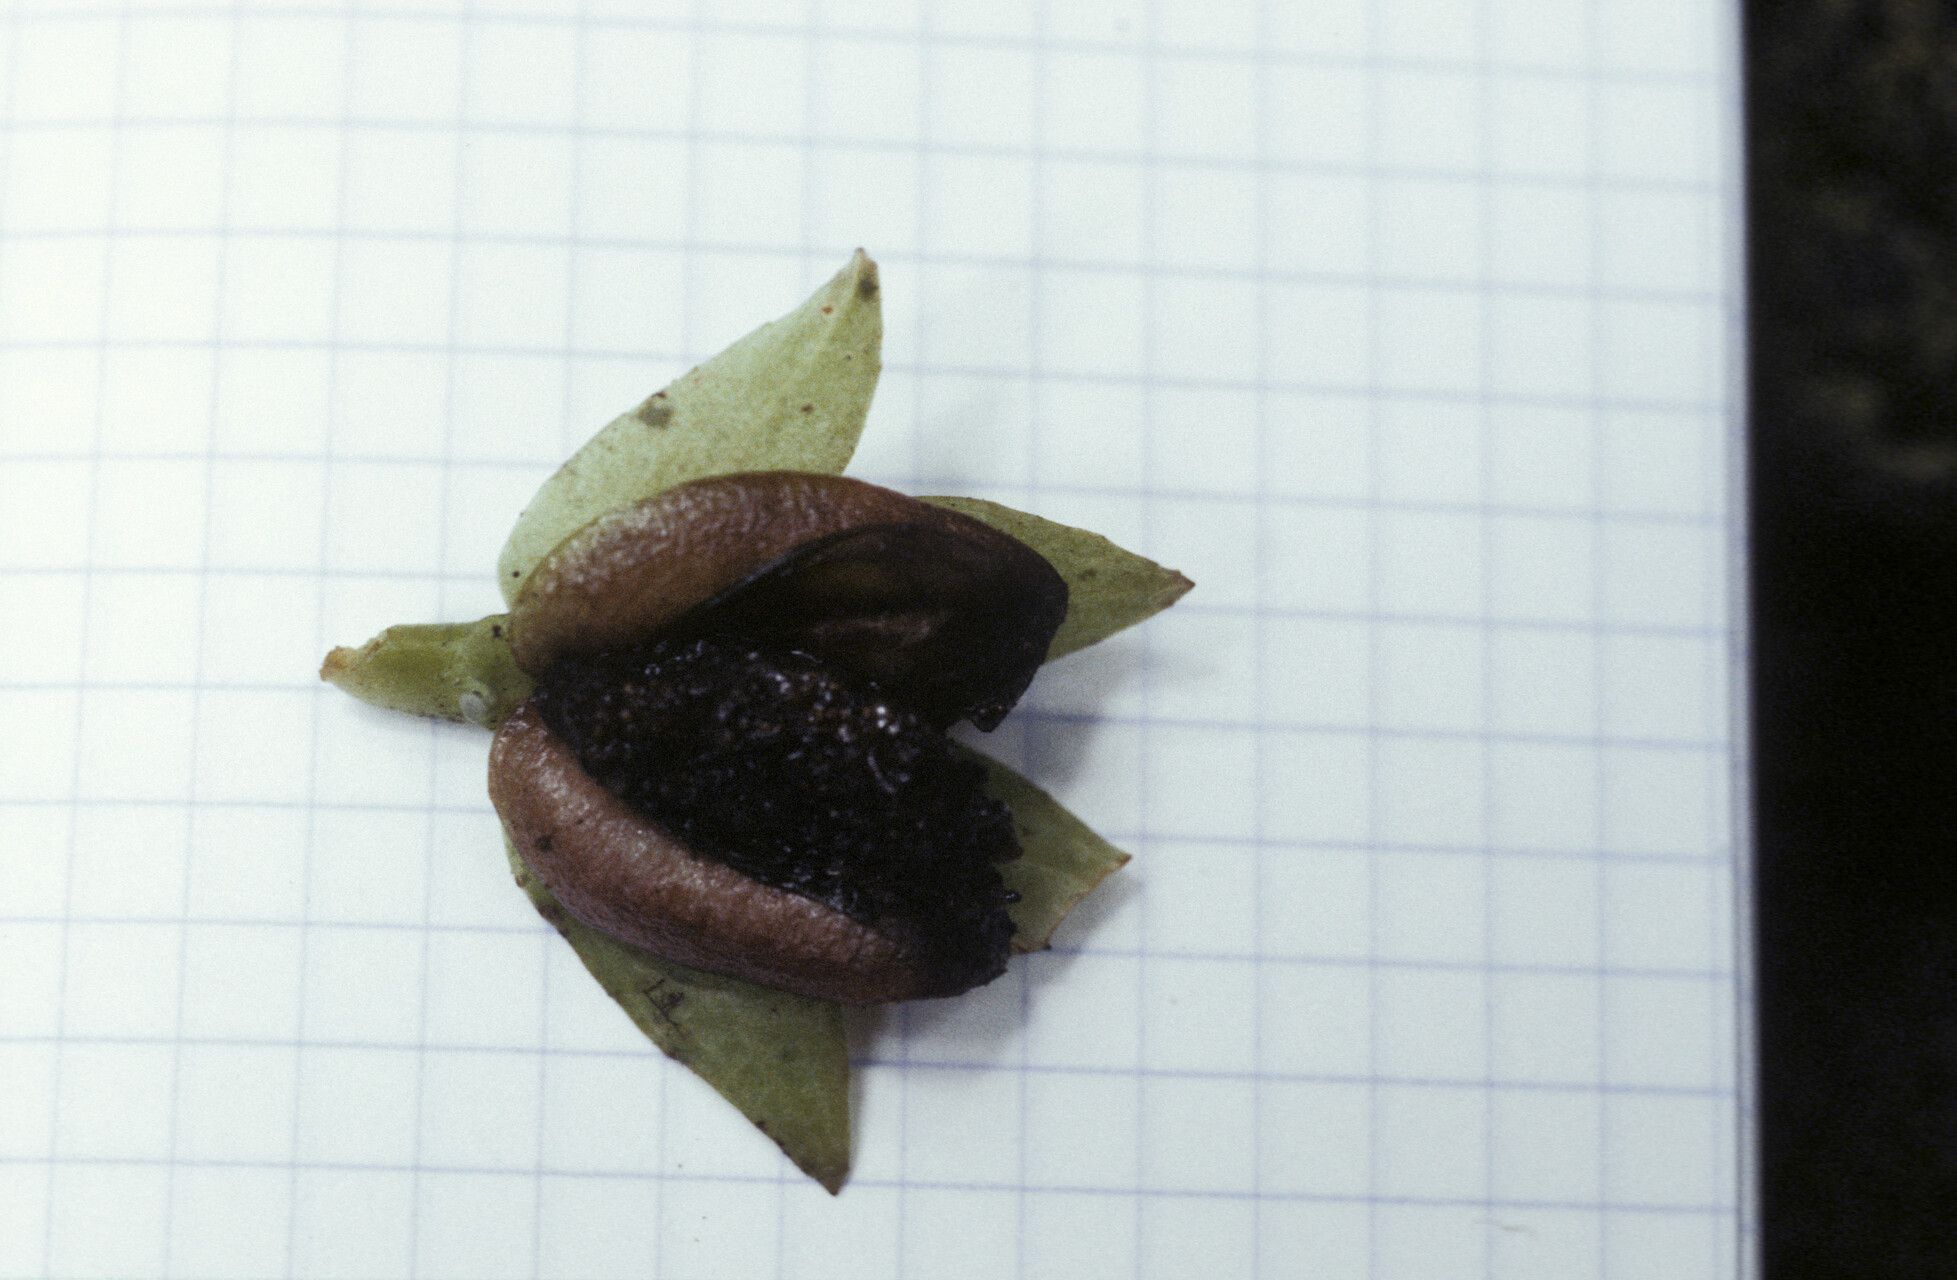
Oh, hello there! So you’ve fallen for the charm of Drymonia psilocalyx, have you? I get it. Those velvety leaves and the potential for a cascade of delicate flowers are just utterly captivating. It’s a real treat to have one of these beauties gracing your home, and let me tell you, sharing that joy by propagating your own is incredibly rewarding. You’ll be expanding your collection, or perhaps gifting a little piece of living art to a friend. Now, honestly, for a beginner? Drymonia psilocalyx is moderately easy to propagate. It’s not foolproof, but with a little attention, you’ll do wonderfully.
The Best Time to Start
For the highest success rate with Drymonia psilocalyx, I always recommend working with it during its most vigorous growth period. That’s typically late spring through summer. You’re looking for healthy, new growth – the kind that looks plump and full of life. Avoid taking cuttings from woody, old stems or from a plant that’s stressed, perhaps from drought or pests. A happy plant makes for happy babies!
Supplies You’ll Need
Here’s what you’ll want to have on hand to set yourself up for success:
- Sharp Pruning Shears or a Craft Knife: Clean cuts are essential for preventing disease. I prefer a really sharp pair of small shears.
- Rooting Hormone (Optional but Recommended): A good quality rooting powder or gel will significantly boost your chances of root development. Look for one with a moderate IBA concentration.
- Well-Draining Potting Mix: A good blend for this is a mix of peat moss or coco coir, perlite, and a bit of orchid bark. You want it to hold some moisture but drain freely. I often use about a 2:1:1 ratio.
- Small Pots or Containers: Clean 3-4 inch pots are perfect for starting out.
- Clear Plastic Bags or a Humidity Dome: This will create a mini-greenhouse environment.
- Watering Can with a Fine Rose: Gentle watering is key, especially when you’re just starting out.
- A Labeling System: Biodegradable plant tags and a waterproof marker are lifesavers!
Propagation Methods
I find that stem cuttings are the most reliable way to go for Drymonia psilocalyx. It’s straightforward and generally yields great results.
- Select Your Cuttings: Gently inspect your healthy, mature Drymonia psilocalyx and choose a stem that has at least two or three sets of leaves. You’re looking for a stem that’s pliable and actively growing, not stiff and woody.
- Make the Cut: Using your clean, sharp shears, make a cut just below a leaf node. This is the little bump on the stem where a leaf is growing – it’s a prime spot for root development. Aim for cuttings about 3-5 inches long.
- Prepare the Cutting: Gently remove the lower leaves from your cutting, leaving just the top one or two leaves intact. If the remaining leaves are very large, you can even cut them in half horizontally. This reduces water loss from the leaf surface while still allowing for photosynthesis.
- Apply Rooting Hormone (If Using): Dip the cut end of the stem into your rooting hormone, tapping off any excess.
- Potting Up: Fill your clean small pots with your prepared potting mix. Make a small pilot hole in the center of the mix with your finger or a pencil. This prevents the rooting hormone from being rubbed off.
- Plant Your Cutting: Insert the cut end of your Drymonia psilocalyx cutting into the pilot hole, ensuring it’s deep enough to stand upright. Gently firm the soil around the base.
- Water Gently: Water your potted cutting thoroughly but gently. You want the soil to be evenly moist, not waterlogged.
- Create a Humid Environment: Place the potted cutting inside a clear plastic bag, sealing it loosely around the pot, or cover it with a humidity dome. This is crucial for maintaining consistent humidity, which Drymonia psilocalyx absolutely loves for rooting.
- Find the Right Spot: Place your potted cuttings in a warm location with bright, indirect light. Avoid direct sun, as this can scorch the delicate cuttings.
The “Secret Sauce” (Pro Tips)
Here are a couple of things I’ve learned over the years that really make a difference:
- The Bottom Heat Trick: Drymonia psilocalyx just adores a bit of warmth from below, especially in the beginning. Setting your pots on a heat mat designed for plant propagation can dramatically speed up root formation. It mimics the warmth they’d get from the soil surface in their natural habitat.
- Don’t Drown Your Dreams: While they love humidity, soggy soil is the enemy of cuttings. If you find water pooling at the bottom of your pots or the soil is consistently sodden, let it dry out slightly between waterings. You can even carefully tilt the pot to let excess water drain away.
Aftercare & Troubleshooting
Once your Drymonia psilocalyx cuttings have developed roots – and you’ll know this when you see new leaf growth and feel a gentle tug when you try to lift the cutting – it’s time for slightly more regular care.
- Gradual Acclimation: Before you remove the plastic bag entirely, gradually acclimate your new plant to lower humidity. Start by opening the bag for a few hours each day.
- Continue Bright, Indirect Light: Keep them in the same bright, indirect light they’ve been enjoying.
- Watering: Water when the top inch of soil feels dry to the touch.
- Repotting: Once the plant has a good root system and is actively growing, you can transition it to a slightly larger pot with fresh, well-draining soil.
Troubleshooting: The most common issue you’ll encounter is rot. This usually happens if the cuttings are kept too wet. You’ll see the stem turn mushy and black, often near the soil line. If you spot this, unfortunately, that cutting is likely lost. The best prevention is to ensure good drainage and avoid overwatering. Sometimes, cuttings just fail to root. Don’t get discouraged! It happens. It might mean the cutting wasn’t healthy enough, or the conditions weren’t quite right. Just try again!
A Encouraging Closing
So there you have it! Propagating Drymonia psilocalyx is a rewarding journey. Be patient with your little cuttings. Plant magic takes time, and the satisfaction of nurturing a new plant from a tiny piece of your beloved Drymonia is truly something special. Enjoy the process, and happy gardening!
Resource:
https://identify.plantnet.org/k-world-flora/species/Drymonia%20psilocalyx%20Leeuwenb./data