Oh, hello there! Grab a cup of something warm, and let’s chat about one of my absolute garden favorites: Phlomis russeliana, or Jerusalem Sage, as it’s sometimes called.
A Jewel for the Garden
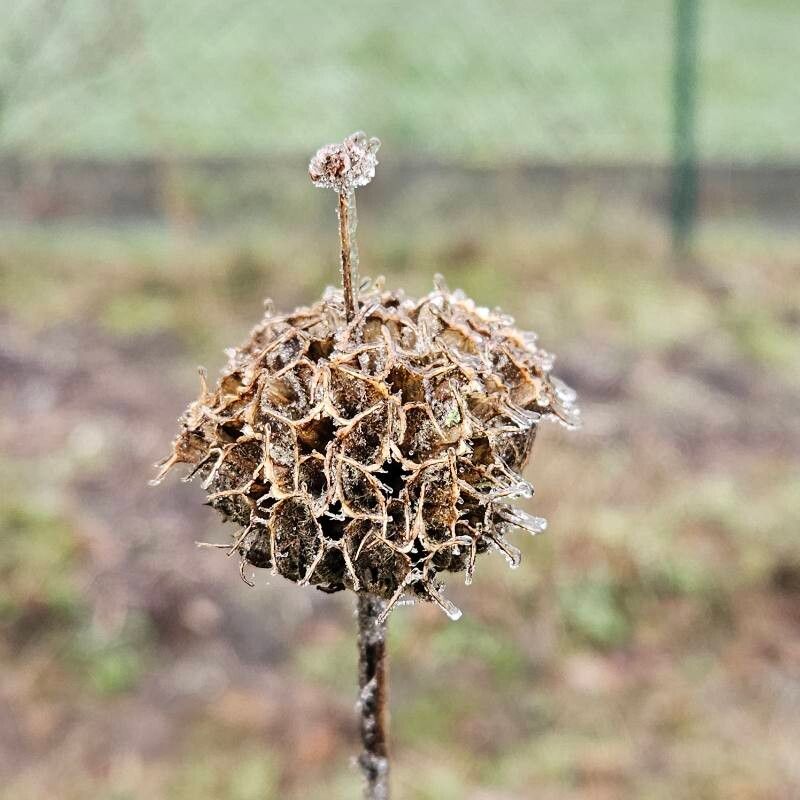
I’m utterly charmed by Phlomis russeliana. Its whorls of fuzzy, sage-green leaves create a lovely texture, and the architectural spikes of creamy yellow flowers that rise above them in summer are just stunning. They have a wonderfully architectural quality that adds structure and interest, even when they’re not in bloom. Plus, they’re champions in my drier perennial beds, needing very little fuss once established.
And the best part? Propagating them is a truly rewarding experience. Watching a small cutting or division unfurl new growth and eventually become a thriving plant is a gardener’s quiet joy. For those just starting out, I’d say Phlomis russeliana is moderately easy to propagate. It won’t always be a slam dunk, but with a little attention, you’ll likely have success.
When to Get Your Hands Dirty
The real sweet spot for propagating Phlomis russeliana is late spring to early summer, right as the plant is in its active growth phase. You’re looking for new, pliable stems that haven’t yet become woody and stiff. This is when they have the most energy and are best equipped to form roots.
Your Propagation Toolkit
Before we dive in, let’s gather our supplies. Think of it as prepping your craft table!
- Sharp Pruning Shears or a Craft Knife: For clean cuts, which are crucial.
- A Good Quality Potting Mix: I love a mix that drains well. A blend of potting soil, perlite, and a bit of sharp sand works wonders.
- Small Pots or Seed Trays: Clean ones, please!
- Rooting Hormone (Optional but Recommended): A little boost never hurt anyone. Powder or gel will do.
- A Watering Can with a Fine Rose: To water gently.
- Labels and a Marker: So you don’t forget what’s what!
- A Plastic Bag or Propagator (Optional): To create a humid environment.
Let’s Get Propagating!
There are a couple of ways you can bring new Phlomis plants to life.
Method 1: Stem Cuttings (My Go-To!)
This is my favorite method for Phlomis, and often yields the most.
- Select Your Stems: Look for those nice, firm but not yet woody young shoots from the current year’s growth. They should be about 4-6 inches long.
- Make the Cut: Using your sharp pruning shears or knife, make a clean cut just below a leaf node (where a leaf attaches to the stem). This is where the magic happens for rooting.
- Prepare the Cutting: Gently remove the lower leaves, leaving just a couple of leaves at the very tip. If the remaining leaves are quite large, you can snip them in half to reduce water loss.
- Dip in Rooting Hormone (Optional): If you’re using rooting hormone, moisten the cut end of the stem and dip it into the hormone powder or gel. Tap off any excess.
- Pot Them Up: Fill your clean pots or trays with your well-draining potting mix. Make a small hole with your finger or a pencil.
- Insert the Cuttings: Gently push the prepared cuttings into the holes, ensuring the nodes where you removed the leaves are submerged in the soil. Firm the soil gently around them.
- Water Gently: Give them a good, gentle drink. The soil should be moist but not waterlogged.
- Create a Humid Environment (Optional): You can place a clear plastic bag over the pot, supported by a couple of sticks so it doesn’t touch the leaves, or pop the pots into a propagator. This keeps the humidity high, which is excellent for rooting. Place them in a bright spot, but out of direct, harsh sunlight.
Method 2: Division (When It’s Time to Tidy Up)
If your Phlomis is getting a bit large and bushy, or you’re just dividing it to keep it in check, this is a great way to multiply your plants.
- Dig Carefully: In late spring or early autumn (though spring is generally better for division), carefully dig around the base of your established plant. You want to lift the whole clump.
- Inspect the Roots: Gently shake off some of the excess soil to expose the root ball. See how the plant has grown into sections?
- Divide the Clump: Using your hands, a spade, or even two forks pushed back-to-back into the root ball, separate the plant into smaller sections. Each division should have a healthy portion of roots and some leafy shoots.
- Replant Immediately: Replant the main clump if it’s still a good size, or pot up the divisions into containers or directly into their new garden spots. Ensure they are planted at the same depth they were growing before.
- Water Thoroughly: Give them a good watering to help settle the soil and reduce transplant shock.
The “Secret Sauce” from My Garden
Now, for a couple of bits of wisdom I’ve picked up over the years.
- Don’t Let the Leaves Touch the Water (for cuttings): If you’re using a setup where cuttings might be partially submerged in water (like some propagation methods), make sure the leaves are always above the waterline. Rot happens fast when leaves sit in stagnant water.
- Bottom Heat is Your Friend: For stem cuttings, a little warmth from below can make a huge difference. A heated propagator or even placing your pots on a heat mat designed for seedlings will encourage those roots to form much more quickly. If you don’t have anything fancy, just keeping them in a warm spot indoors can help!
Aftercare and What to Watch For
Once your cuttings have taken root (you’ll know when you see new leaf growth and they feel firm when gently tugged), or your divisions are replanted and settled, it’s time for gentle care.
- Watering: Continue to water them regularly, but allow the top inch of soil to dry out slightly between waterings. Avoid overwatering, as this is a common culprit for root rot.
- Light: Keep them in bright, indirect light. As they grow stronger, you can gradually introduce them to more sunlight, but always harden them off before planting them out in their final garden spot.
- Potting Up: Once your cuttings have a good root system and are growing well, you can pot them into slightly larger containers.
What if things go wrong? The most common issue is rot. If your cuttings look limp, mushy, or develop black spots, it’s usually a sign of too much moisture and not enough air circulation. Unfortunately, the affected parts rarely recover. If you notice this, you might need to take fresh cuttings from a healthy part of the parent plant and adjust your watering and humidity levels.
Happy Growing!
Propagating Phlomis russeliana is such a satisfying part of gardening. Be patient, enjoy the process, and soon you’ll have a whole army of these beautiful plants to dot around your garden or share with friends. Happy growing!
Resource: