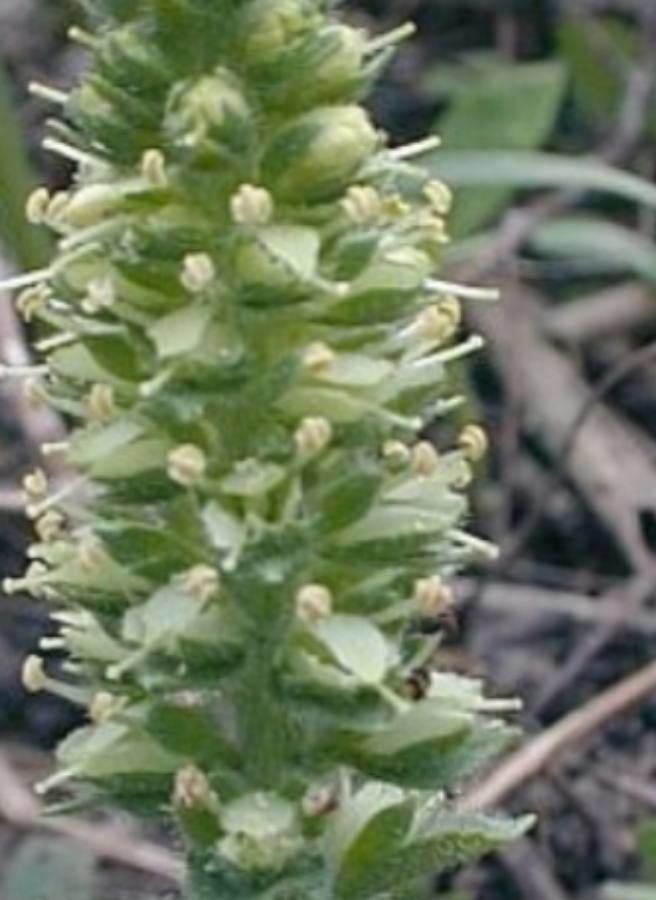
Hello fellow garden lovers! Today, we’re diving into the delightful world of Veronica, specifically Veronica bullii. Isn’t it a charmer? Those spires of lavender-blue flowers, dotting the garden with their gentle presence, always bring a smile to my face. And the best part? You can easily multiply this beauty and share it with friends, or just fill every corner of your own patch!
Now, I know some plants can be a bit fussy, but I’m happy to report that Veronica bullii is generally quite forgiving. Even if you’re just starting on your propagation journey, you’ll likely find this a rewarding plant to work with. It’s a wonderful way to get more of what you love for free!
The Best Time to Start
For the highest success rate with Veronica bullii, I always encourage my friends to begin in late spring to early summer. This is when the plant is actively growing and has plenty of energy to put into producing new roots. Look for stems that are firm but not yet woody. Soft, floppy stems often won’t make it, and overly woody ones can be slow to root.
Supplies You’ll Need
Before we get our hands dirty, let’s gather our tools. Having everything ready makes the process so much smoother!
- Sharp pruning shears or a clean, sharp knife: For taking clean cuts.
- Rooting hormone (optional but helpful): A powder or gel to encourage root development.
- A well-draining potting mix: I like a blend of equal parts peat moss or coco coir and perlite or coarse sand.
- Small pots or trays: With drainage holes, of course!
- A small watering can or spray bottle: For gentle watering.
- Plastic bags or a clear propagation dome: To maintain humidity.
Propagation Methods
Veronica bullii is a champion when it comes to growing from stem cuttings. It’s my go-to method for this lovely plant.
Stem Cuttings
- Take Cuttings: In late spring or early summer, select healthy, non-flowering stems. Using your sharp shears, make a clean cut just below a leaf node (where a leaf attaches to the stem). Aim for cuttings that are about 4-6 inches long.
- Prepare the Cuttings: Gently remove the lower leaves, leaving only the top two or three. This prevents them from rotting in the soil and encourages the plant to focus its energy on rooting. If your cutting has any flowers or flower buds, pinch those off too.
- Apply Rooting Hormone (Optional): Dip the cut end of the stem into your rooting hormone. Tap off any excess.
- Plant the Cuttings: Fill your small pots with your prepared potting mix. Make a small hole in the center of the soil with a pencil or your finger. Insert the cut end of the Veronica cutting into the hole, ensuring at least one leaf node is below the soil surface. Firm the soil gently around the base of the cutting.
- Water and Cover: Water the soil thoroughly but gently. You want it to be moist, not soggy. Place the potted cuttings in a bright spot out of direct sunlight. To maintain high humidity, which is crucial for cuttings, cover the pots with a clear plastic bag or a propagation dome, or mist them regularly.
The “Secret Sauce” (Pro Tips)
Here are a few little tricks I’ve learned over the years that can really boost your success:
- Don’t let the leaves touch the water: If you find yourself doing a quick water propagation test (though I usually stick to soil for Veronica), make sure those lower leaves are completely out of the water. They’ll just rot and invite problems.
- Bottom heat is your friend: If you have a heat mat specifically for propagation, placing your pots on it can make a significant difference. It encourages root development from below, giving your cuttings that extra boost they need.
- Be patient with dormancy: Sometimes, cuttings might look like they aren’t doing anything for a while. Don’t give up! As long as they remain firm and green, there’s still hope. I’ve had cuttings surprise me after weeks of looking rather blah!
Aftercare & Troubleshooting
Once your Veronica cuttings have developed a good root system – you can gently tug on them and feel resistance, or you might see roots peeking out of the drainage holes – it’s time for a bit more dedicated care.
Transplanting: Carefully transplant your new Veronica babies into slightly larger pots with fresh potting mix. Continue to keep them in a bright, indirect light location.
Watering: Water them regularly, allowing the top inch of soil to dry out between waterings. As they grow stronger, you can gradually introduce them to more direct sunlight.
Troubleshooting: The most common issue you might encounter is rot. This usually happens if the soil is too wet, or if the humidity is too high and air circulation is poor. You’ll notice the stem turning mushy and brown, often at the soil line. If you see this, unfortunately, that cutting is likely lost. But don’t despair! Remove the affected cutting and adjust your watering and ventilation.
A Encouraging Closing
Remember, gardening is a journey, and propagation is one of its most rewarding adventures. Be patient with your little Veronica cuttings, and enjoy the process of nurturing them. Soon, you’ll have a whole garden full of these delightful blooms to admire and share! Happy propagating!
Resource: