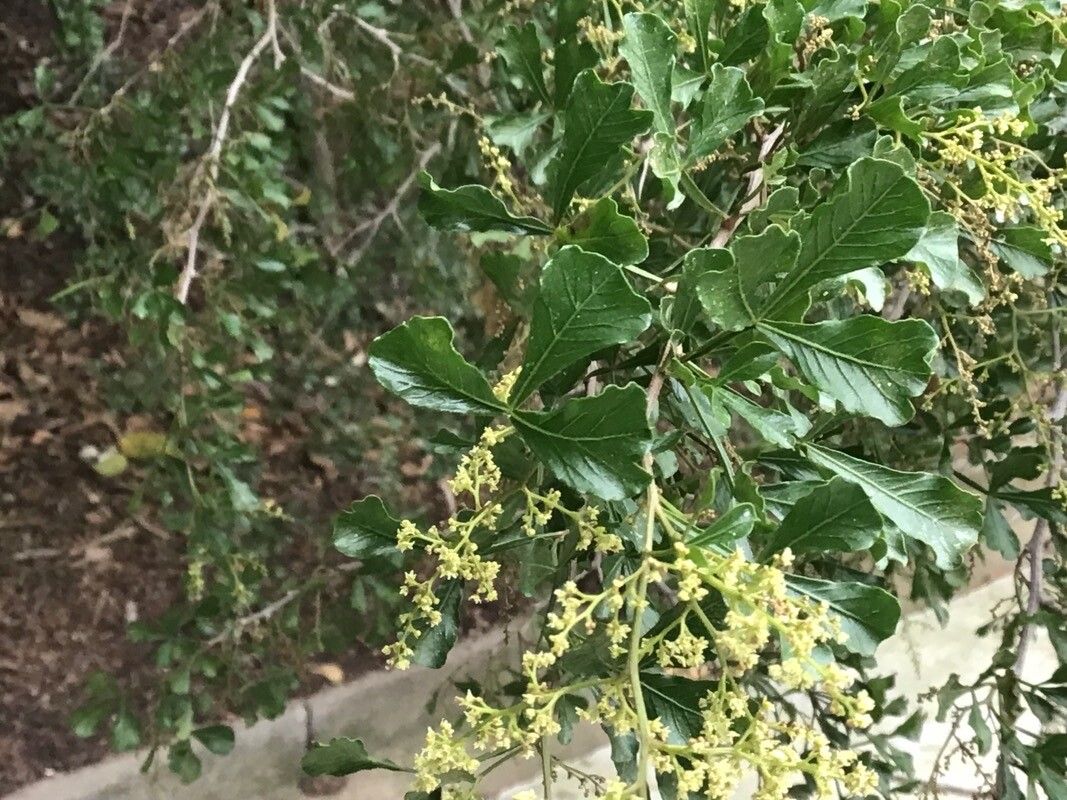
Oh, I’m so excited to talk about propagating Searsia rehmanniana with you today! This lovely South African native, often called “River Rhus” or “Whispering Rhus,” is a real gem. Its fine, almost fern-like foliage creates such a delicate, airy feel in the garden. Plus, the way it whispers in the breeze is just pure magic. And the best part? Being able to share that magic with friends or fill your own garden with more of these beauties is incredibly rewarding. Now, if you’re wondering if this is a beginner-friendly endeavor, I’d say it’s moderately easy. With a little care and attention, you’ll be well on your way.
The Best Time to Start
For the highest success rate with Searsia rehmanniana, I always recommend propagating during its active growing season. This typically means late spring through summer. The plant has plenty of energy at this time, which helps cuttings establish roots more quickly. Trying to propagate in the dead of winter is like asking a sleepy bear to run a marathon – it’s just not going to happen!
Supplies You’ll Need
Gathering your supplies beforehand makes the whole process so much smoother. Here’s what you’ll want on hand:
- Sharp, clean pruning shears or a sharp knife: For taking clean cuts.
- Rooting hormone (optional but recommended): Encourages faster root development.
- Seed starting mix or a well-draining potting mix: I like to mix about half potting soil with half perlite for excellent drainage.
- Small pots or trays: With drainage holes, of course!
- Watering can with a fine rose or a spray bottle: For gently watering.
- Plastic bags or propagation domes: To create a humid environment.
- Patience! This is arguably the most important tool.
Propagation Methods
Searsia rehmanniana is a champion for propagation through stem cuttings. It’s tried and true, and usually gives fantastic results.
Method: Stem Cuttings
- Select healthy stems: Look for stems that are semi-hardwood – they should be firm but not woody. Think of a pencil that’s starting to harden up, but still has a bit of flexibility. You’ll want to take cuttings that are about 4-6 inches long.
- Make the cut: Using your sharp shears, make a clean cut just below a leaf node. This is where roots are most likely to form. Remove any flower buds or developing seeds, as these take energy away from root development.
- Prepare the cutting: Gently strip off the lower leaves, leaving only a few at the top. This prevents them from rotting when they’re in the soil or water.
- Apply rooting hormone (optional): If you’re using rooting hormone, dip the cut end into the powder or gel. Tap off any excess.
- Plant the cuttings:
- In pots: Make a small hole in your prepared potting mix with your finger or a pencil. Insert the cut end of the stem, ensuring at least one leaf node is below the soil surface. Gently firm the soil around the cutting.
- In water (my preferred method for Searsia): Fill a small jar or glass with clean water. Place the prepared cuttings in the water, making sure no leaves are submerged. The nodes should be in the water.
- Create humidity:
- For potted cuttings: Water the pot gently and then cover it with a clear plastic bag or a propagation dome. Prop the bag up with skewers so it doesn’t touch the leaves.
- For water cuttings: You can simply place the jar in a bright spot. No need for a bag unless your air is exceptionally dry.
The “Secret Sauce” (Pro Tips)
Now, let me share a couple of little tricks I’ve picked up over the years that really give your cuttings an edge.
- Bottom Heat is Your Friend: For cuttings in pots, placing them on a heated propagation mat can significantly speed up root development. It mimics the warmth of spring soil and just gives those root cells a gentle nudge to get going.
- Don’t Disturb the Babies: Once your cuttings are planted (especially those in pots), resist the urge to constantly tug at them to check for roots. They are surprisingly delicate at this stage. You’ll know they’re developing roots when you see new leaf growth appearing at the top. For water cuttings, you’ll see those tiny white rootlets emerge directly. It’s a beautiful sight!
Aftercare & Troubleshooting
Once you see those first signs of roots – usually new foliage or visible white root strands in water – it’s time to start easing them into their new life.
- Acclimatization: If you used a plastic bag, gradually introduce your cuttings to normal humidity over a week or so. Start by opening the bag for a few hours each day.
- Transplanting: When the roots are a couple of inches long, it’s time to transplant potted cuttings into slightly larger pots with their own soil. For water cuttings, wait until the roots are substantial before carefully moving them to a pot.
- Watering: Continue to keep the soil consistently moist but not waterlogged. Overwatering is the quickest way to invite root rot, which is probably the most common reason cuttings fail.
- Troubleshooting: If your cuttings start to yellow, wilt, and look limp, it can be a sign of overwatering and potential rot. If you see blackening at the base of the stem, that’s a definite sign of rot. Sometimes, if it’s caught early, you can try taking another cutting from a healthier section of the plant. If the leaves are drying and crisping up, it might be too dry, or they’re getting too much direct sun.
A Little Patience Goes a Long Way
Propagating Searsia rehmanniana is a wonderful way to connect with nature and expand your garden. Don’t get discouraged if your first few attempts aren’t perfect. Every gardener has had their share of failures – it’s all part of the learning process! Just keep observing, adjusting, and most importantly, enjoy the journey of nurturing these new beginnings. Happy propagating!
Resource:
https://identify.plantnet.org/k-world-flora/species/Searsia%20rehmanniana%20(Engl.)%20Moffett/data