Hey there, fellow plant lovers!
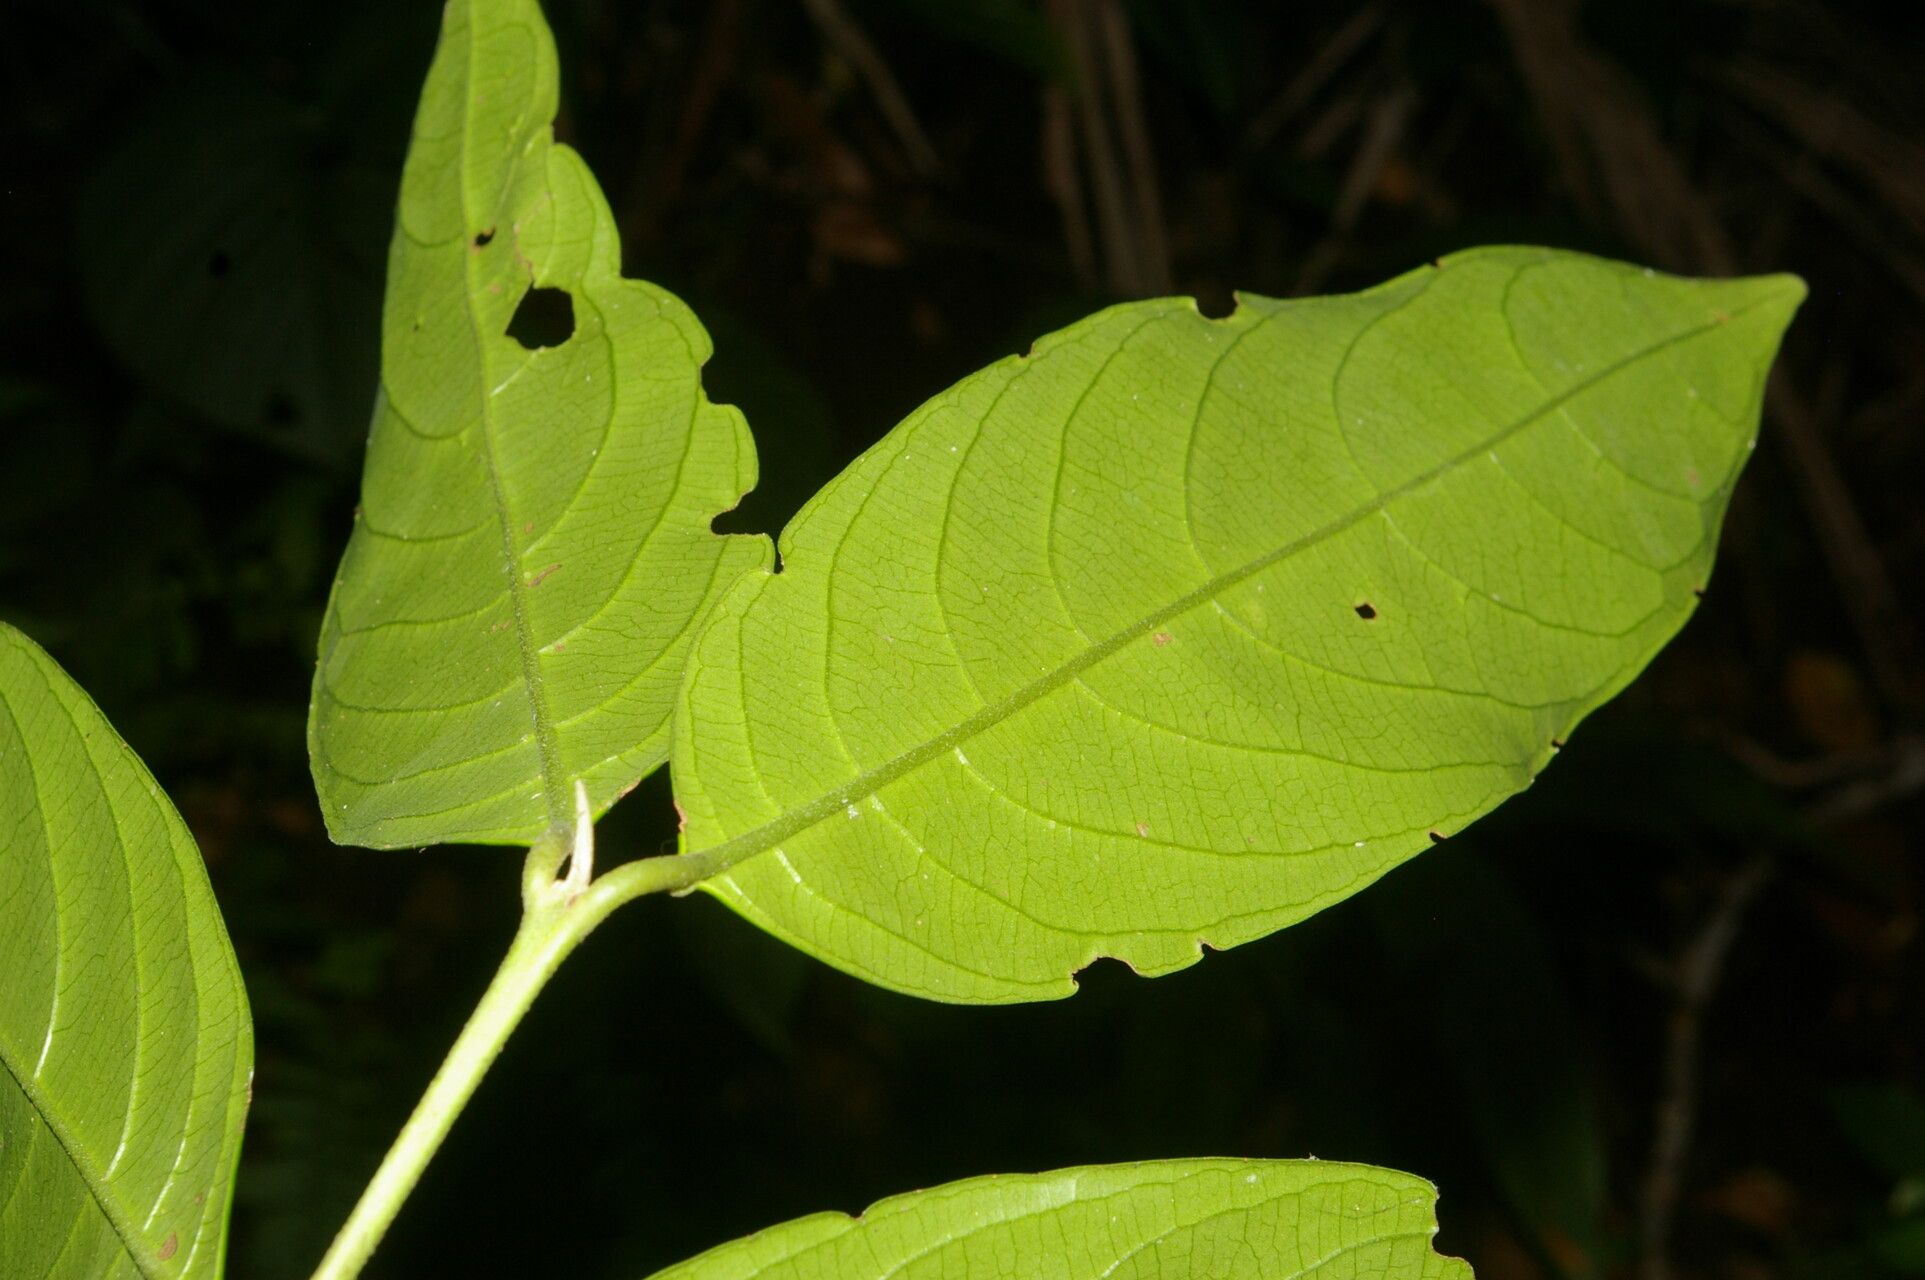
If you’ve ever fallen for the unique charm of Siparuna cuspidata, you know it’s a special kind of green. With its striking foliage and often fragrant leaves, this plant brings a bit of the exotic right into our homes and gardens. And the best part? You can easily multiply that beauty! Propagating Siparuna cuspidata is a wonderfully rewarding experience, letting you share its magic with friends or simply fill your space with more of its delightful presence. For many gardeners, it’s a pretty manageable process, even if you’re just dipping your toes into the world of propagation.
The Best Time to Start
When it comes to getting the most bang for your buck with Siparuna propagation, spring and early summer are your best friends. This is when the plant is actively growing and has plenty of energy to put into developing new roots. You’ll want to take cuttings from new, healthy growth that’s still a little bit soft and pliable, not woody and old. Think of it as grabbing a tender young shoot – that’s where the magic happens!
Supplies You’ll Need
Before we get our hands dirty, let’s make sure we have everything ready. A little preparation goes a long way!
- Sharp Pruning Shears or a Clean Knife: For making clean cuts.
- Rooting Hormone (Optional but Recommended): A powder or gel to encourage root development.
- Well-Draining Potting Mix: A blend of perlite, peat moss, and a bit of compost is ideal. You can also use a specialized seed-starting mix.
- Small Pots or Trays: With drainage holes, of course!
- Plastic Bag or Humidity Dome: To create a mini-greenhouse effect.
- Watering Can or Spray Bottle: For gentle watering.
Propagation Methods
Let’s dive into how we can bring more Siparuna into your life! Stem cuttings are usually the most successful approach for this lovely plant.
Stem Cuttings
This is my go-to method for Siparuna cuspidata. It’s straightforward and yields fantastic results.
- Select Your Cuttings: Find a healthy stem with at least a couple of sets of leaves. You want pieces that are about 4-6 inches long.
- Make the Cut: Using your sharp shears, make a clean cut just below a leaf node (where a leaf attaches to the stem). This is where roots tend to form most readily.
- Prepare the Cutting: Gently remove the lower leaves, leaving just one or two pairs at the top. If the top leaves are very large, you can even snip them in half to reduce water loss.
- Apply Rooting Hormone (Optional): If you’re using it, dip the cut end of the stem into your rooting hormone, tapping off any excess.
- Plant Your Cutting: Fill your small pots with your well-draining potting mix. Make a small hole in the center with your finger or a pencil and gently insert the cutting. Firm the soil around the base of the stem so it stands upright.
- Water Gently: Water thoroughly but avoid waterlogging the soil.
- Create a Humid Environment: Cover the pot with a plastic bag, tying it loosely around the pot’s rim, or use a humidity dome. Make sure the leaves aren’t touching the plastic. This is crucial for keeping the cutting hydrated while it develops roots.
- Provide Bright, Indirect Light: Place your potted cuttings in a location that receives plenty of bright, indirect light. Avoid direct sunlight, which can scorch the tender new growth.
Water Propagation (A Quick Alternative)
While stem cuttings in soil are generally more reliable for long-term success with Siparuna, you can try water propagation for a visual treat.
- Prepare the Cutting: Follow steps 1-3 from the stem cutting method.
- Place in Water: Put the prepared cutting in a clean jar or glass filled with fresh water. Ensure that the leaf nodes where you removed the leaves are submerged, but don’t let any leaves touch the water. This can lead to rot.
- Change Water Regularly: Change the water every few days to keep it fresh and oxygenated.
- Provide Light: Place the jar in a spot with bright, indirect light.
- Transplant When Ready: Once you see a good network of roots (at least an inch or two long), you can carefully transplant the cutting into a pot with well-draining soil, following the planting steps for stem cuttings.
The “Secret Sauce” (Pro Tips)
After years of chatting with plants, I’ve picked up a few tricks that seem to give my Siparuna cuttings a little extra boost.
- Bottom Heat is Your Friend: If you can, place your pots on a heating mat. This warmth encourages root development from below, like a gentle hug from Mother Earth. It really speeds things up!
- Don’t Be Afraid to Pinch: Once your cutting starts showing new growth, you might see tiny shoots appearing. Pinching off the very tip of the main stem can encourage the plant to branch out, giving you a bushier, fuller plant later on.
- The “Tap Test” for Readiness: When you gently tug on a cutting and feel resistance, that’s a good sign roots have formed! They’ve anchored themselves in the soil.
Aftercare & Troubleshooting
Patience is key here. Your cuttings might take anywhere from 3 to 8 weeks to develop roots. You’ll know they’re ready when you see new leaf growth popping out, or when they resist a gentle tug. Once roots have formed, you can slowly acclimate them to normal room humidity by gradually opening the plastic bag over a few days.
The most common issue you’ll encounter is rot. If your cutting turns black and mushy, it’s a sign of too much moisture and not enough air circulation or too much disease. Discard any rotting cuttings and make sure your soil is well-draining for the next attempt. Sometimes, if a cutting just won’t root, it might be the wrong time of year, the cutting wasn’t healthy enough, or it simply wasn’t meant to be. Don’t get discouraged – just try again!
A Encouraging Closing
Watching a new plant emerge from a simple cutting is one of the most magical parts of gardening. So, take a deep breath, gather your supplies, and give it a go. Be patient with your little Siparuna babies, celebrate each new leaf, and enjoy the process. Happy propagating!
Resource:
https://identify.plantnet.org/k-world-flora/species/Siparuna%20cuspidata%20(Tul.)%20A.DC./data