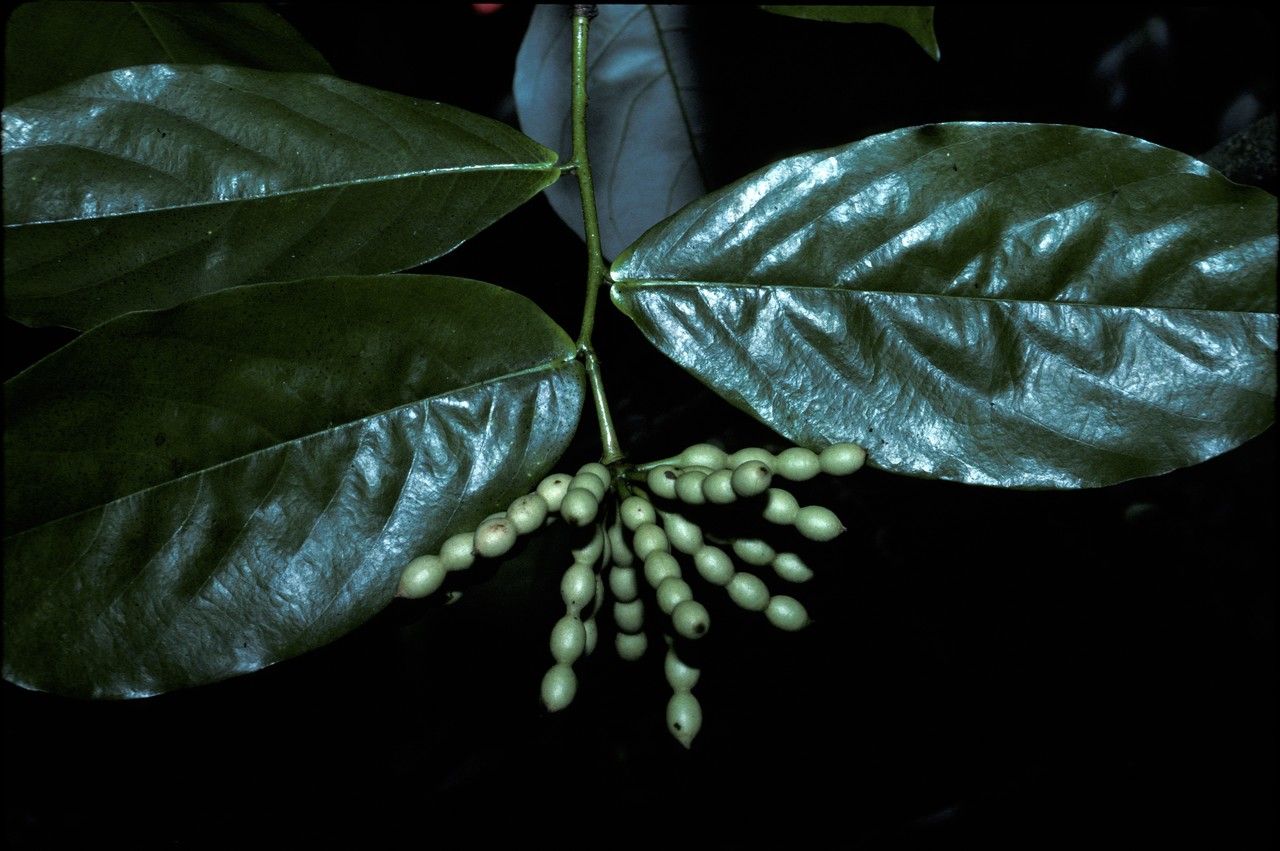
Oh, hello there! Pull up a chair and tell me, have you fallen under the spell of Dasymaschalon dasymaschalum? I certainly have. It’s one of those plants that just brings a little bit of quiet magic to the garden. With its delicate, often fragrant blossoms that appear seemingly out of nowhere, it’s truly a gem to behold. And the best part? You can share that magic by creating new plants of your own!
Now, before you get too excited, I’ll be honest. Dasymaschalon can be a little bit of a diva when it comes to propagating. It’s not the absolute easiest for a complete beginner, but with a bit of care and patience, you can absolutely achieve success. Think of it as a fun challenge to really hone your skills. The reward of seeing that tiny slip of a plant flourish is just incredible.
The Best Time to Start
For Dasymaschalon, I’ve found the sweet spot for taking cuttings is late spring to early summer. This is when the plant is actively growing, but the stems aren’t too soft and new. You want stems that have matured a bit, sort of halfway between being brand new and woody. Think of them as young, strong, and full of life – the perfect candidates for rooting!
Supplies You’ll Need
Here’s what I like to have on hand when I’m ready to get my propagation on:
- Sharp, clean pruning shears or a sharp knife: Cleanliness is crucial to prevent disease.
- Rooting hormone powder or gel: This isn’t strictly required for every plant, but for Dasymaschalon, it really helps give those cuttings a good head start.
- A well-draining potting mix: I usually mix equal parts perlite, peat moss, and a little bit of coarse sand. You want something that dries out nicely between waterings.
- Small pots or seed trays: Clean ones, of course!
- A plastic bag or propagation dome: To create a humid environment.
- Watering can with a fine rose: For gentle watering.
- Labels and a permanent marker: So you don’t forget what you’ve planted!
Propagation Methods
I’ve had the most success with stem cuttings for Dasymaschalon. Here’s how I do it:
- Select Your Stems: Look for healthy, non-flowering stems that are about 4-6 inches long. As I mentioned, you want them to be somewhat firm but not woody.
- Make the Cut: Using your sharp shears, make a clean cut just below a leaf node. A leaf node is that little bump on the stem where a leaf grows out. This is where the magic of roots often begins.
- Prepare the Cutting: Gently remove any leaves from the bottom half of the stem. You want to expose those nodes. If there are any flower buds, pluck them off. They’re energy drains!
- Dip in Rooting Hormone: Dip the cut end of the stem into your rooting hormone, tapping off any excess.
- Plant Your Cuttings: Fill your small pots with your prepared potting mix. Make a small hole in the center with your finger or a pencil. Gently insert the cutting into the hole, ensuring the nodes are buried. Firm the soil gently around the stem.
- Water Gently: Water the soil thoroughly but gently, making sure not to disturb the cuttings.
- Create Humidity: Place the potted cuttings inside a clear plastic bag, sealing it loosely, or cover them with a propagation dome. This traps moisture and creates that vital, humid microclimate.
The “Secret Sauce” (Pro Tips)
Here are a few things I’ve learned over the years that really make a difference:
- Keep the Leaves DRY! This is a big one, especially if you’re doing water propagation or keeping things really humid. If the leaves sit in water or are constantly wet in a humid environment, they’re much more prone to rot. Make sure they’re not submerged or touching condensation too much.
- Bottom Heat is Your Friend: If you have a heated propagator or a seed mat, use it! Warm soil encourages faster root development. It really speeds up the process and gives those cuttings a better chance of success. I’ve found it makes a noticeable difference.
- Don’t Rush the Root Check: Resist the urge to tug on your cuttings to see if they’ve rooted! Wait until you see signs of new growth at the top. A gentle tug after you see new leaves is a good indicator. If there’s resistance, you’ve got roots!
Aftercare & Troubleshooting
Once you start seeing new growth, that’s your cue that roots are forming!
- Gradually Acclimatize: Over the next week or two, gradually open the plastic bag or ventilation on your dome to let the cuttings get used to the drier air.
- Continue Gentle Watering: Keep the soil consistently moist but not soggy. Overwatering is the quickest way to invite rot.
- Provide Bright, Indirect Light: Keep them in a bright spot, but out of direct, harsh sunlight, which can scorch those tender new leaves.
Now, what if things go wrong? The most common culprit is rot. If you notice the stem turning black or mushy at the soil line, it’s likely rotted. This is usually a sign of too much moisture and not enough air circulation. If this happens, sadly, that cutting is probably a goner. Don’t get discouraged! Sometimes it just takes a few tries to get it right.
A Encouraging Closing
Propagating Dasymaschalon dasymaschalum is a journey, not a sprint. Embrace the process, be patient with your little cuttings, and celebrate every small victory – that first tiny leaf, that first hint of resistance when you ever so gently tug. Soon enough, you’ll have more of these beautiful plants to enjoy and share. Happy gardening!
Resource: