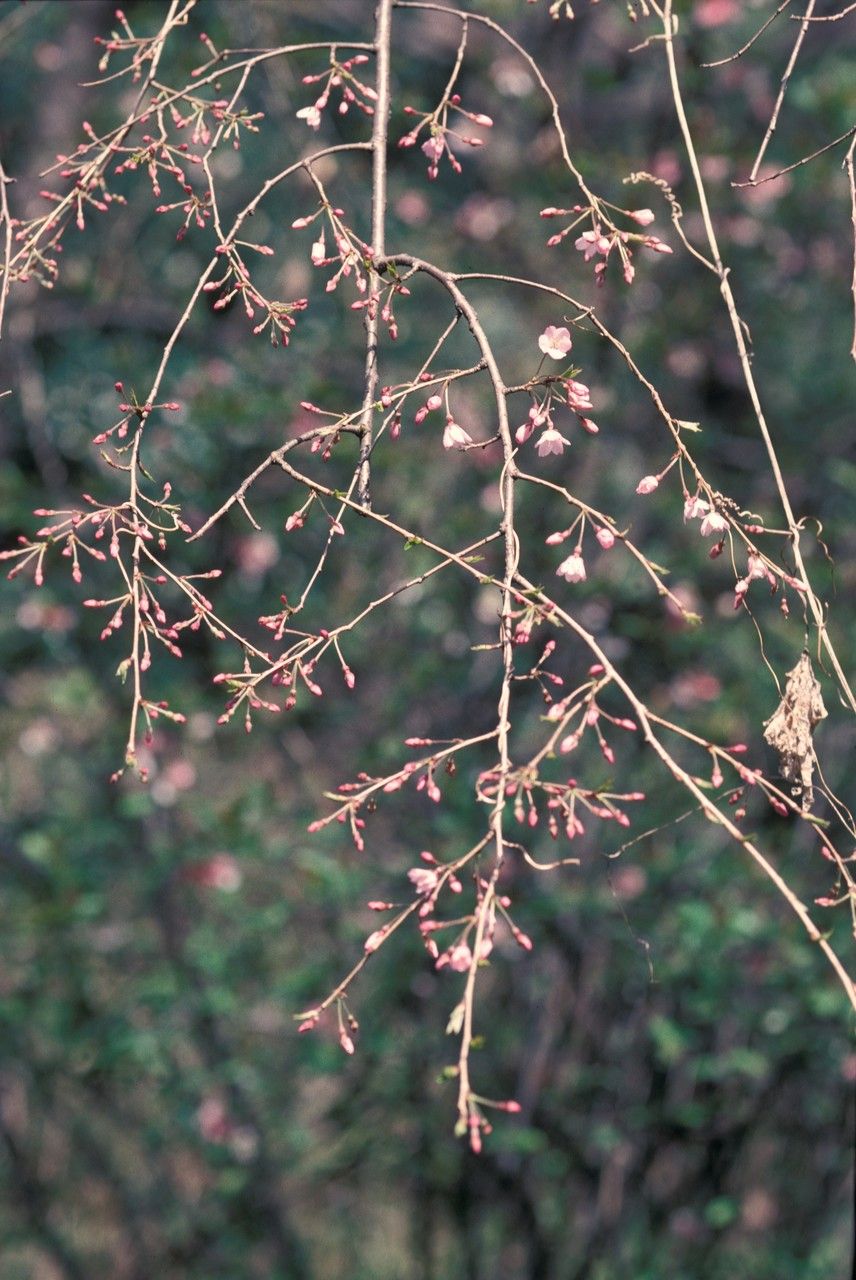
Hello fellow garden lovers! Today, I want to chat about a truly special plant: Prunus itosakura, or the Japanese flowering cherry. If you’ve ever been mesmerized by those ethereal spring blooms, I’m here to tell you that you can bring that magic into your own garden through propagation. It’s a deeply satisfying process, like nurturing a tiny promise of future beauty. Now, for beginners, I’d say Prunus itosakura is a bit of a… delightful challenge. It’s not as straightforward as a basil cutting, but with a little care and patience, you absolutely can succeed.
The Best Time to Start
Timing is everything in the gardening world, and with Prunus itosakura, you’ll find the late spring to early summer is your sweet spot. This is when the plant is actively growing, brimming with energy. You’ll want to take cuttings from semi-hardwood stems. These are shoots that have started to firm up from the new growth but aren’t yet woody and old. Think of it as the perfect “bendable but not flimsy” stage.
Supplies You’ll Need
To give your itosakura cuttings the best start, gather these essential tools and materials:
- Sharp, clean pruning shears or a sharp knife: For making clean cuts, which is crucial.
- Rooting hormone powder or gel: This really boosts your success rate.
- Well-draining potting mix: A blend of perlite, peat moss, and a bit of coarse sand works beautifully. You want the mix to hold moisture but not become waterlogged.
- Small pots or seed trays: With drainage holes, of course!
- Plastic bags or a propagator: To create a humid environment.
- A small watering can or spray bottle: For gentle watering.
- Labels and a marker: To keep track of your cuttings!
Propagation Methods
Let’s dive into how we’ll coax new life from our itosakura.
Stem Cuttings (The Most Common Approach)
- Select Your Stems: Look for those healthy, semi-hardwood shoots I mentioned. You want cuttings that are about 4-6 inches long.
- Make the Cut: Using your clean shears, make a clean cut just below a leaf node. This is where roots are most likely to form. Remove any flowers or developing fruits.
- Prepare the Cutting: Gently remove the leaves from the bottom two-thirds of the stem. You want to expose those nodes. If the remaining leaves are very large, consider cutting them in half horizontally to reduce water loss.
- Apply Rooting Hormone: Dip the cut end of the stem into your rooting hormone, tapping off any excess. This step is really like giving your cutting a super-boost!
- Plant Your Cuttings: Fill your pots with your prepared, moist potting mix. Make a small hole with a pencil or dibber and insert the cutting, ensuring the nodes are buried. Gently firm the soil around it.
- Create Humidity: Water the soil lightly. Then, cover the pot with a clear plastic bag, securing it around the rim of the pot, or place it inside a propagator. This creates a mini-greenhouse.
Water Propagation (A Softer Approach)
While less common for itosakura success compared to cuttings in soil, you can try this for a few stems.
- Prepare Cuttings: Follow steps 1-3 from the stem cutting method.
- Place in Water: Unlike many plants, for itosakura, it’s best to ensure the leaves do not touch the water. You can use a container where you can suspend the stem so only the nodes are submerged.
- Monitor and Change Water: Change the water every few days to keep it fresh. You’re looking for tiny white root nubs to appear.
The “Secret Sauce” (Pro Tips)
Over the years, I’ve learned a few tricks that make all the difference.
- Bottom Heat is Your Friend: If you have a seedling heat mat, placing your pots on it can significantly speed up root development. It mimics the warmth of the soil in spring. Don’t let it get too hot, though – just a gentle warmth.
- Sterilize, Sterilize, Sterilize! I cannot stress this enough. Before you even pick up your shears, make sure they are sparkling clean. A quick wipe with rubbing alcohol will do. This prevents nasty fungal infections that can kill your cuttings before they even get a chance to root.
- Be Patient with the “Wiggle Test”: Once you think your cuttings might have rooted (this can take weeks, even months!), resist the urge to yank them out. Instead, give them the gentlest wiggle. If you feel resistance, it’s a good sign roots are forming.
Aftercare & Troubleshooting
Once you see those tiny roots emerging (you might see them peeking through the drainage holes!), it’s time for a bit more attention.
- Acclimatize: Gradually remove the plastic bag or open the propagator vents over a few days. This helps your new plant adjust to lower humidity.
- Patience with Potting: Don’t repot immediately into a large container. Keep them in their starter pots for a while until they are well-established and show good top growth.
- Common Issues: The biggest enemy is rot. If your cutting turns mushy or black, it’s likely succumbed to a fungal issue, often from too much moisture and poor air circulation. If you see mold on the soil surface, gently scrape it off and ensure good ventilation. If a cutting simply doesn’t root and eventually shrivels, it’s a sign that conditions weren’t quite right, or perhaps the cutting wasn’t viable. Don’t get discouraged!
A Encouraging Closing
Propagating Prunus itosakura is a journey, not a race. There will be times when a cutting doesn’t make it, and that’s okay. Every gardener experiences this. The joy comes from the process of nurturing, the hope you sow with each planted stem, and the incredible reward of watching a new life unfurl. So grab your shears, get your hands in the soil, and enjoy the beautiful process of bringing more Japanese flowering cherries into the world. Happy gardening!
Resource:
https://identify.plantnet.org/k-world-flora/species/Prunus%20itosakura%20Siebold/data