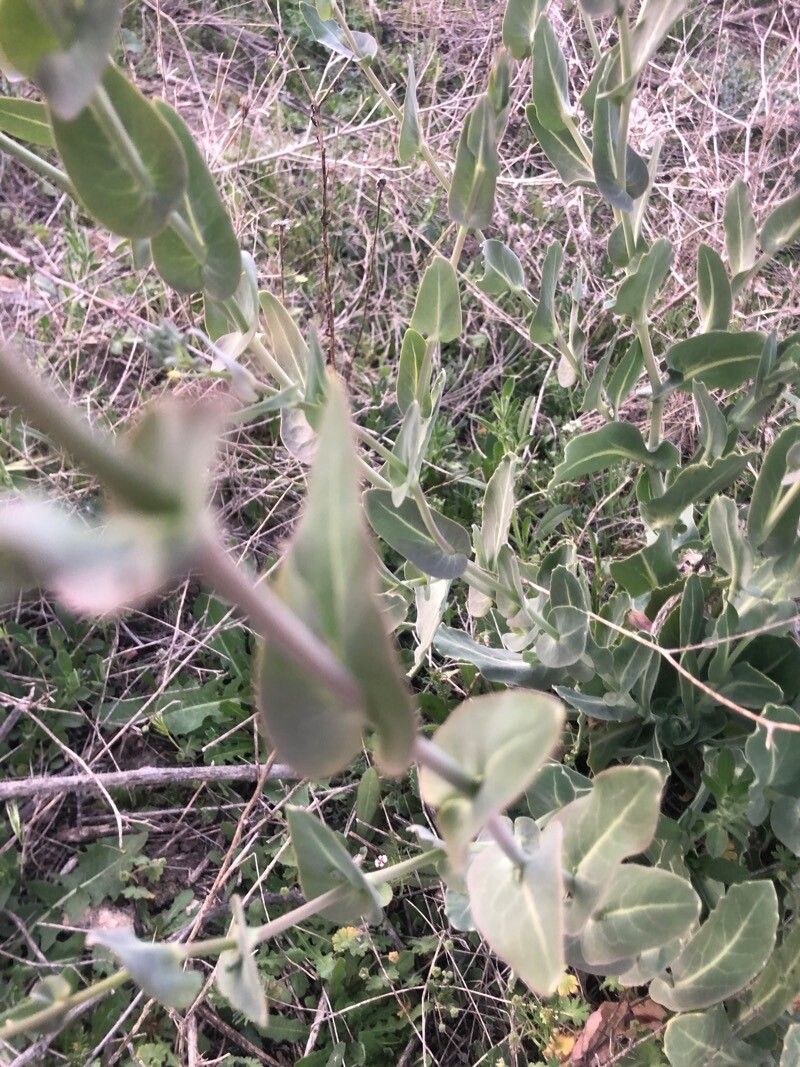
Hello, fellow plant lovers! I’m so excited to chat with you today about a truly lovely, often overlooked gem in the garden: Moricandia moricandioides. If you’re looking for a plant that brings a splash of delicate color and interesting form, you’ve come to the right place. Its soft, often pale lilac or pinkish-purple blooms are absolutely enchanting, and the architectural way it grows adds a unique touch to borders and containers. Plus, the joy of coaxing new life from a favorite plant is simply unparalleled. Now, about propagating it – is it a breeze for beginners? I’d say it’s moderately easy. It’s not as foolproof as some succulents, but with a little care, you’ll be rewarded.
The Best Time to Start
For Moricandia moricandioides, I’ve found that late spring to early summer is your prime window. Think of it as when the plant is really hitting its stride, pushing out new, vigorous growth after the initial flush of spring. This active growth period means the stems have plenty of energy to put into developing roots. This is also before the intense heat of mid-summer stresses things too much.
Supplies You’ll Need
Before we get our hands dirty, let’s gather our tools. Having everything ready makes the process so much smoother.
- Sharp pruning shears or a clean, sharp knife: For taking clean cuts.
- Rooting hormone (optional but recommended): A powder or gel to encourage root development.
- Well-draining potting mix: A good starting point is a 1:1 mix of seed starting mix and perlite, or a commercial potting mix for cuttings.
- Small pots or seed trays: With drainage holes, of course!
- Plastic bags or a propagation dome: To create a humid environment.
- Watering can or spray bottle: For gentle watering.
- Labels and a waterproof marker: To keep track of your cuttings!
Propagation Methods
Moricandia moricandioides is quite amenable to stem cuttings. This is generally the most straightforward and successful method for me.
Stem Cuttings
- Select your parent plant: Look for a healthy, non-flowering stem on your Moricandia. You want one that’s firm but not woody.
- Take your cuttings: Using your sharp shears or knife, cut a section of stem about 4-6 inches long. Make your cut just below a leaf node (where the leaves attach to the stem). These nodes are where roots tend to emerge from.
- Prepare the cuttings: Gently remove the lower leaves from the cutting, leaving just a few leaves at the top. If the remaining leaves are very large, you can even cut them in half to reduce water loss.
- Apply rooting hormone (if using): Dip the cut end of the stem into your rooting hormone, tapping off any excess.
- Plant your cuttings: Fill your small pots with your prepared, moistened potting mix. Make a small hole in the mix with your finger or a pencil. Insert the cut end of the stem into the hole, ensuring it’s snug. Gently firm the soil around it.
- Create humidity: Water gently to settle the soil. Then, cover the pot with a plastic bag (making sure the leaves don’t touch the plastic if possible) or place it under a propagation dome. This creates a mini-greenhouse, keeping the humidity high, which is crucial for cuttings that can’t absorb much water through new roots.
- Provide light and warmth: Place the pots in a bright location but out of direct, harsh sunlight. A little bit of warmth from a sunny windowsill or a heat mat can really speed things up, but isn’t always necessary.
The “Secret Sauce” (Pro Tips)
Here are a few tricks that have made a big difference for me over the years.
- Bottom Heat is Your Friend: If you can, place your pots on a heating mat designed for propagation. This gently warms the soil from below, encouraging root formation much faster than ambient room temperature alone. It’s a game-changer!
- Don’t Drown Them: While humidity is key, avoid waterlogged soil. Overwatering is the fastest way to invite rot, which will kill your cuttings before they even have a chance to root. If you see condensation dripping heavily inside your plastic cover, air it out for a few hours to prevent fungal issues.
- Think About “Chipper” Growth: When taking cuttings, look for stems that are a bit more flexible and actively growing, not the old, woody bits. They have more vitality.
Aftercare & Troubleshooting
Once your cuttings have rooted – you’ll usually see new leaf growth appearing within a few weeks – it’s time for a little adjustment.
- Acclimatization: Keep the humidity high for a few more days after you notice signs of new growth. Then, gradually remove the plastic cover or open the dome for longer periods each day to let the new plant get used to your home’s humidity levels.
- Potting Up: Once the new plant has a decent root system (you might gently tug on it to feel resistance, or you might see roots peeking from the drainage holes), you can pot it up into a slightly larger pot with a good quality potting mix.
- Common Issues: The most frequent problem is rot. If your cuttings start to look mushy, black, or slimy, it’s usually due to too much moisture and poor air circulation. Unfortunately, once rot sets in, it’s hard to save them. Another sign of failure is wilting that doesn’t recover even after watering – this can mean the roots haven’t formed or have died off.
A Gentle Nudge Forward
Propagating plants is a journey, and like any good journey, it requires patience. Don’t get discouraged if your first few attempts aren’t perfect. Each cutting is a little experiment, and you’ll learn so much from observing them. Enjoy the process, celebrate every tiny root that emerges, and soon you’ll have a whole new collection of your beloved Moricandia moricandioides to share or enjoy! Happy gardening!
Resource: