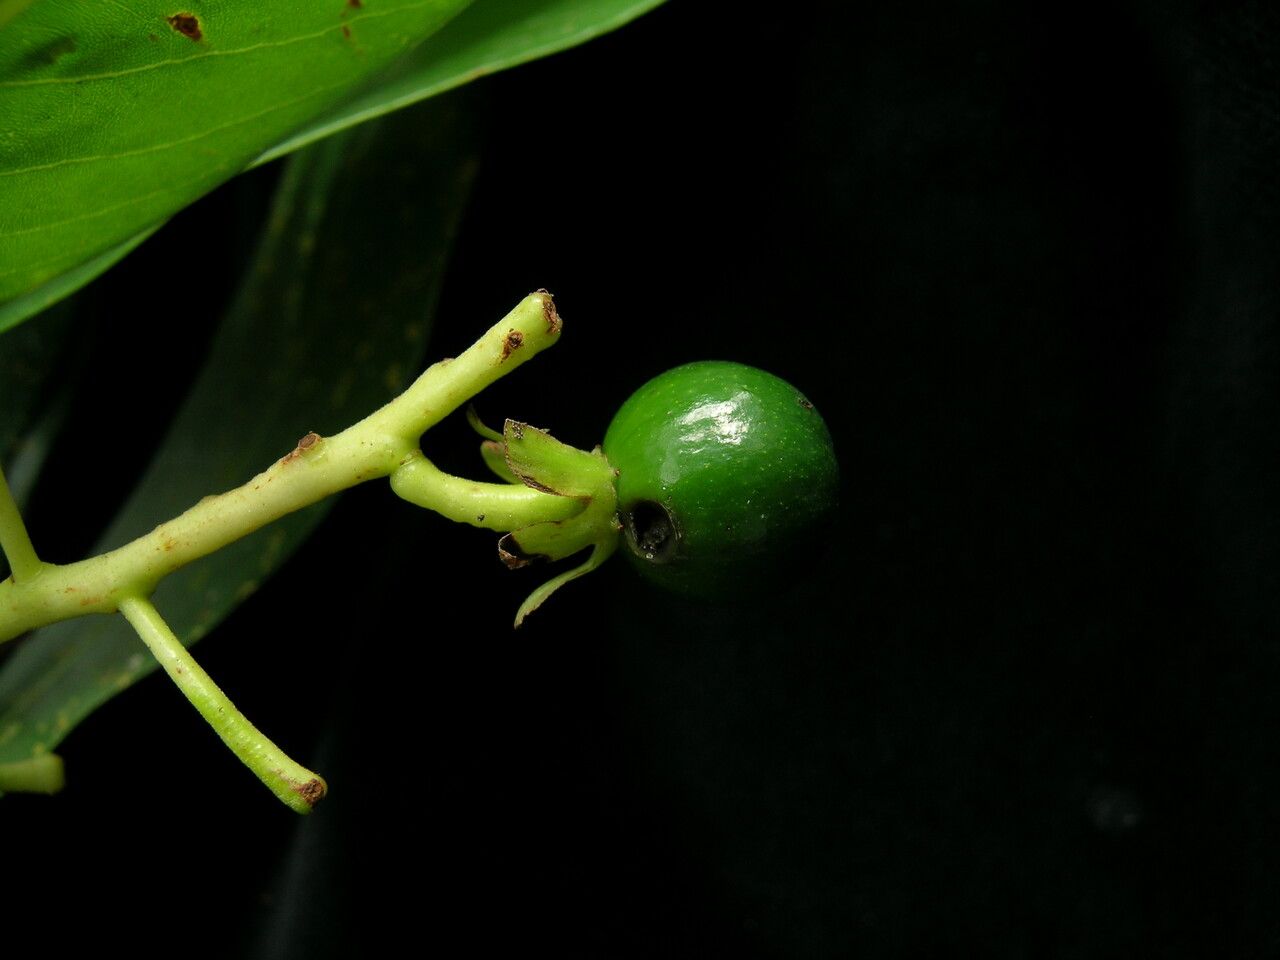
Oh, hello there, fellow plant enthusiast! Pull up a chair, grab a cuppa, and let’s talk about a truly special tree: Machilus duthiei. You might know it for its elegant, glossy leaves and its beautiful, sometimes subtly fragrant blooms. It’s a tree that brings a touch of the exotic to our gardens, and honestly, there’s a unique kind of joy in coaxing a brand new one into existence from a bit of your existing plant. It’s not a plant that throws tantrums, but it does appreciate a bit of understanding, so while not super challenging, it’s a rewarding project for someone who’s tried their hand at a few cuttings before.
The Best Time to Start Your Machilus Journey
For the best chance of success, I always recommend starting your propagating efforts in late spring or early summer. This is when the plant is actively growing, full of vigor, and has plenty of energy to put into creating new roots. You’re looking for stems that are semi-hardwood. This means they’re not brand new, bright green shoots, but they aren’t completely woody and old either. Think of it as that stage when they’ve just started to firm up a bit but still have a good amount of flexibility.
Supplies You’ll Need
Here’s what you’ll want to have on hand before you get started:
- Sharp, clean pruning shears or a sharp knife: Cleanliness is paramount to prevent disease.
- Rooting hormone (optional but recommended): This can give your cuttings a significant boost. Look for one formulated for softwood or semi-hardwood cuttings.
- A well-draining potting mix: I like a 50/50 blend of perlite and coco coir or a standard seedling starting mix. You want good aeration and moisture retention.
- Small pots or a propagation tray: Clean ones, of course!
- A clear plastic bag or propagation dome: This will create a humid microclimate.
- Water spray bottle: For misting.
- Label stakes and a permanent marker: Don’t forget to label what you’ve planted!
Propagation Methods: Let’s Get Our Hands Dirty!
The most reliable way to propagate Machilus duthiei is through stem cuttings. It’s straightforward and usually yields good results if you follow these steps closely.
- Select Your Cuttings: Head out to your healthy Machilus tree and look for those semi-hardwood stems we talked about. Choose stems that are about 4-6 inches long and have at least a couple of pairs of leaves.
- Make the Cut: Using your sharp, clean shears or knife, make a clean cut just below a leaf node (where a leaf attaches to the stem). This is where roots are most likely to form. Remove any leaves from the bottom half of the cutting – these will just rot if they’re buried in the soil. You can also gently remove the larger leaves from the top half, or even cut them in half horizontally to reduce water loss through transpiration.
- Apply Rooting Hormone (Optional): Dip the cut end of the stem into your rooting hormone powder, tapping off any excess.
- Plant Your Cuttings: Fill your pots or tray with the prepared potting mix. Make a small hole in the center of the soil with a pencil or your finger. Gently insert the treated end of the cutting into the hole. Firm the soil around the base of the cutting to ensure good contact.
- Water Gently: Water the soil thoroughly but gently. You don’t want to dislodge your cuttings.
- Create Humidity: Cover the pots with a clear plastic bag, securing it with a rubber band, or place them under a propagation dome. This will keep the humidity high, which is crucial for preventing the cuttings from drying out before they can root. If you’re using a plastic bag, you might want to insert a few skewers to keep the bag from touching the leaves.
The “Secret Sauce”: Insider Tips for Success
- Don’t Let Them Drown: When you’re misting your cuttings, make sure the leaves aren’t sitting in standing water inside the plastic bag or under the dome. While humidity is key, constantly soggy leaves can lead to fungal problems.
- Bottom Heat is Your Friend: If you have the ability, placing your propagation tray on a gentle heat mat can make a world of difference. This encourages root development from the bottom up, giving you a faster and more robust rooting process. It mimics the warmth of the soil that seeds naturally experience.
- A Little Shade, Please: During the day, keep your cuttings in a spot that gets bright, indirect light. Direct sunlight can overheat the enclosed environment and scorch those precious baby leaves.
Aftercare & Troubleshooting
Once your cuttings have been planted, check the moisture regularly. The soil should feel consistently moist but not soggy. Ventilate the humidity tent daily for a few minutes to allow for fresh air circulation and to prevent mold.
You’ll know your cuttings are rooting when you see new growth, usually small leaves emerging from the tips. This can take anywhere from 4-8 weeks, sometimes longer. Gently tugging on a cutting will also reveal resistance if roots have formed.
The most common sign of trouble is rot. If your cutting turns black and mushy, it’s usually a sign of too much moisture and poor air circulation. At this point, it’s best to discard it and start fresh, learning from what might have gone wrong. Yellowing leaves can also be a sign of stress, but if the stem is still firm, it might be trying to adjust.
A Little Patience Goes a Long Way
Propagating Machilus duthiei is a beautiful way to multiply your enjoyment of this wonderful tree. It requires a bit of care, a touch of patience, and the willingness to learn. Don’t be discouraged if your first few attempts aren’t perfect. Each plant you nurture from a cutting is a testament to your dedication and a little piece of living art for your garden. Happy propagating!
Resource:
https://identify.plantnet.org/k-world-flora/species/Machilus%20duthiei%20King%20ex%20Hook.f./data