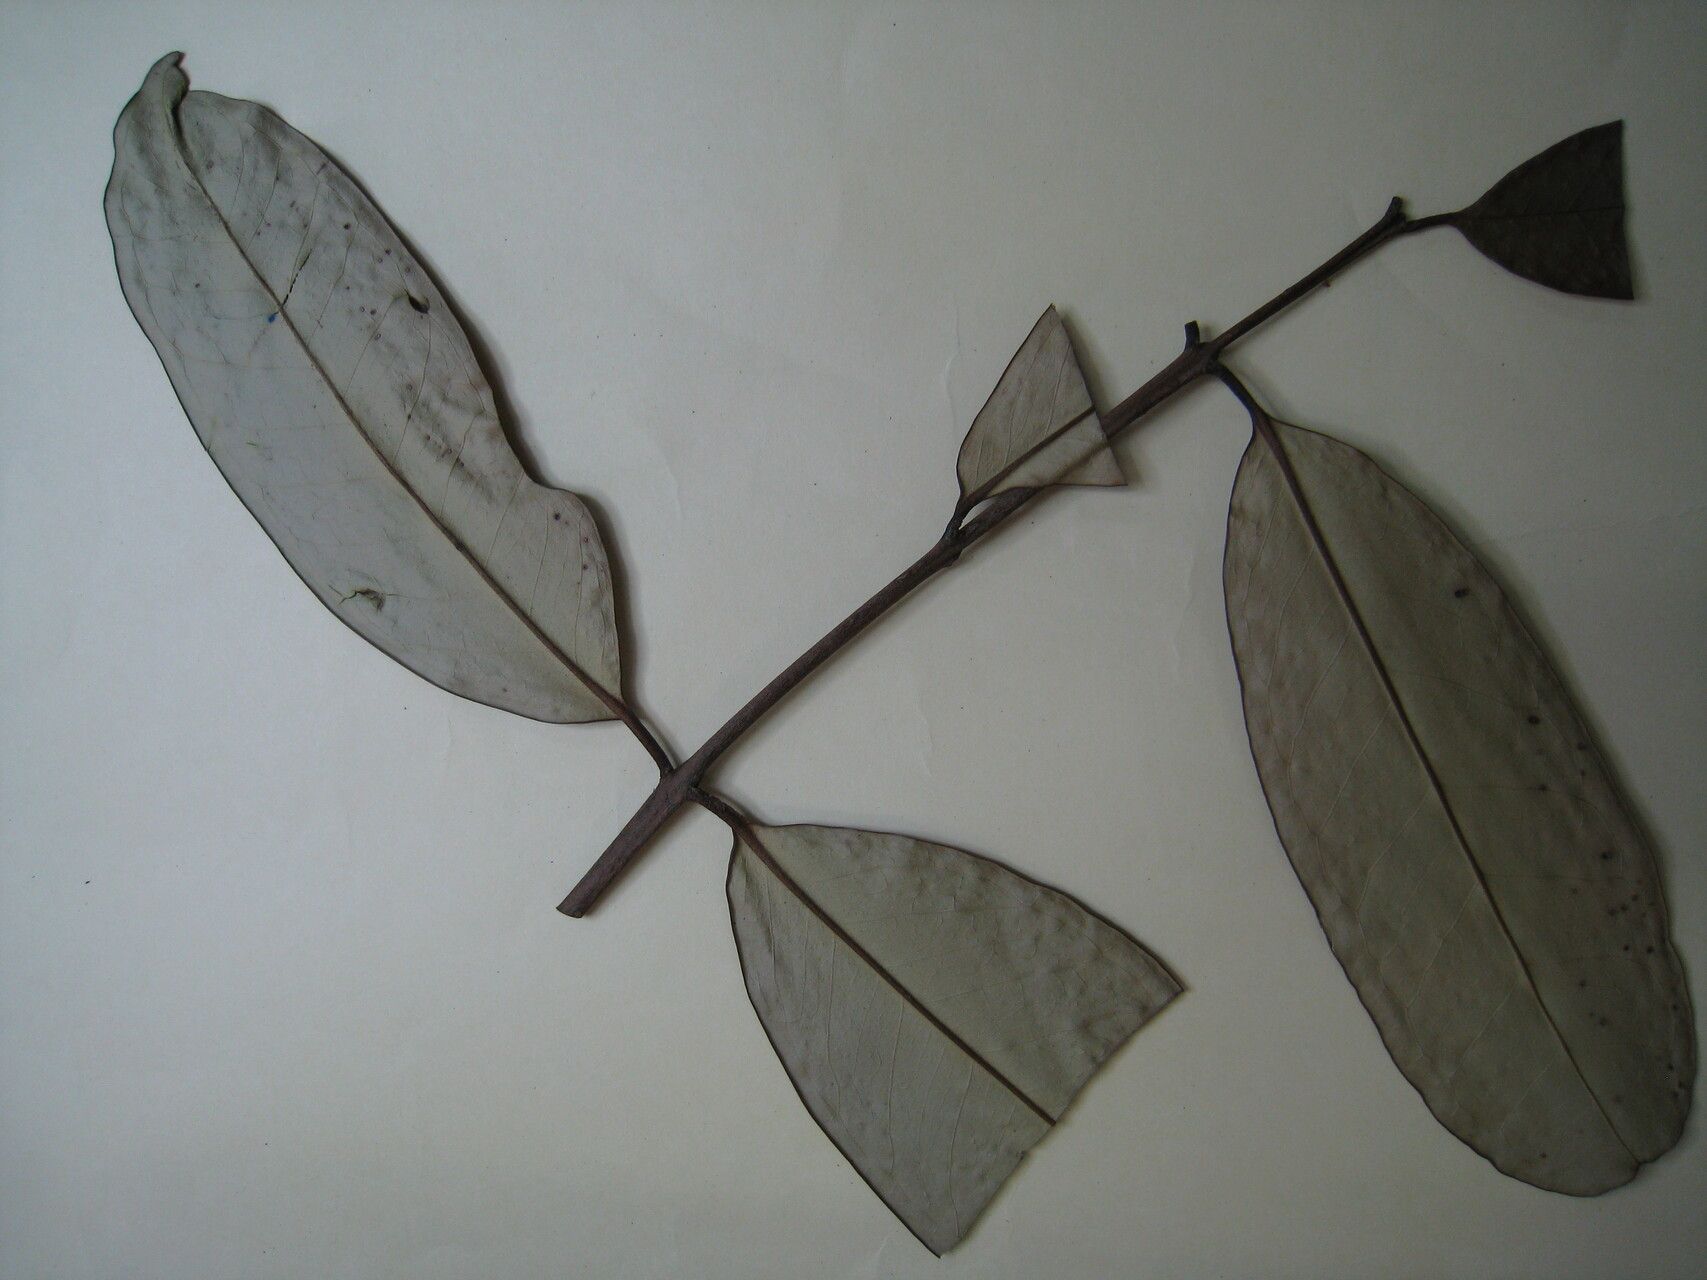
Oh, hello there! Come on in, grab a mug of your favorite brew. Today, we’re going to talk about a truly delightful plant: Eugenia cucullata. You know the one – those lovely glossy leaves, often with a beautiful bronzey new growth, and sometimes even a sweet, tiny flower and berry. It’s a stunner, isn’t it? If you’ve got one, or are dreaming of adding more to your collection, propagating Eugenia cucullata is a fantastic and incredibly rewarding project. It’s not the absolute easiest plant for a total newbie, I’ll grant you that, but with a little focused attention, you’ll be well on your way to plant parenthood multiplied!
The Best Time to Start
For the highest chance of success, I always recommend taking cuttings in late spring or early summer. This is when the plant is actively growing, and those new shoots have a good amount of soft, new wood that’s full of life and ready to root. Think of it as the plant being at its most vigorous – it’s got the energy to spare for a little bit of this propagation magic.
Supplies You’ll Need
Gathering your toolkit beforehand makes the whole process so much smoother. Here’s what I usually have on hand:
- Sharp Pruning Shears or a Knife: Clean cuts are crucial for preventing disease.
- Potting Mix: A well-draining mix is a must. I like a blend of peat moss, perlite, and a little bit of chunky bark. You can also buy specific seed starting or propagation mixes.
- Small Pots or Trays: Clean, shallow pots or cell trays work best for cuttings.
- Rooting Hormone (Optional but Recommended): This gives your cuttings a significant boost. Look for one with IBA (indole-3-butyric acid).
- Plastic Bags or a Humidity Dome: To keep those cuttings nice and humid.
- Watering Can with a Fine Rose or a Spray Bottle: For gentle watering.
- Labels: Trust me, you’ll thank yourself later!
Propagation Methods
We’ll focus on the most reliable method for Eugenia cucullata: stem cuttings.
- Select Your Cuttings: Look for healthy, non-flowering stems that are about 4-6 inches long. You want to take what’s called a softwood cutting. This means it should be flexible but not floppy. Pinch it gently; if it snaps cleanly, it’s probably too woody. If it bends easily, it’s a good candidate! Remove any flowers or developing buds – these take energy away from root formation.
- Prepare the Cuttings: Using your clean pruners or knife, take cuttings just below a leaf node. A leaf node is where a leaf attaches to the stem. This is where the magic happens for root development. Gently remove the lower leaves, leaving just 2-3 leaves at the top. This reduces water loss.
- Apply Rooting Hormone: If you’re using rooting hormone, dip the cut end of the stem into it. Follow the product’s instructions. You usually just need a light coating. Gently tap off any excess.
- Plant Your Cuttings: Fill your pots or trays with your prepared potting mix. Make a small hole with a pencil or your finger, and carefully insert the cutting. Firm the soil gently around the stem to ensure good contact.
- Provide Humidity: Water the soil lightly. Then, cover the pot loosely with a plastic bag (making sure the leaves don’t touch the plastic if possible) or place it under a humidity dome. This creates a mini-greenhouse effect, which is vital for cuttings to root, as they can’t absorb water through new roots yet.
- Place in Bright, Indirect Light: Find a warm spot that receives bright, indirect light. Avoid direct sun, as this can scorch the delicate cuttings.
The “Secret Sauce” (Pro Tips)
Here are a couple of tricks I’ve learned over the years that can really help your cuttings thrive:
- Bottom Heat is Your Friend: If you can, place your pots on a heat mat. This gently warms the soil and encourages root development from below. It’s like giving your little cuttings a warm hug to get them going!
- Don’t Overwater, But Don’t Let Them Dry Out: This is a delicate balance. The soil should remain consistently moist, but never waterlogged. If the soil feels dry to the touch, give it a gentle watering. If it’s always soggy, you risk rot. Check the moisture by gently poking a finger into the soil.
Aftercare & Troubleshooting
Be patient! It can take anywhere from 4-8 weeks for your Eugenia cucullata cuttings to develop a good root system. You can gently tug on a cutting; if you feel resistance, it means roots are forming.
The most common issue you might encounter is rot. This usually happens if the cuttings are kept too wet or in poor air circulation. If you see any blackening or mushy stems, unfortunately, that cutting is likely lost. Remove it immediately to prevent it from affecting others. Another sign of trouble is wilting that doesn’t perk up after watering; this could also point to a lack of root development or rot.
Once you feel a good root system has formed, you can gradually acclimate your new little plants to less humid conditions. Start by removing the plastic bag for a few hours a day, then gradually increase the time. When they seem sturdy, you can pot them up into their own small containers with fresh, well-draining potting mix.
A Gentle Encouragement
Growing new plants from cuttings is a truly magical experience. It connects you to the cycle of life in your garden and is incredibly satisfying. Don’t get discouraged if not every single cutting makes it. Gardening is all about learning, experimenting, and enjoying the process. Be patient, observe your little ones closely, and delight in each new leaf and, eventually, each new root. Happy propagating!
Resource:
https://identify.plantnet.org/k-world-flora/species/Eugenia%20cucullata%20Amshoff/data