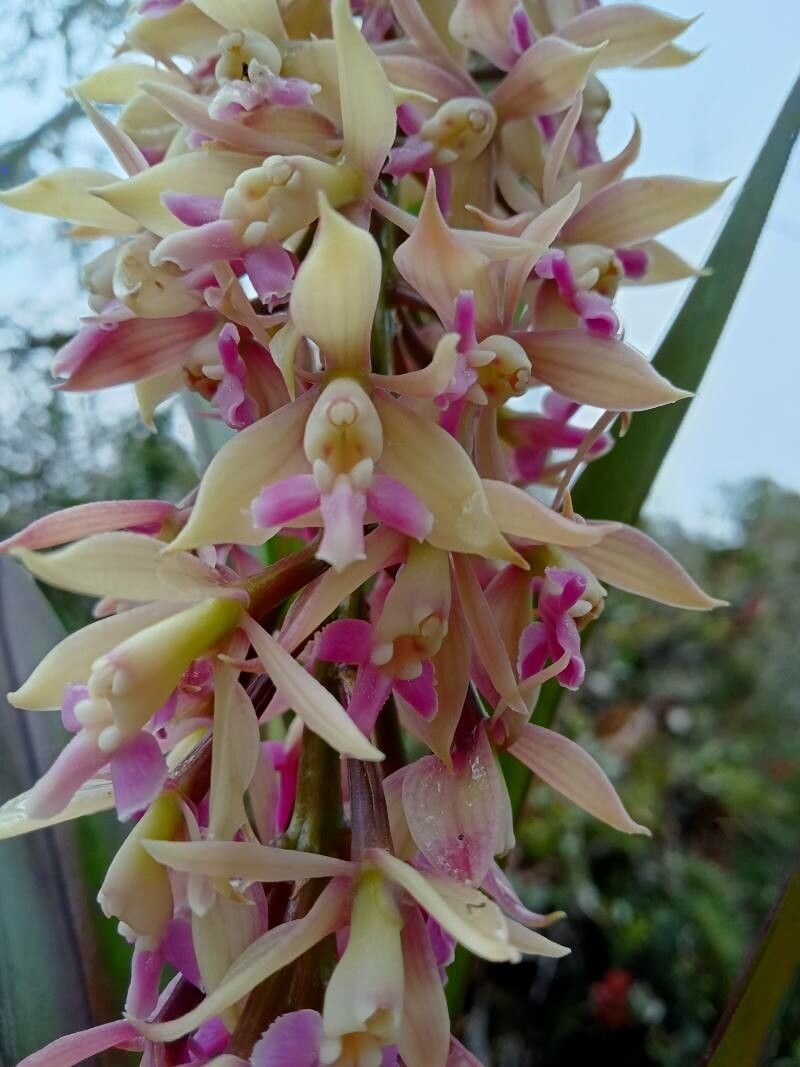
Oh, hello there! It’s so lovely to have you join me for a little chat about a truly special orchid – Epidendrum klotzscheanum. If you’re anything like me, you’ve probably been captivated by its vibrant blooms and elegant growth habit. They just sing with color, don’t they?
Propagating these beauties might sound a bit daunting, but trust me, it’s one of the most rewarding things you can do. Seeing a tiny piece of your beloved plant blossom into a whole new specimen is pure magic. And for Epidendrum klotzscheanum specifically? I’d say it’s moderately easy, making it a great project for those who’ve dabbled a bit in orchid care and are ready for a little more excitement.
The Best Time to Start
When is the perfect moment to get your hands dirty with Epidendrum klotzscheanum propagation? For me, the spring and early summer are absolute gold. This is when the plant is bursting with new growth, usually after it’s finished its blooming cycle. You’ll see those little shoots, or keikis, starting to form, and the plant itself is full of vigor. That energy translates beautifully into successful propagation.
Supplies You’ll Need
Before we dive in, let’s gather our tools. Having everything ready makes the process so much smoother:
- Sharp, sterile pruning shears or a clean knife: Essential for making clean cuts. Sterilize them with rubbing alcohol!
- Orchid bark mix: A well-draining mix is key. I like a blend with medium-grade bark, perlite, and a bit of horticultural charcoal.
- Small pots or containers: Think terracotta or plastic pots that are just slightly larger than your new plantlets.
- Rooting hormone (optional but helpful): A powdered or liquid hormone can give your cuttings a good start.
- Spray bottle: For misting.
- Clear plastic bag or humidity dome: To keep humidity levels up for new cuttings.
- A pot or tray for water propagation (if you’re going that route): Any clean container will do.
Propagation Methods
Epidendrum klotzscheanum is wonderfully versatile. You can propagate it using a couple of fantastic methods.
Stem Cuttings
This is my go-to method for this orchid!
- Find a healthy stem: Look for a mature stem that has at least two or three sections with visible aerial buds. These are the little nubs where new growth will emerge.
- Make your cut: Using your sterile shears, cut the stem just below an aerial bud junction. You want to take a section that’s about 6-8 inches long. You can even take multiple sections from one healthy plant.
- Prepare the cutting: If you’re using rooting hormone, lightly dip the cut end into it. This encourages root development.
- Potting up: Fill your small pot with your well-draining orchid bark mix. Make a small hole in the center and insert the cut end of the stem, ensuring the aerial bud you cut below faces slightly upwards. Gently firm the mix around the stem.
- Provide humidity: Water the potting mix lightly, and then place the pot inside a clear plastic bag or under a humidity dome. Make sure the bag or dome doesn’t touch the leaves of your cutting.
Water Propagation
This method is a bit more hands-off initially and can be quite visual.
- Select a healthy stem section: Similar to stem cuttings, choose a section with good aerial buds, about 6-8 inches long.
- Remove lower leaves: Gently remove any leaves from the bottom few inches of the stem that would be submerged in water. You don’t want any decaying leaf matter creating problems.
- Place in water: Fill a clean jar or vase with room-temperature water. Make sure the cut end of the stem is submerged, but crucially, do not let the leaves touch the water.
- Location, location, location: Place the jar in a bright spot with indirect light.
The “Secret Sauce” (Pro Tips)
After years of coaxing orchids to multiply, I’ve picked up a few tricks that seem to make all the difference:
- Don’t overcrowd your cuttings. Give each one a bit of space to breathe and grow. Overcrowding can lead to fungal issues.
- Bottom heat is your friend! If you’re using the stem cutting method, placing your pots on a gentle seedling heat mat can significantly speed up root formation. Orchids love that warmth.
- Patience is truly key. Sometimes a cutting will look like nothing is happening for weeks. Trust the process, maintain humidity, and resist the urge to keep digging around!
Aftercare & Troubleshooting
Once you see those lovely white roots starting to emerge from your cutting (or if your potted cutting looks actively healthy), you’re well on your way!
- For water propagation: Once the roots are about an inch long, it’s time to pot them up into your orchid bark mix, just like the stem cuttings. Water thoroughly and then reduce the frequency to allow the mix to dry slightly between waterings.
- For potted cuttings: Continue to keep them in a humid environment and lightly moist. As they grow, you can gradually acclimate them to lower humidity, just like you would an adult orchid.
Now, what if things don’t go as planned? The most common issue I see is rot. This usually happens when there’s too much moisture and not enough air circulation. If you notice a cutting turning mushy or black, unfortunately, it’s usually a sign that it’s a goner. Don’t despair! Just discard it and try again with a fresh cutting and perhaps slightly drier conditions. Another sign of struggle is a wilting cutting that doesn’t perk up after watering; this can indicate it hasn’t developed roots yet or is succumbing to stress.
A Encouraging Closing
So there you have it – a peek into the wonderful world of propagating Epidendrum klotzscheanum. It’s a journey that requires a bit of nurturing and a whole lot of love, but the reward of creating more of these stunning plants is absolutely worth it. Be patient with yourself and with your little green charges. Happy growing, and enjoy every step of the process!
Resource:
https://identify.plantnet.org/k-world-flora/species/Epidendrum%20klotzscheanum%20Rchb.f./data