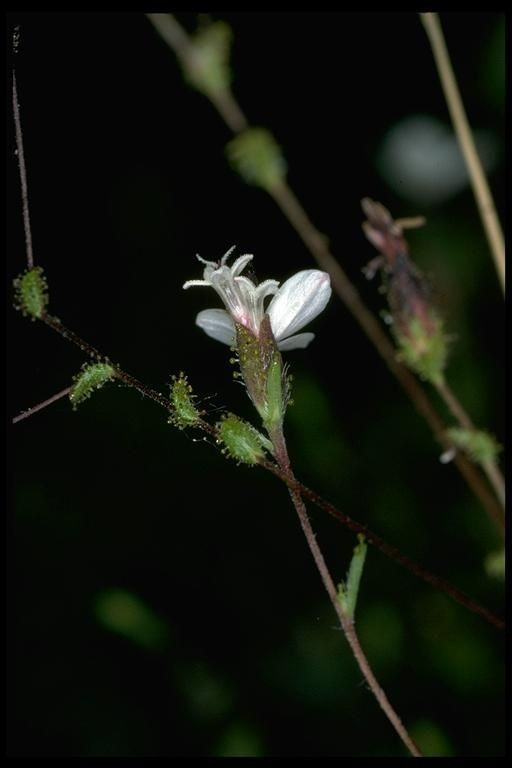
Hey there, fellow plant enthusiasts! I’m so excited to chat with you today about a truly charming little plant called Calycadena pauciflora. Sometimes known as the scarce-flowered cactus or California everlasting, it’s a native wildflower that brings such a delightful pop of color and fuzzy texture to any garden. Its delicate, daisy-like flowers are simply captivating, and trust me, propagating this beauty yourself is incredibly rewarding. Now, I wouldn’t call Calycadena pauciflora the absolute easiest plant for a complete beginner to propagate, but with a little attention and these tips, you’ll be well on your way to success.
The Best Time to Start
The sweet spot for propagating Calycadena pauciflora is definitely in the late spring to early summer. This is when the plant is actively growing and has plenty of fresh, vigorous stems to work with. You want to take cuttings from healthy, non-flowering tips. If you wait too long and the plant is developing lots of flower buds, your cuttings might be more focused on flowering than on rooting.
Supplies You’ll Need
To get your Calycadena pauciflora propagation party started, gather these essentials:
- Clean, sharp pruning shears or a craft knife: For making clean cuts.
- Potting mix: A well-draining mix is key. I like to use a blend of 50% potting soil and 50% perlite or coarse sand.
- Small pots or seedling trays: With drainage holes, of course!
- Rooting hormone (optional but recommended): A powder or gel helps encourage root development.
- Plastic bags or a clear plastic dome: To create a humid environment for your cuttings.
- Watering can or spray bottle: For gentle watering.
- Labels and a marker: So you don’t forget what you planted!
Propagation Methods
Calycadena pauciflora is best propagated from stem cuttings. It’s a straightforward method that usually yields great results.
- Take Your Cuttings: Using your clean shears or knife, select healthy, non-flowering stems. Make a cut just below a leaf node (where a leaf meets the stem). You’re looking for cuttings that are about 4-6 inches long. Remove any lower leaves from the bottom inch or so of the cutting, as these will go into the soil and can rot.
- Dip in Rooting Hormone (Optional): If you’re using rooting hormone, lightly dip the cut end of the stem into the powder or gel. Tap off any excess.
- Plant Your Cuttings: Fill your small pots or trays with your well-draining potting mix. Moisten the mix gently. Make a small hole in the center of the soil with your finger or a pencil. Insert the cut end of your stem cutting into the hole, ensuring it’s snug. Gently firm the soil around the base of the cutting.
- Create a Humid Environment: This is crucial! Water your cuttings lightly. Then, cover the pots with a clear plastic bag (making sure the leaves don’t touch the plastic) or place them under a clear dome. This traps humidity and prevents the cuttings from drying out before they can form roots.
- Provide Light and Warmth: Place your pots in a bright spot that receives indirect sunlight. Too much direct sun can scorch the tender cuttings. A little warmth can also speed things up, so placing them on a heat mat (if you have one) is a great idea.
The “Secret Sauce” (Pro Tips)
Here are a couple of tricks that have really helped me over the years with these kinds of plants:
- Don’t drown them! While humidity is important, soggy soil is the enemy. Make sure your soil is moist, not waterlogged. If you see water pooling in the bottom of the pot, you’ve gone too far. Good drainage is your best friend here.
- Bottom heat is a game-changer. If you have the option, a gentle heat mat placed under your pots can significantly speed up root formation. This mimics the warmth of spring soil and gives your cuttings that extra boost they need.
- Patience is a virtue, truly. I know it’s tempting to tug on your cuttings to see if they’ve rooted, but resist the urge! Let them be and trust the process. You’ll usually see new leaf growth, which is a really good sign that roots are forming underground.
Aftercare & Troubleshooting
Once you see signs of new growth – tiny new leaves unfurling – it’s a good indication that your cuttings have successfully rooted. You can gradually acclimate your new plants to normal conditions by opening the plastic bag or dome a little bit each day over a week. Continue to keep the soil consistently moist but not soggy.
The most common issue you’ll encounter is rot. If your cuttings look mushy, black, or are wilting dramatically and the soil is wet, rot is likely the culprit. This usually happens due to overwatering and poor air circulation. If you catch it early, you might be able to save a cutting by taking it out of the soil, trimming away any rotten bits (with clean tools!), and letting it air dry for a day before repotting in fresh, dry soil. Sometimes, though, it’s just nature’s way.
A Encouraging Closing
Don’t get discouraged if your first attempt isn’t perfect. Every garden, and every propagation endeavor, is a learning experience. The joy of nurturing a new life from a small cutting is immense. So, grab your tools, embrace the sunshine, and enjoy the journey of growing your Calycadena pauciflora! You’ve got this!
Resource:
https://identify.plantnet.org/k-world-flora/species/Calycadenia%20pauciflora%20A.Gray/data