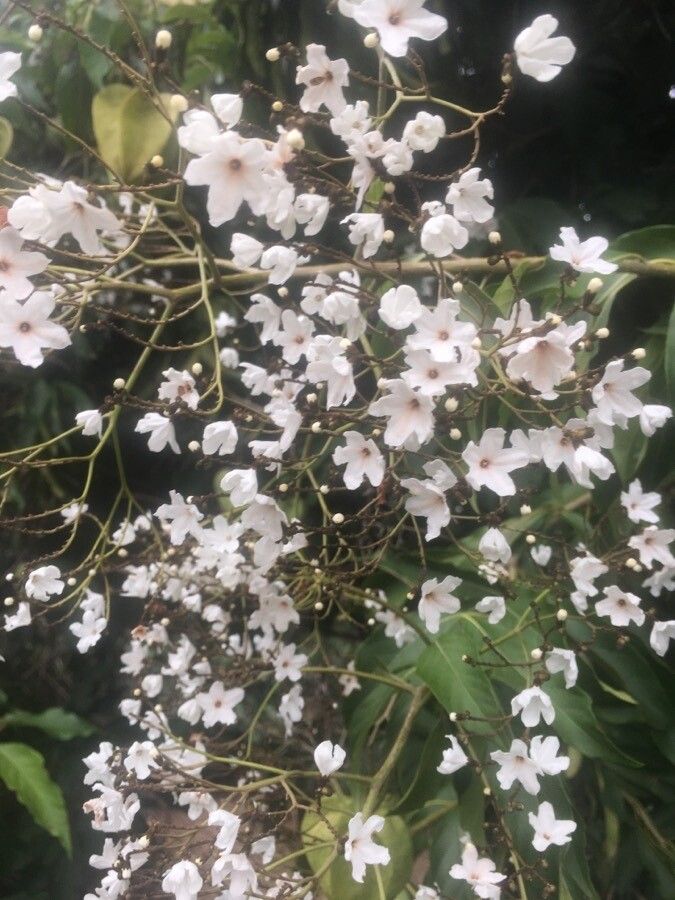
Oh, hello there! I’m so glad you stopped by. Today, we’re going to talk about a truly special plant: Cordia oncocalyx. If you’ve ever seen one of these beauties, you know what I mean. Its unique, often sculptural form and lovely flowers make it a real standout in any garden. And the best part? You can grow your own!
Why Propagate Cordia oncocalyx?
There’s something deeply satisfying about nurturing a new life from a tiny piece of a parent plant. It’s economical, it’s rewarding, and it lets you share the plant love with friends. Now, I’ll be honest, Cordia oncocalyx isn’t always the easiest plant to propagate for absolute beginners. It likes specific conditions to get going. But with a little patience and the right approach, you can absolutely succeed. Think of it as a fun challenge!
The Best Time to Start
For Cordia oncocalyx, the sweet spot for propagation is typically in late spring through early summer. This is when the plant is actively growing, meaning it has more energy to put into developing roots. You’re looking for stems that are firm but not yet woody. Think of a pencil – that’s your ideal stem thickness. Avoid anything too soft or anything that feels brittle.
Supplies You’ll Need
Gathering your tools beforehand makes the whole process smoother. Here’s what you should have handy:
- Sharp Pruning Shears or a Clean Knife: For making clean cuts.
- Rooting Hormone (Optional but Recommended): A powder or gel that encourages root development.
- Well-Draining Potting Mix: A blend of perlite, coarse sand, and a good quality potting soil works wonders. You can even find specific cactus and succulent mixes that are perfect.
- Small Pots or Seedling Trays: Clean and with drainage holes, of course!
- Watering Can with a Fine Rose or Spray Bottle: For gentle watering.
- Plastic Bag or Clear Dome: To create a humid environment.
- Sticks or Skewers: To support the plastic bag.
Propagation Methods
Let’s dive into how we can get new Cordia oncocalyx plants started.
Stem Cuttings
This is my go-to method for Cordia oncocalyx.
- Take Your Cuttings: On a healthy, actively growing plant, select a stem tip that is about 4-6 inches long. Make a clean cut just below a leaf node (where a leaf attaches to the stem).
- Prepare the Cuttings: Gently remove the lower leaves from the cutting, leaving just a few at the very top. This prevents them from rotting when placed in the soil.
- Apply Rooting Hormone (if using): Dip the cut end of the stem into your rooting hormone, tapping off any excess. This step really gives your cuttings a boost.
- Plant the Cuttings: Fill your small pots with your well-draining mix. Make a small hole in the center with your finger or a pencil. Insert the cutting into the hole, ensuring the leaf nodes are below the soil surface. Gently firm the soil around the cutting.
- Create Humidity: Water the soil very lightly. Then, cover the pot with a plastic bag or a clear dome, using sticks or skewers to keep the bag from touching the leaves. This creates a mini-greenhouse effect, which is crucial for cuttings.
Water Propagation (Use with Caution)
While some plants root beautifully in water, Cordia oncocalyx can be quite prone to rot in this method if not done carefully. If you’re feeling adventurous, here’s how to try it:
- Prepare the Cuttings: Follow steps 1 and 2 from the stem cutting method.
- Place in Water: Place the cuttings in a clean jar or glass of distilled water or rainwater. Make sure no leaves are submerged below the water line. This is a critical step to prevent rot.
- Change Water Regularly: Change the water every couple of days to keep it fresh.
- Watch for Roots: You might see tiny white nubs appearing at the nodes. Once these are about an inch long, you can carefully transplant them into your well-draining potting mix. Be gentle!
The “Secret Sauce” (Pro Tips)
Here are a couple of tricks I’ve learned over the years that can make a big difference:
- Bottom Heat is Your Friend: If you have space, placing your pots on a seedling heat mat can drastically speed up root formation. The gentle warmth encourages the plant to put energy into rooting. It’s like a cozy spa day for your cuttings!
- Don’t Overwater, Ever: This is probably the most common mistake. Cordia plants, in general, hate soggy feet. When you’ve planted your cuttings, water them in lightly, and then resist the urge to water again until the soil just starts to feel dry to the touch. The humidity from the bag will keep them happy in the meantime.
Aftercare & Troubleshooting
Once you start seeing new growth or feel a gentle resistance when you very lightly tug on a cutting (indicating roots), it’s time for a little adjustment.
- Acclimatize: Gradually remove the plastic bag or dome for short periods, increasing the time each day over a week. This allows the new plant to adjust to normal humidity levels.
- Regular Watering: Once acclimatized, water thoroughly when the top inch of soil feels dry.
- Good Light: Provide bright, indirect light. Direct, scorching sun can be too much for young plants.
Signs of Trouble: The biggest culprit is rot. If your cutting looks mushy, turns black and slimy, or just slumps over dramatically, it’s usually a sign of too much moisture. Unfortunately, if rot sets in, it’s very difficult to save. This is why proper drainage and careful watering are so important from the very beginning. Another sign is if cuttings simply shrivel and dry up – this might mean they weren’t getting enough humidity or they were placed in too much direct sun.
Happy Gardening!
Propagating Cordia oncocalyx can be a bit of a learning curve, and that’s perfectly okay. Don’t get discouraged if your first attempt isn’t a runaway success. Every gardener has faced cuttings that didn’t make it. Just remember to be patient, give them what they need, and celebrate every little bit of progress. Soon, you’ll be enjoying the satisfaction of growing these wonderful plants yourself. Happy propagating!
Resource:
https://identify.plantnet.org/k-world-flora/species/Cordia%20oncocalyx%20Allemão/data