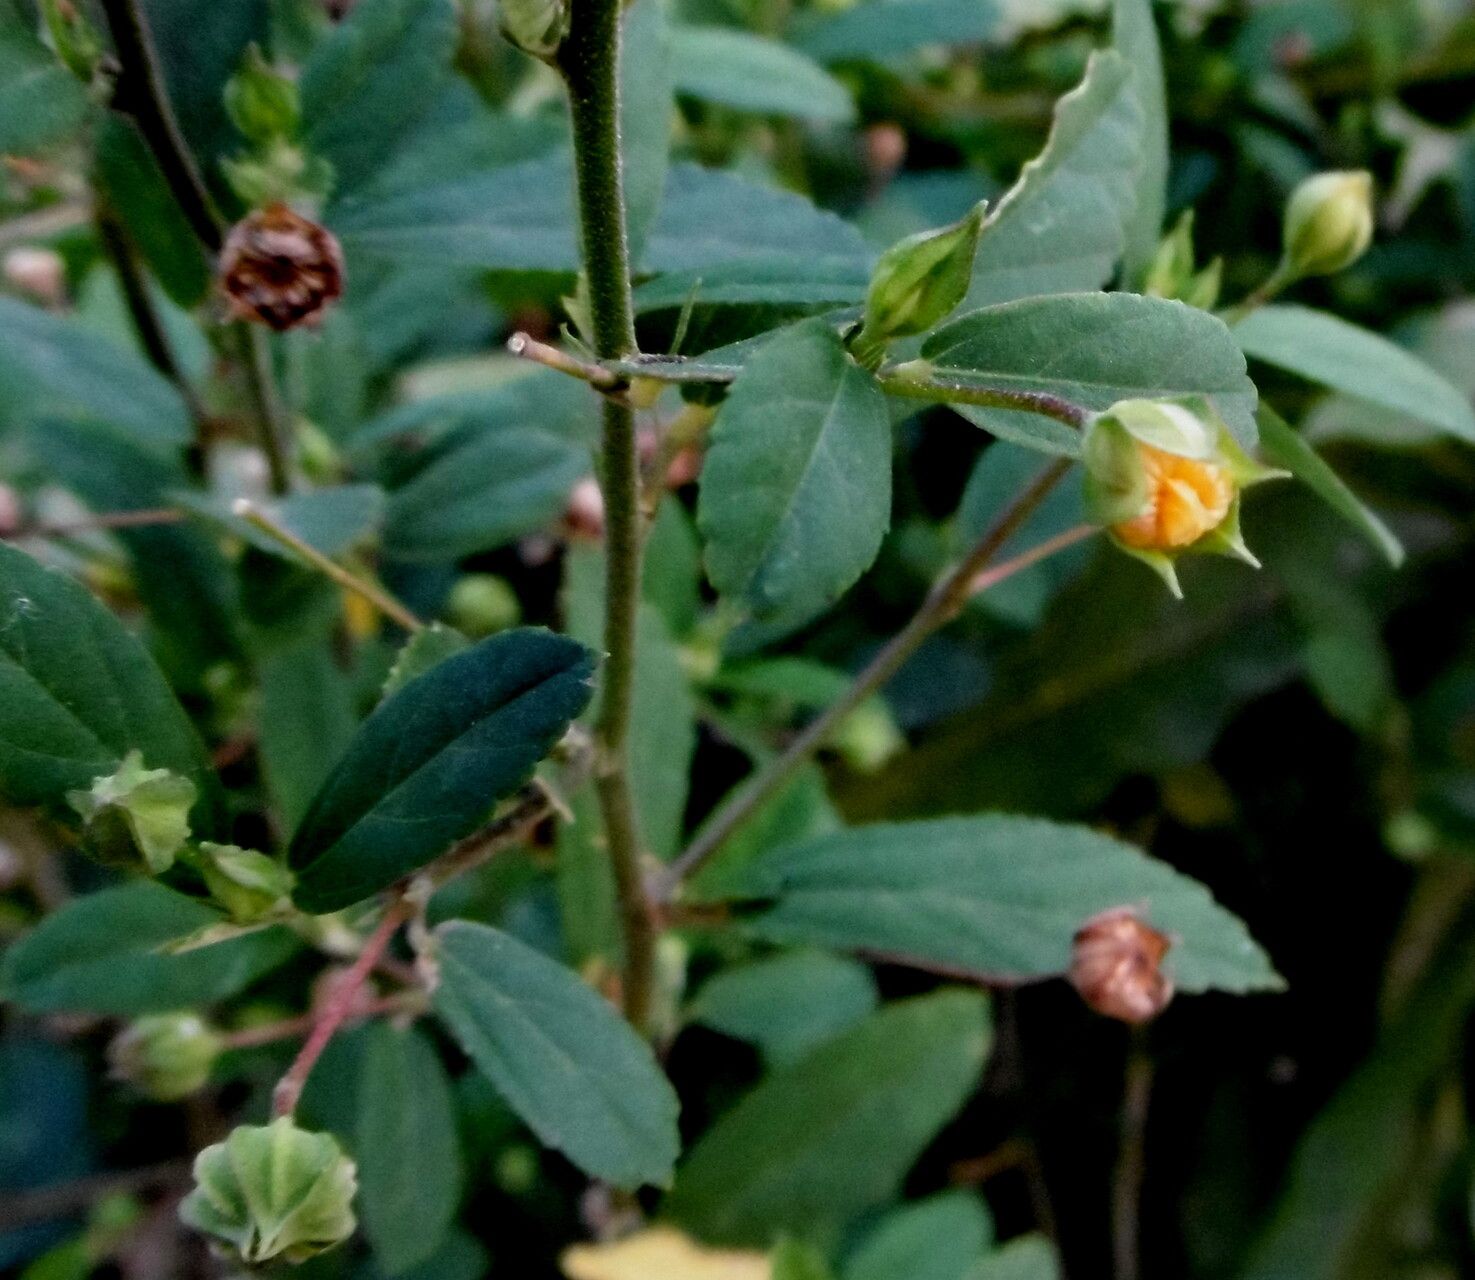
Oh, hello there! Come on in, grab a cuppa. I’m so glad you’re interested in Sida acuta. It’s one of those plants that just brings a smile to my face. Those lovely, cheerful yellow flowers, and the way they keep blooming, it’s a real winner in any garden. And the best part? It’s surprisingly easy to grow more of these beauties. You’ll be sharing them with friends in no time! If you’re just starting out with propagation, Sida acuta is a fantastic choice. It’s quite forgiving, which is always a relief when you’re learning the ropes.
The Best Time to Start
For the absolute best success rates with Sida acuta, I find that late spring to early summer is your golden window. This is when the plant is really in its prime, actively growing and bursting with energy. You’re essentially capturing that vigor to create new plants. You can also have success with cuttings in early fall, but spring just feels… more optimistic, doesn’t it?
Supplies You’ll Need
Alright, let’s get our little toolkit ready. Here’s what you’ll want to have on hand:
- Sharp pruning shears or a clean knife: For making clean cuts.
- Small pots or seed trays: Whatever you have that’s clean and has drainage holes.
- A good potting mix: I like a mix of peat moss or coco coir, perlite, and a little bit of compost. This provides good drainage and aeration, which is key. You can also buy a specific seed-starting mix.
- Rooting hormone (optional but helpful): A little boost can encourage faster root development.
- A mister or spray bottle: For keeping things humid.
- Plastic bags or a propagator lid: To create a mini-greenhouse effect.
- Water: Of course!
Propagation Methods
Sida acuta is wonderfully versatile. I usually rely on stem cuttings, as it’s straightforward and yields great results.
Stem Cuttings
This is my go-to method. It’s like taking a little piece of your happy plant and encouraging it to make its own roots.
- Take your cuttings: Look for healthy, non-flowering stems that are about 4-6 inches long. Use your sharp shears to make a clean cut just below a leaf node (that little bump where a leaf grows from).
- Prepare the cuttings: Gently remove the lower leaves, leaving just the top two or three. This prevents them from rotting in the soil. If you’re using rooting hormone, dip the cut end into it now, tapping off any excess.
- Plant the cuttings: Fill your pots or trays with your prepared potting mix. Make a small hole with your finger or a pencil, and gently insert the cut end of the stem. Firm the soil around it.
- Water and cover: Water the soil lightly. Then, cover the pot with a plastic bag or a propagator lid. This will help maintain high humidity, which is crucial for cuttings to root.
Water Propagation (A Quick Alternative)
While I prefer soil, you can also root Sida acuta in water.
- Prepare cuttings: Follow steps 1 and 2 above.
- Place in water: Put your cuttings in a clean jar or glass filled with water.
- Location: Place the jar in bright, indirect light.
- Watch for roots: You should start seeing small roots emerge within a few weeks. Once the roots are about an inch long, you can carefully pot them up into soil.
The “Secret Sauce” (Pro Tips)
Here are a few little tricks I’ve picked up over the years that really make a difference:
- Don’t let the leaves touch the water (in water propagation): If you’re rooting in water, make sure only the stem is submerged, not the leaves. Any leaves dipping into the water will just decay and can invite disease.
- Use bottom heat: If you have a heat mat for seedlings, a little gentle bottom warmth can significantly speed up rooting. It mimics the warmth of the soil in summer, encouraging those roots to sprout.
- Sterilize everything: I cannot stress this enough. Cleanliness is your best friend in propagation. Make sure your pots, tools, and even your hands are clean to avoid introducing any nasty bacteria or fungi that can kill your cuttings before they even get a chance.
Aftercare & Troubleshooting
Once you start seeing new growth or feel a little resistance when you gently tug on a cutting (a sign of roots!), it’s time for a bit more focused care.
- Gradually acclimate: Slowly remove the plastic bag or propagator lid over a few days to get your new plant used to normal humidity levels.
- Watering: Water when the top inch of soil feels dry. Don’t let them sit in soggy soil – that’s a recipe for disaster.
- Light: Give them bright, indirect light. They’re not ready for harsh, direct sun just yet.
Now, what if things aren’t going as planned? The most common issue I see is rot. If your cutting turns mushy and black, it’s usually a sign of too much moisture and not enough air circulation. Make sure your soil drains well and don’t overwater. Another sign of failure is if the cutting just wilts and never recovers, which can happen if it’s too dry, not enough humidity, or if the cutting just wasn’t viable to start with. Don’t get discouraged if a few don’t make it – it happens to the best of us!
A Encouraging Closing
So there you have it! Growing new Sida acuta plants from cuttings is a truly rewarding experience. It’s a wonderful way to expand your collection or share the joy of these beautiful plants with others. Be patient with the process, trust your instincts, and most importantly, enjoy every step of watching new life emerge. Happy propagating!
Resource:
https://identify.plantnet.org/k-world-flora/species/Sida%20acuta%20Burm.f./data