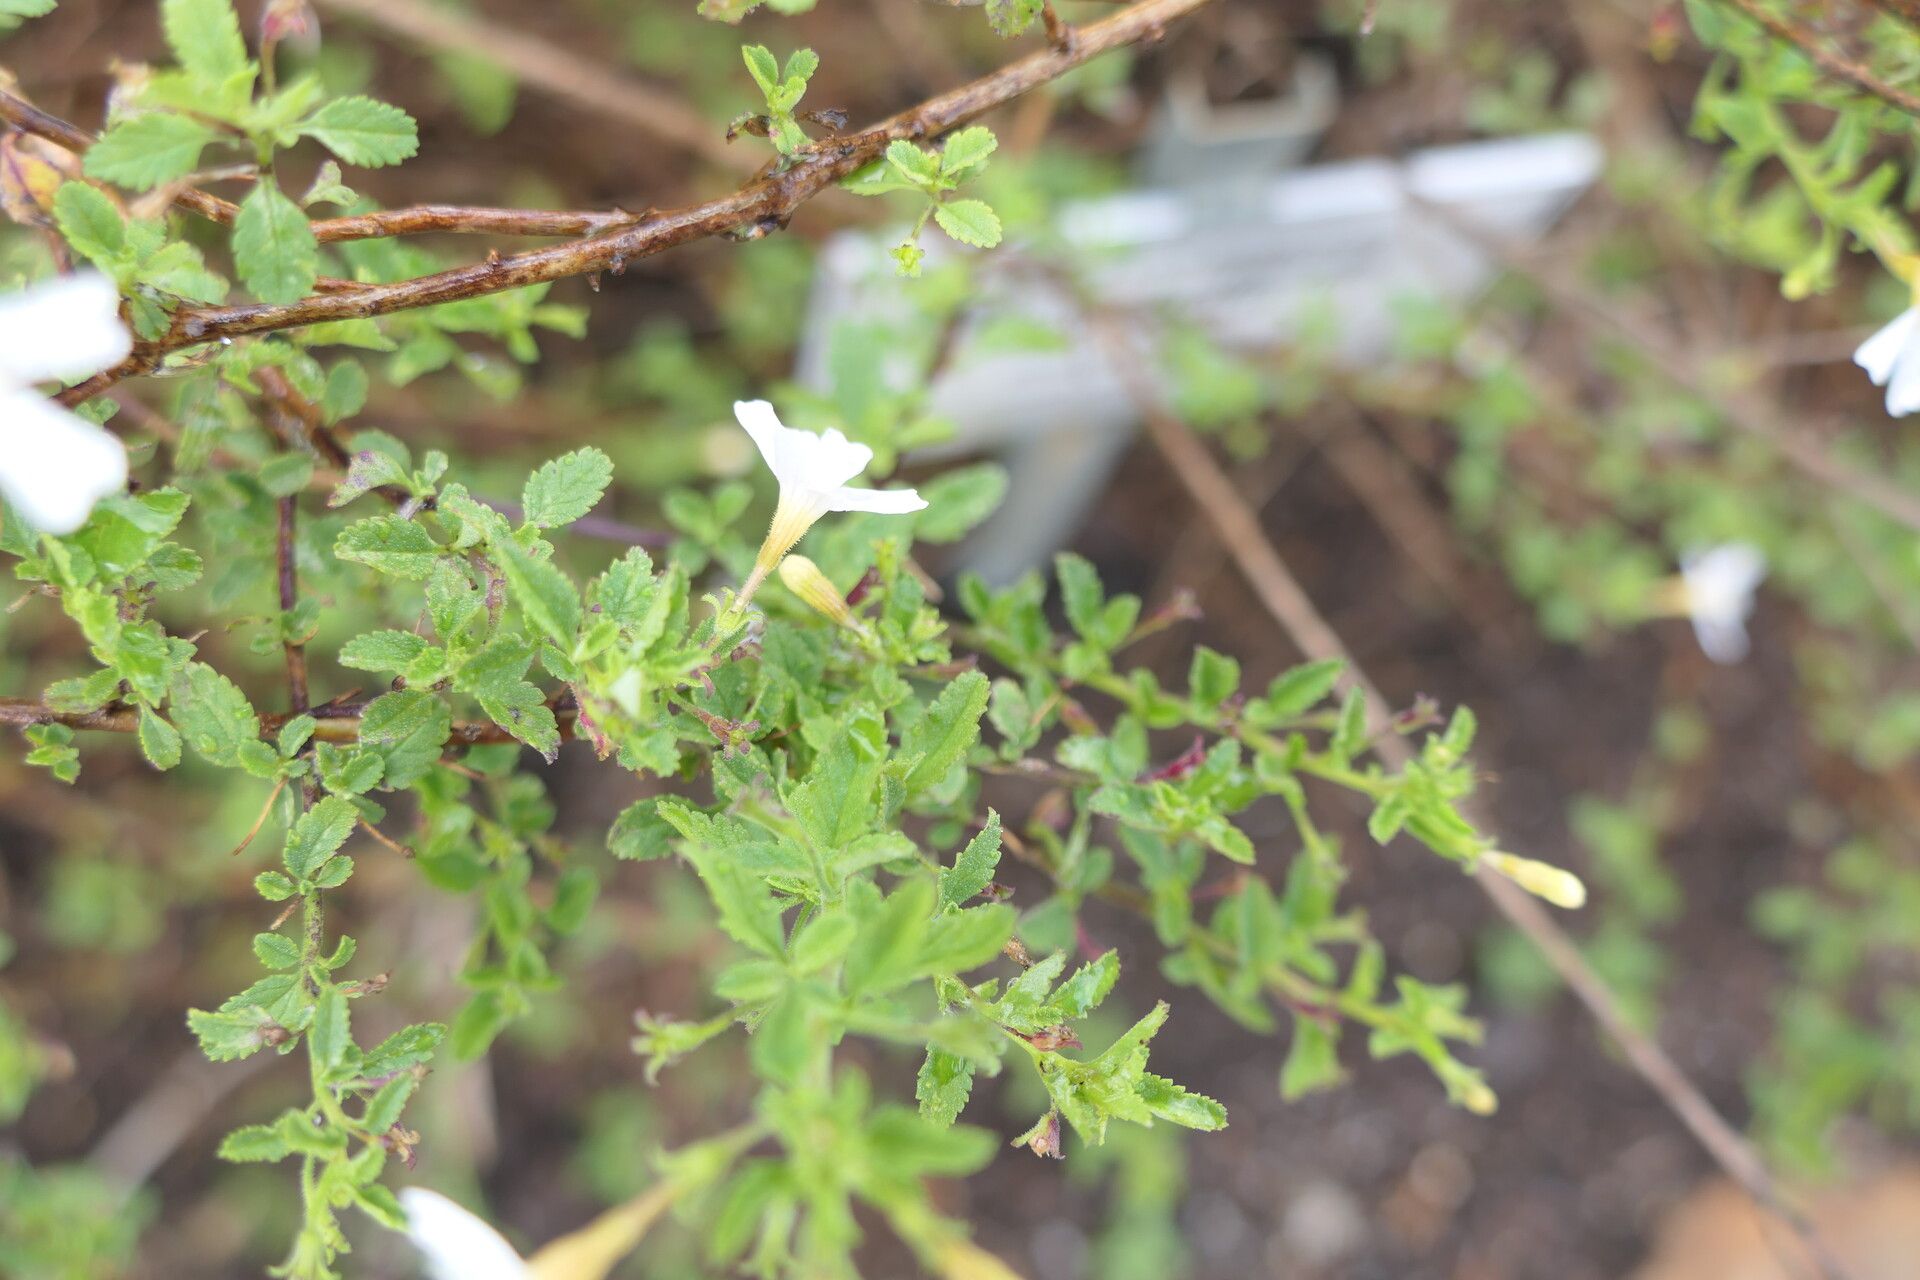
Oh, hello there! Pull up a chair and let’s chat about one of my absolute favorite flowering plants – the Jamesbrittenia tysonii. If you’re looking for a splash of vibrant color that just keeps on giving, you’ve found your gem. Those delicate yet prolific blooms, often a cheerful yellow or soft lavender, are simply irresistible. And the best part? Bringing more of these beauties into your garden, or sharing them with friends, through propagation is incredibly rewarding.
Now, I won’t lie to you, Jamesbrittenia tysonii can be a tad fussy when you’re first starting out with it. It’s not the “stick it in the ground and forget it” kind of plant. But don’t let that deter you! With a little patience and the right approach, you’ll be a Jamesbrittenia pro in no time. Think of it as a friendly challenge, a chance to really get to know your plant.
The Best Time to Start
For the highest success rate, spring is your golden ticket. Aim to start your propagation efforts once the plant is actively growing, usually after the last frost date in your area. This is when the plant has plenty of energy to put into new growth and root development. You can also take cuttings in early summer, but spring just seems to give them that extra boost.
Supplies You’ll Need
Gathering your tools ahead of time makes the whole process so much smoother. Here’s what I always have on hand:
- Sharp Pruning Shears or a Clean Knife: For taking clean cuts on your cuttings.
- Potting Mix: A well-draining, sterile potting mix is crucial. I usually go with a mix designed for seedlings or cuttings, often containing perlite or vermiculite for aeration. You can also make your own by combining equal parts peat moss and perlite.
- Small Pots or Seed Trays: Clean containers with drainage holes are essential.
- Rooting Hormone (Optional but Recommended): This can significantly speed up root formation and increase success. I prefer the powder form, but gel works too.
- Watering Can with a Fine Rose: For gentle watering.
- Plastic Bags or a Clear Dome: To create a humid environment for your cuttings.
- Labels or a Marker: To keep track of what you’ve planted and when!
Propagation Methods
Jamesbrittenia tysonii is best propagated from stem cuttings. This is my go-to method, and it’s usually quite effective if you follow a few key steps.
-
Take Your Cuttings: Head out to your Jamesbrittenia plant on a pleasant spring morning. Look for healthy, non-flowering stems. Gently select stems that are about 4-6 inches long. Using your clean shears or knife, make a clean cut just below a leaf node (that’s the point where a leaf attaches to the stem). Remove any flowers or flower buds from your cuttings – they take energy away from root development. Also, strip off the lower leaves, leaving just a few at the very top.
-
Prepare the Cuttings: If you’re using rooting hormone, dip the cut end of each stem into the powder or gel. Just a light coating is all you need.
-
Plant Your Cuttings: Fill your clean pots or trays with your prepared potting mix. Moisten the mix thoroughly but gently. Make a small hole in the center of the mix using a pencil or your finger. Insert the cut end of your prepared cutting into the hole, pushing it down about an inch. Gently firm the soil around the stem to ensure good contact.
-
Create a Humid Environment: This is a vital step! Water the soil gently once again. Now, cover the pots or trays with a clear plastic bag or a propagation dome. This will trap moisture and create the high humidity cuttings need to thrive. If you’re using a plastic bag, you might need to prop it up with stakes so it doesn’t touch the leaves.
-
Placement is Key: Find a bright spot with indirect sunlight. Direct sun can scorch your delicate cuttings. A windowsill that gets morning sun is often perfect.
The “Secret Sauce” (Pro Tips)
Now, for a couple of little tricks that have helped me immensely over the years.
- My absolute favorite trick is to use bottom heat. If you have a heat mat designed for seedlings, place your pots on top of it. This gentle warmth from below encourages root development like nothing else. You’ll see roots form much faster and more reliably.
- Don’t let the leaves touch the water if you’re attempting water propagation (though stem cuttings are generally more successful for Jamesbrittenia). If any leaves are submerged, they’ll rot and can take the whole cutting down with them. Even in soil, make sure the leaves are above the soil line.
Aftercare & Troubleshooting
Once your cuttings have been nestled in their humid little homes for a few weeks, it’s time to check for roots. You can gently tug on a cutting – if there’s resistance, you likely have roots! Another sign is new leaf growth.
Once you see good root development, gradually acclimate your new plants to normal conditions by removing the plastic bag or dome for increasing periods each day over a week. Continue to keep the soil consistently moist but not waterlogged. You can then transplant them into slightly larger pots as needed.
What if things go wrong? The most common culprit is rot. This usually happens when the soil is too wet, the air is too humid but not circulating, or if you’ve used unsterilized soil. If you see a stem turn mushy and black, it’s usually a lost cause. Remove affected cuttings immediately to prevent it from spreading. Good airflow is important, so make sure to open your humidity dome for a little while each day once roots start to appear.
A Little Patience Goes a Long Way
Propagating plants is a journey, not a race. Some cuttings will root quickly, others might take their sweet time. The most important thing is to stay patient, observe your plants closely, and enjoy the process of bringing new life into your garden. You’ve got this! And before you know it, you’ll have a whole windowsill brimming with your own Jamesbrittenia tysonii. Happy gardening!
Resource: