Oh, hello there! Come on in, pull up a chair. I’ve been meaning to chat with you about a little gem of a succulent: Crassula humbertii. If you’re looking for a charming, architectural addition to your collection that’s also surprisingly rewarding to multiply, this is it.
Why Propagate Crassula Humbertii?
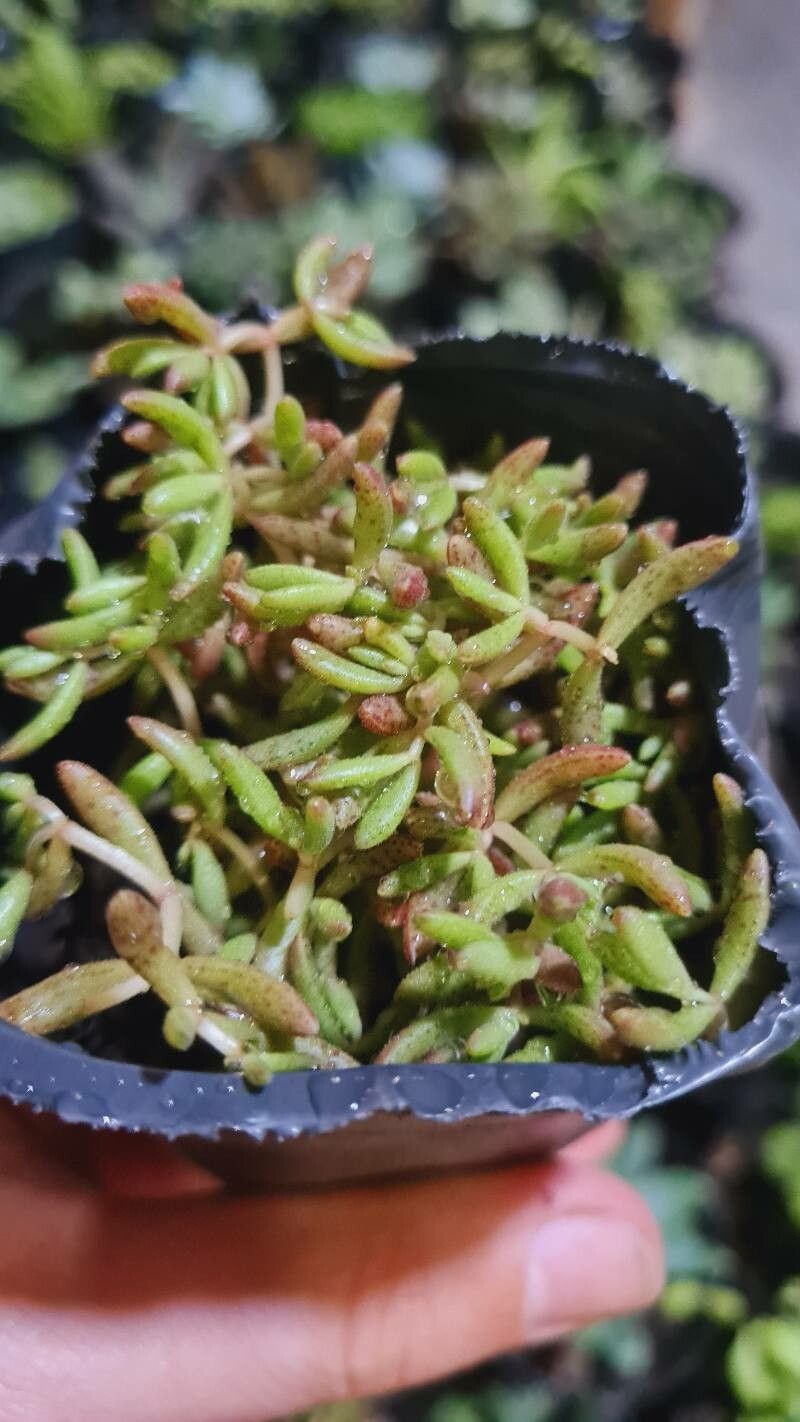
There’s something truly special about taking a piece of a plant you love and coaxing it into a whole new life. With Crassula humbertii, it’s not just about having more plants; it’s about experiencing that little thrill of creation. This succulent, with its tight rosettes of finger-like leaves, adds such an interesting texture to any arrangement. Happily, I can tell you right off the bat: propagating Crassula humbertii is quite beginner-friendly! You’ll be amazed at how easily it takes to new beginnings.
The Best Time to Start
Honestly, the ideal time to propagate any succulent, including our friend Crassula humbertii, is during its active growing season. For most succulents, this usually falls in the warm, sunny months of spring and summer. This is when the plant has the most energy to put into healing and rooting. You’ll see faster results then, though, in a pinch, I’ve had success even in late spring or early autumn. Just give them a little extra watchful care.
Supplies You’ll Need
Gathering your tools makes the whole process smoother. Here’s what I usually have on hand:
- Well-draining succulent/cactus potting mix: You really don’t want anything too heavy that holds moisture. A gritty mix is best.
- Clean, sharp pruning shears or a knife: For making clean cuts.
- Rooting hormone (optional but helpful): Especially if you’re new to this. It gives them a little boost.
- Small pots or trays: Terracotta pots are lovely as they allow the soil to breathe.
- Perlite or pumice: To further improve drainage if your mix feels a bit dense.
- Spray bottle: For gentle misting.
- A bright, indirect light location: Plenty of light is key, but direct, scorching sun can be too much initially.
Propagation Methods: Let’s Get Growing!
There are a couple of wonderfully easy ways to get more Crassula humbertii for yourself and to share.
Stem Cuttings: My Go-To
This is probably the most straightforward method, and it’s my personal favorite for Crassula humbertii.
- First, select a healthy branch or stem from your mature plant. Look for one that seems robust and well-formed.
- Using your sharp, clean shears or knife, make a clean cut just above a leaf node. This is the little bump where leaves emerge. I like to take cuttings that are at least a couple of inches long.
- Now, here’s a crucial step: let the cutting callus over. Place the cut stem in a dry, well-ventilated spot for 2-5 days. You’ll see the cut end dry up and form a protective scab. This prevents rot when you plant it.
- Once callused, dip the cut end into rooting hormone (if you’re using it).
- Gently insert the callused end into your prepared succulent mix. Don’t bury it too deeply, just enough so it stands upright.
- Place the pot in bright, indirect light. Resist the urge to water it right away. Wait a few days, then give it a very light watering.
Leaf Cuttings: Patience Rewarded
While stem cuttings are faster, you can propagate from leaves, though it takes more patience.
- Carefully twist or snip off healthy, plump leaves from the main plant. Make sure you get the entire leaf, right at the base where it joins the stem.
- Allow the leaf ends to callus over for a couple of days, just like with stem cuttings.
- Lay the callused leaves on top of your succulent soil mix. Do not bury them.
- Mist the soil lightly every few days. You should start to see tiny roots and a new rosette forming from the leaf end after several weeks. It’s truly magical!
The “Secret Sauce” (Pro Tips)
Here are a few little tricks I’ve picked up over the years that really make a difference:
- Don’t let the leaves touch the water: If you ever try water propagation (which I don’t recommend for humbertii as they are prone to rot), make sure only the stem touches the water, not the leaves. They hate sitting in moisture.
- Bottom heat is your friend: For stubborn cuttings, placing the pot on a seedling heat mat on a very low setting can significantly speed up root development. It mimics the warmth they love to feel in spring.
- Think about air circulation: Good airflow is vital. Avoid overcrowding your cuttings, and if you’re keeping them in a propagation tray, ensure it’s not sealed airtight. Breathe easy, little ones!
Aftercare & Troubleshooting
Once you see signs of new growth or feel a gentle tug on your cuttings when they’re planted, it means roots are forming! Congratulations!
- Start watering more regularly: Once roots are established, you can begin to water when the soil is completely dry, just like you would your mature Crassula humbertii.
- Gradually introduce to more light: As the new plantlet gets stronger, you can slowly acclimate it to brighter light conditions.
- Watch out for rot: The biggest enemy of nearly all succulents, especially during propagation, is overwatering and lack of drainage. If you see mushy leaves or stems that are black and soft, it’s usually a sign of rot. Unfortunately, if rot sets in, it’s often hard to save the cutting. This is why that callusing step is so important! If a leaf turns yellow and shrivels without rooting, it might just be a failed attempt – don’t get discouraged!
Keep Growing!
Propagating succulents like Crassula humbertii is a journey, and it’s one filled with the promise of more beauty. Be patient with your little ones. Some will root faster than others. Watch them, learn from them, and enjoy the incredibly rewarding process of bringing new life into your garden. Happy propagating!
Resource:
https://identify.plantnet.org/k-world-flora/species/Crassula%20humbertii%20Desc./data