Hello there, fellow garden enthusiasts!
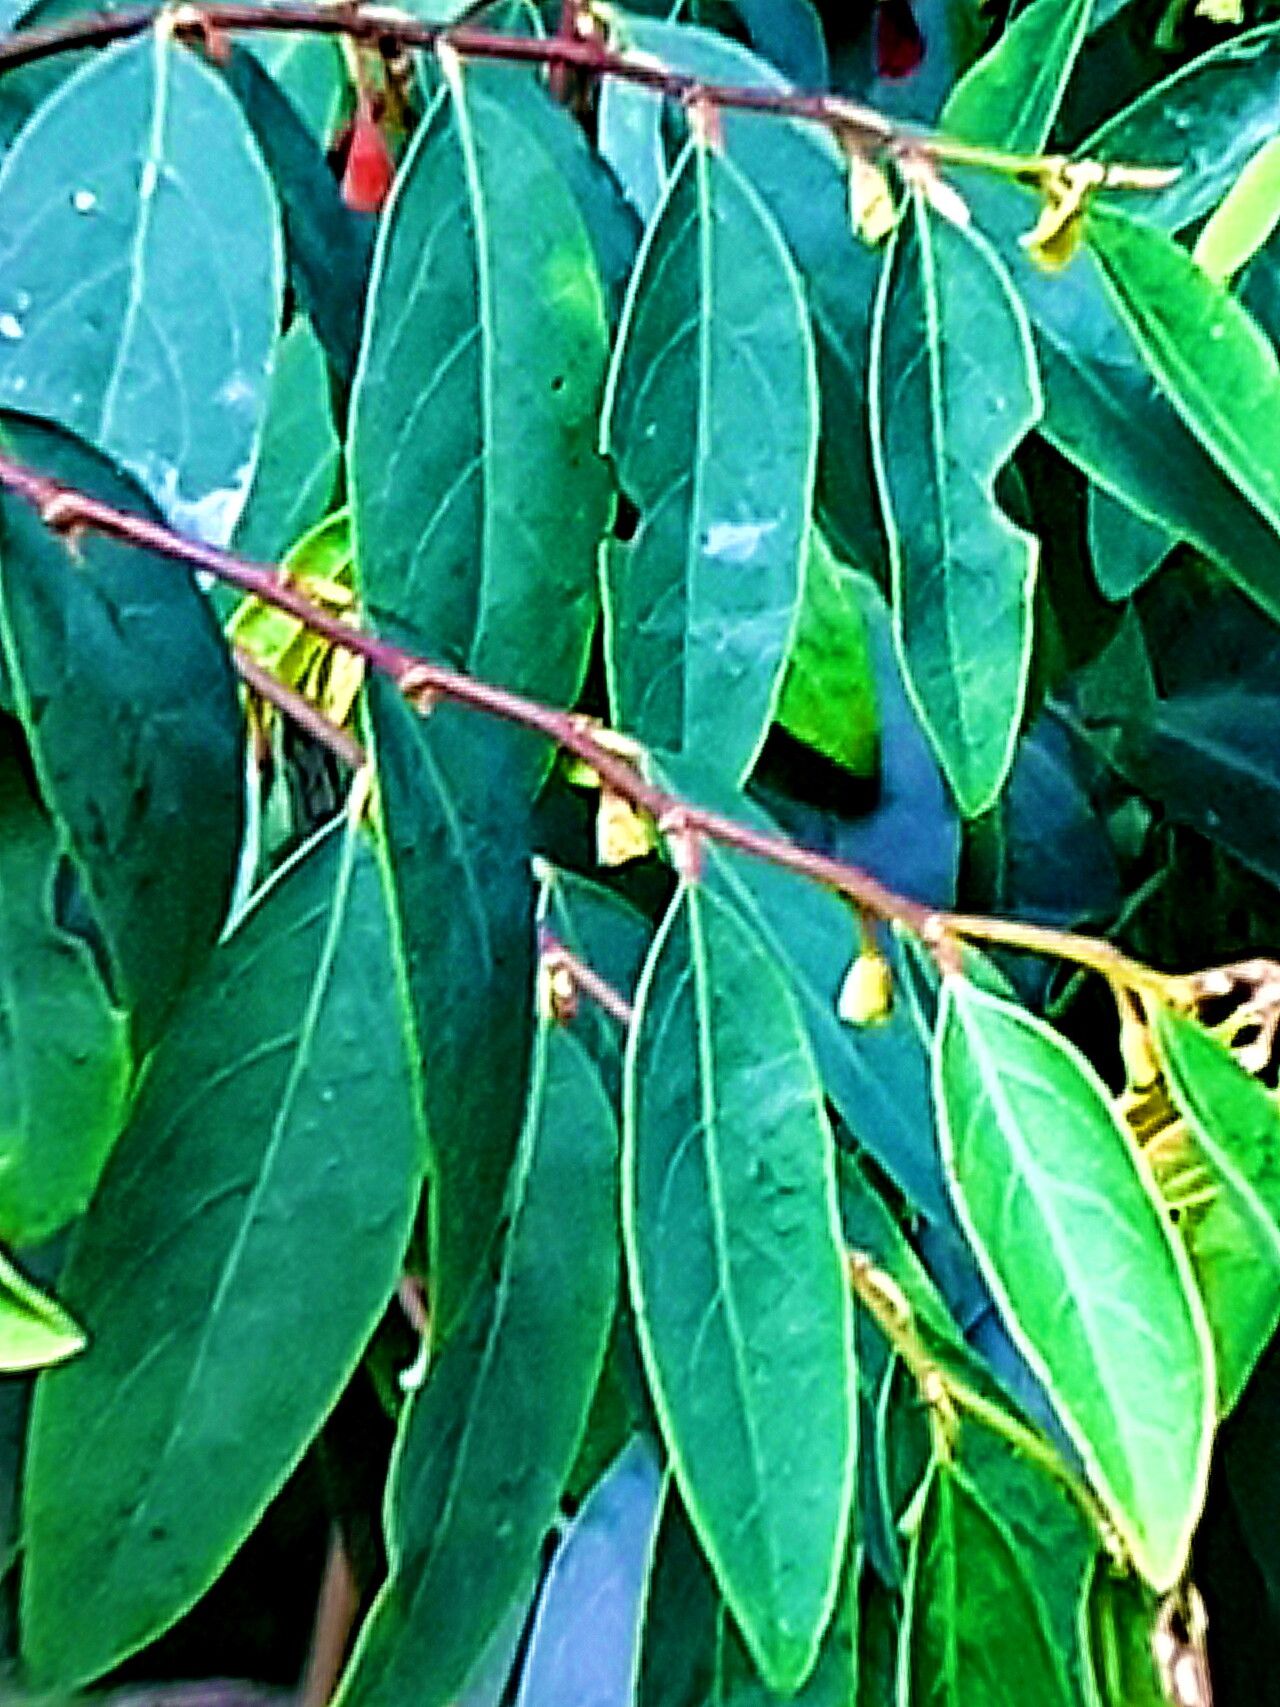
Today, we’re diving into the wonderful world of propagating Breynia oblongifolia, or as many of us know it, the graceful “Snow Bush.” If you’ve ever admired its delicate, cascading foliage and the subtle blush of pink that tinges its leaves, you’re in for a treat. Propagating this beauty isn’t just about getting more plants (though that’s certainly a joy!); it’s about understanding its life cycle and nurturing new beginnings. And the best part? Breynia oblongifolia is a remarkably beginner-friendly plant to propagate, making it a perfect starting point for anyone looking to expand their green collection.
The Best Time to Start
For the highest success rate with Breynia oblongifolia, I always aim to take cuttings in the late spring or early summer. This is when the plant is in its active growth phase, meaning it has plenty of energy to put into developing roots. Young, vigorous growth is always your best bet. You can also have success in the early autumn, but the results might be a little slower.
Supplies You’ll Need
Gathering your supplies ahead of time makes the whole process much smoother. Here’s what I keep on hand:
- Sharp, sterile pruning shears or a sharp knife: For clean cuts that are less prone to disease.
- Rooting hormone powder or gel (optional but recommended): This can significantly speed up and improve root development.
- Seed-starting mix or a well-draining potting mix: I often use a blend of peat moss, perlite, and a little bit of compost.
- Small pots or propagation trays: With drainage holes, of course!
- Plastic bags or a propagator lid: To create a humid environment.
- Watering can with a fine rose: For gentle watering.
- A warm, bright location: Out of direct, harsh sunlight.
Propagation Methods
I’ve had the most success with Breynia oblongifolia using stem cuttings. It’s straightforward and reliable.
- Select Your Cuttings: Look for healthy, non-flowering stems. You want stems that are a bit firm but not woody. Aim for cuttings that are about 4-6 inches long.
- Make the Cut: Using your clean shears, make a clean cut just below a leaf node. A leaf node is where a leaf emerges from the stem; this is where the magic of root formation often happens. Remove all but the top 2-3 leaves from the cutting. If the remaining leaves are very large, you can even cut them in half to reduce water loss.
- Apply Rooting Hormone: Dip the cut end of your stem into the rooting hormone, tapping off any excess. This is optional, but I find it gives my cuttings a fantastic boost.
- Potting Up: Gently insert the treated end of the cutting into your prepared potting mix. Make sure the leaf nodes are buried below the soil surface.
- Water In: Water the soil gently but thoroughly. You want the soil to be moist but not waterlogged.
- Create Humidity: Cover the pot with a plastic bag, securing it around the rim with a rubber band, or place it in a propagator with the lid on. This creates a mini greenhouse effect, which is crucial for cuttings to root.
- Placement: Place your potted cuttings in a warm spot with bright, indirect light. Avoid direct sunlight, as this can scorch the delicate cuttings.
The “Secret Sauce” (Pro Tips)
Here are a couple of things I’ve learned over the years that really help:
- Don’t go too deep with the cuttings: When you pot them up, just ensure a couple of leaf nodes are buried. Too much stem buried can increase the risk of rot.
- Think about bottom heat: If you have a heat mat, placing your propagation tray on it can dramatically speed up root development. A warm soil temperature encourages those roots to emerge more quickly.
- Keep it humid, but not soggy: Your humidity cover is key, but you don’t want condensation pooling excessively inside. If you see a lot of condensation, lift the cover for a few minutes to let it air out.
Aftercare & Troubleshooting
Once your cuttings have rooted, you’ll start to see a few signs of success. New leaf growth is the most obvious indicator! You might also feel a gentle tug when you lightly pull on the cutting – that’s the roots anchoring in.
Once you see good root development (you can gently check by carefully poking into the soil or looking for roots emerging from the drainage holes), it’s time to gradually acclimate your new plant to normal conditions. Start by removing the humidity cover for longer periods each day. Water it as you would a mature plant, allowing the soil to dry slightly between waterings.
The most common issue you might encounter is rot. This usually happens if the cuttings are kept too wet or in overly cool conditions. If you see your cutting turning brown and mushy, it’s likely succumbed to rot. Don’t be disheartened! Just discard the failed cutting and try again, perhaps adjusting your watering or ensuring better airflow. Overwatering is the biggest culprit here.
A Little Encouragement
Watching a new plant emerge from a simple stem cutting is truly magical. It takes patience, so don’t get discouraged if your first few attempts aren’t perfect. Every gardener, myself included, has had their share of failures. The key is to keep trying, learn from each experience, and most importantly, enjoy the process of nurturing life. Happy propagating!
Resource: