Hello fellow garden enthusiasts! It’s so nice to be sharing some planty wisdom with you today. We’re going to talk about something truly special: propagating Papaver laevigatum.
The Allure of the Poppy and the Joy of Making More
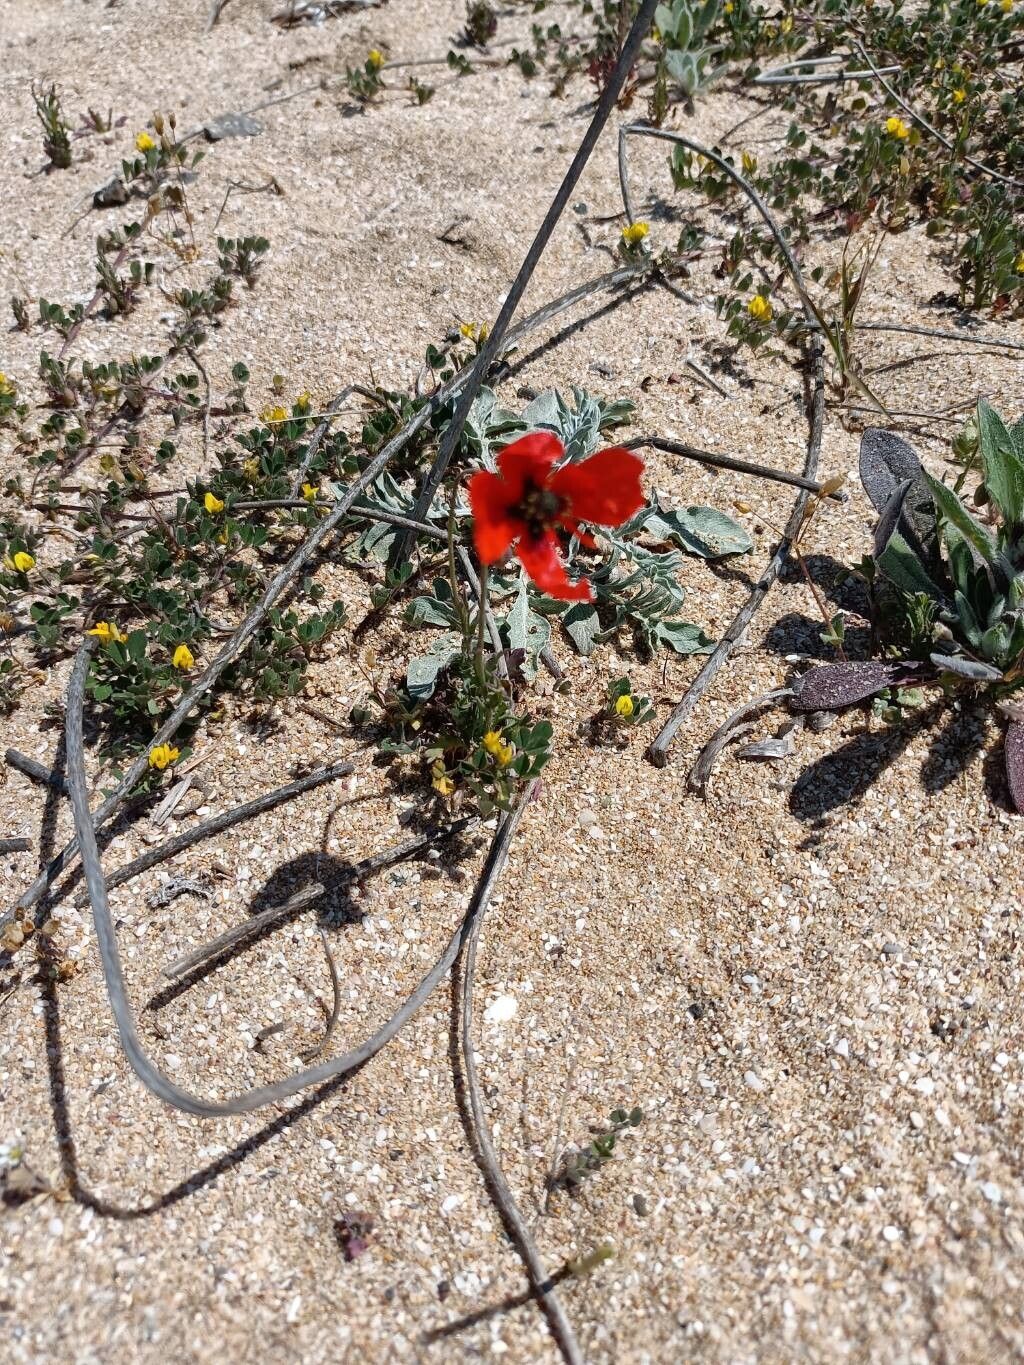
There’s something about the delicate, fleeting beauty of poppies that just captures my heart. Papaver laevigatum, often known as the smooth-fruited poppy, is no exception. Its vibrant blooms, often in shades of fiery red or soft orange, bring a burst of joy to any garden. And the thought of creating more of these beauties from just one plant? Well, that’s a gardener’s dream, isn’t it? Don’t let the idea of propagation intimidate you. While some plants can be a bit fussy, I’ve found Papaver laevigatum to be surprisingly accessible, even for those newer to the world of plant multiplication. It’s a truly rewarding endeavor.
The Best Time to Start
For the best chance of success with propagating Papaver laevigatum, I always aim for late spring to early summer. This is when the plant is actively growing and has plenty of energy to put into developing new roots. You’ll want to look for healthy, vigorous stems that are just starting to mature but haven’t yet flowered or set seed.
Supplies You’ll Need
Gathering your tools beforehand makes the whole process smoother. Here’s what I usually have on hand:
- A sharp, clean pair of pruning shears or a razor blade. Sterility is key!
- Seedling trays or small pots with good drainage.
- A well-draining potting mix. I often use a blend of peat moss, perlite, and a bit of compost. You can also buy pre-made seed starting mixes.
- Rooting hormone powder (optional, but it can give you a welcome boost).
- A clear plastic bag or propagation dome to create a humid environment.
- A spray bottle for misting.
Propagation Methods
Now, let’s get our hands dirty! For Papaver laevigatum, I’ve had the most consistent success with stem cuttings.
- Take Your Cuttings: Choose a healthy, non-flowering stem that is about 4-6 inches long. Make a clean cut just below a leaf node. A leaf node is where a leaf attaches to the stem, and it’s rich in the cells that can develop into roots.
- Prepare the Cuttings: Gently remove the lower leaves from the cutting, leaving just a couple of leaves at the top. If your cutting is long, you can even trim those top leaves in half to reduce water loss.
- Apply Rooting Hormone (Optional): Dip the cut end of the stem into rooting hormone powder, tapping off any excess. This helps to encourage root development.
- Plant Your Cuttings: Fill your pots or trays with your prepared potting mix. Make a small hole with a pencil or your finger and insert the cut end of the stem about an inch deep. Gently firm the soil around the cutting.
- Create a Humid Environment: Water the soil lightly. Then, cover the pots or trays with a clear plastic bag or propagation dome to maintain humidity. This is crucial for cuttings as they don’t have roots to absorb water yet.
The “Secret Sauce” (Pro Tips)
After all these years in the garden, I’ve picked up a few tricks that often make a big difference.
- Don’t let the leaves touch the water (if misting): While humidity is essential, try to avoid leaves sitting directly in water if you’re misting frequently or if condensation builds up heavily. This can lead to rot. Good airflow is also important.
- Bottom heat is your friend: If you have access to a propagation mat or a slightly warmer windowsill, providing a little gentle bottom heat can significantly speed up root formation. The soil temperature should be around 70-75°F (21-24°C). For Papaver laevigatum, this little warmth can really give them a nudge.
- Be patient with pollination: Unlike some other propagation methods that rely on vegetative growth, if you’re attempting seed propagation, ensure good pollination. Gently tap the flower heads to help release pollen, or use a small brush to transfer pollen from one flower to another.
Aftercare & Troubleshooting
Once your cuttings have been planted, keep them in a bright, indirect light location. Mist them regularly to keep the soil evenly moist, but avoid waterlogging. You’ll know your cuttings are taking root when you see new growth appearing. This can take anywhere from 3 to 6 weeks. Don’t be tempted to tug on them too early!
The most common problem you might encounter is rot. This usually happens when the soil stays too wet and there isn’t enough airflow. If you see a cutting looking limp, mushy, or developing brown spots, it’s likely succumbing to rot. Remove it immediately to prevent it from spreading to other cuttings.
A Gentle Closing
Watching something grow from a small cutting into a beautiful, blooming plant is one of the most satisfying feelings for a gardener. Be patient with your Papaver laevigatum cuttings. Nature works on its own timeline, and the joy of creating new life in your garden is truly worth the wait. Happy propagating!
Resource:
https://identify.plantnet.org/k-world-flora/species/Papaver%20laevigatum%20M.Bieb./data