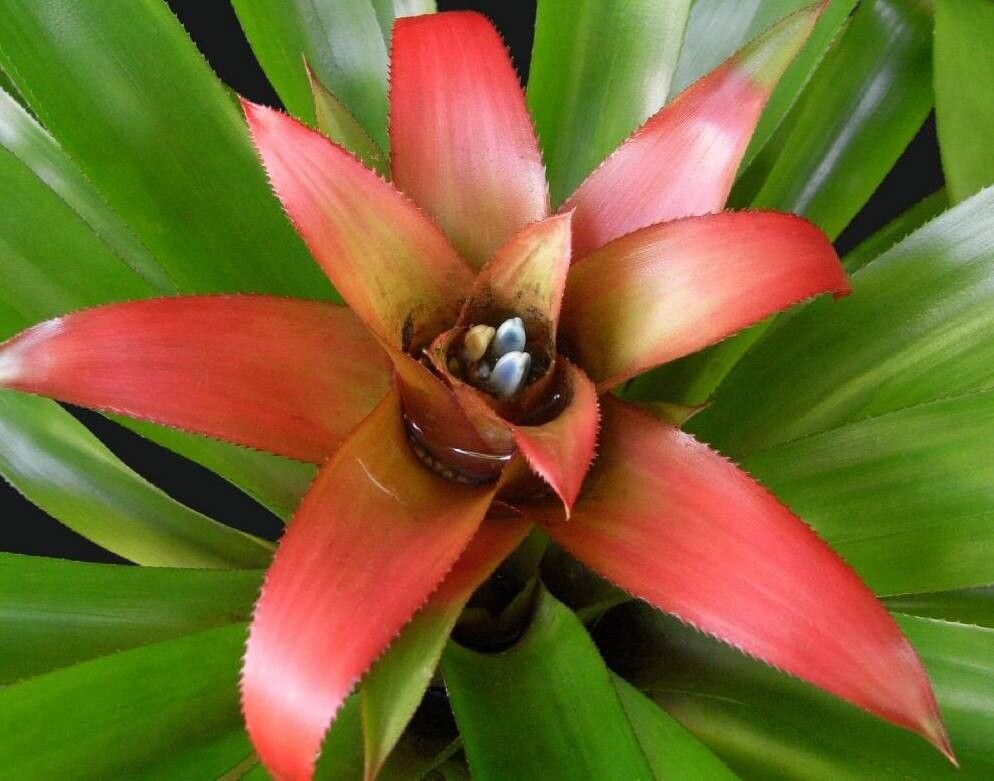
Oh, Nidularium procerum! If you’ve ever seen one of these beauties gracing a collection, you’ll know exactly what I mean. Their striking, bromeliad-like rosettes, often with vibrant colors emerging from the center, are just so eye-catching. And the best part? They make more of themselves! Propagating them is a wonderfully rewarding experience, and while they might seem a bit exotic, their pups come off pretty readily. For a beginner, I’d say it’s a moderately easy project, especially if you’re a little patient.
The Best Time to Start
The key to success with Nidularium procerum is to work with your plant when it’s actively growing. This usually means late spring through early autumn. You’ll know it’s the perfect time because your established plant will have produced little baby plants, or “pups,” emerging from the base. These pups will have started to develop their own roots, which makes separating them so much easier.
Supplies You’ll Need
Gathering your tools beforehand makes the whole process a breeze. Here’s what I always have on hand:
- Sharp, clean pruning shears or a small, sharp knife: For making clean cuts. Sterilize them with rubbing alcohol between uses to prevent disease.
- Well-draining potting mix: A blend of coco coir, perlite, and a bit of orchid bark works wonderfully. You want something that dries out quickly.
- Small pots or containers: Enough to give each pup its own space. Look for pots with drainage holes!
- Rooting hormone (optional but recommended): A powder or liquid can give your pups a little boost.
- A spray bottle: For misting.
- Labels and a marker: To keep track of what you’ve potted and when.
Propagation Methods
For Nidularium procerum, the most straightforward and successful method is division of pups. They naturally produce these little offset plants, and that’s our golden ticket.
- Inspect your parent plant: Look for those adorable little pups at the base. Ideally, they should be at least a quarter of the size of the mother plant and look like they’re developing their own tiny roots. You might even be able to gently feel them wiggle.
- Gently tease apart: Sometimes, you can actually pull the pups away from the mother plant with your hand, especially if they have a decent root system already. If they’re a bit stubborn, that’s where your clean pruning shears or knife come in. Carefully cut the pup away from the parent plant, making sure to get as many roots as possible with the pup. Try to cut as close to the mother plant as you can without damaging her.
- Let them callous: This is a crucial step! After separating the pup, lay it on a dry paper towel in a bright spot (but not direct sun) for about 24-48 hours. This allows the cut surface to dry and form a protective callus. This dramatically reduces the risk of rot when you plant it.
- Potting up: Once calloused, it’s time to pot. Lightly dampen your well-draining potting mix. Gently place the base of the pup into the soil, burying the root ball. You don’t need to pack the soil too tightly.
- Initial watering: Give the newly potted pup a light watering. You want the soil to be moist, not soggy.
The “Secret Sauce” (Pro Tips)
Here are a couple of tricks I’ve learned over the years that really make a difference:
- Don’t overwater, ever: Bromeliads, in general, are prone to rot if their roots stay wet for too long. After that initial watering, let the soil dry out significantly between waterings. A good rule of thumb is to stick your finger about an inch into the soil; if it feels dry, it’s time to water again.
- Humidity is your friend for rooting: While you don’t want the soil wet, new pups love a humid environment to encourage root growth. After potting, you can loosely tent a clear plastic bag over the pot for a week or two, or place the pot in a tray of pebbles filled with water (making sure the pot isn’t sitting in the water, just above it). This creates a mini-greenhouse effect without waterlogging the soil.
- Consider bottom heat: If you’re propagating in a cooler environment or during the off-season, a gentle bottom heat mat can really speed up root development. It mimics the warm soil of their native tropical homes.
Aftercare & Troubleshooting
Once your pup has been potted and calloused, it’s time to let nature take its course. Keep it in a bright, indirect light location. Resist the urge to constantly tug on it to see if it has roots – this can damage delicate new growth! Wait at least 4-6 weeks before gently trying to see if there’s any resistance when you tug.
The most common issue you’ll face is rot. If you notice the pup turning mushy, brown, or developing black spots, it’s likely getting too much moisture. If caught early, you can try carefully removing it from the pot, cutting away any rotted parts with a clean knife (even healthy-looking tissue if you suspect it’s spreading), letting it callous again, and re-potting in fresh, dry soil. Sadly, sometimes rot can spread aggressively, and you might lose a pup. Don’t despair!
A Fond Farewell
Propagating Nidularium procerum is a journey. Some pups will take off like little rockets, while others might be a bit slower to get established. Be patient, trust your instincts, and keep those watering cans under control. There’s a special kind of joy in watching a tiny pup grow into a magnificent plant, all thanks to a little bit of your care and attention. Happy propagating!
Resource:
https://identify.plantnet.org/k-world-flora/species/Nidularium%20procerum%20Lindm./data