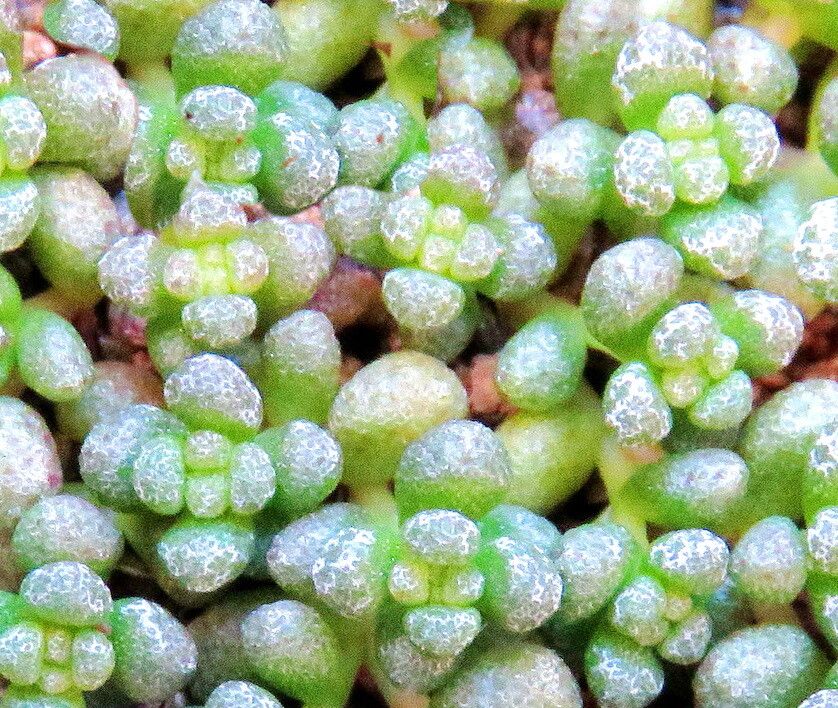
Oh, Crassula corallina! Now there’s a little gem for your succulent collection. I’ve always been drawn to its delicate, segmented leaves that truly look like tiny coral branches. It’s a plant that adds such unique texture to a windowsill or a dish garden. And the best part? Propagating it is a wonderfully rewarding experience, and thankfully, it’s pretty generous with its babies. Even if you’re just dipping your toes into the world of plant propagation, you’ll find Crassula corallina to be a forgiving friend.
The Best Time to Start
For the highest chance of success, I always find that spring and early summer are the golden periods for propagating Crassula corallina. This is when the plant is actively growing and has the energy to put out new roots. Aim to take cuttings when the plant is healthy and vigorous, not when it’s stressed from extreme heat or cold.
Supplies You’ll Need
Here’s what you’ll want to have on hand:
- Sharp, clean pruning shears or a craft knife: For making clean cuts.
- Well-draining succulent or cactus potting mix: This is crucial! You can buy a pre-made mix or create your own with potting soil, perlite, and coarse sand.
- Small pots or seed trays: With drainage holes, of course.
- Rooting hormone (optional but helpful): A little bit can speed things up.
- Spray bottle: For gentle misting.
- Small pebbles or grit (optional): To help with aeration.
Propagation Methods
Crassula corallina is a champ at multiplying, and here are my go-to methods:
Stem Cuttings
This is my absolute favorite for Crassula corallina. It’s straightforward and yields results quickly.
- Select a healthy stem: Look for a stem that’s not too leggy and has plenty of intact leaves.
- Make a clean cut: Using your sharp shears or knife, sever the stem about an inch or two below a leaf node. Make sure your tool is clean to prevent introducing any nasties.
- Allow it to callus: This is a super important step! Lay the cutting on a dry surface (not in soil yet!) for 2-3 days. You’ll see the cut end dry over and form a protective layer, called a callus. This prevents rot when it goes into the soil.
- Plant it up: Once callused, gently insert the cut end into your well-draining succulent mix. You can add a little rooting hormone to the stem end before planting if you like.
- Water sparingly: Wait a few days after planting before giving it its first light watering. The goal is to keep the soil barely moist, not wet. Overwatering at this stage is the quickest way to lose your cutting.
Leaf Cuttings
While stem cuttings are usually more reliable for Crassula corallina, you can sometimes get lucky with individual leaves. It takes more patience, though.
- Gently detach a leaf: Carefully twist and pull a healthy leaf from the parent plant. Try to get the entire base of the leaf.
- Callus: Just like with stem cuttings, let the leaf callus over for a day or two.
- Lay on the soil: Place the callused leaf on top of your succulent mix. Don’t bury it.
- Mist gently: Lightly mist the soil around the leaf every few days, keeping it just barely moist. You’re not watering the leaf directly, but encouraging the roots to grow towards the moisture. You won’t see much happening for a while, so patience is truly key here.
The “Secret Sauce” (Pro Tips)
Here are a couple of things I’ve learned over the years that really make a difference:
- Don’t overcrowd your cuttings: Give each stem cutting or leaf enough space in its pot. They need air circulation to prevent fungal issues. If you’re propagating a bunch, use multiple small pots rather than one large tray where everything is crammed together.
- Bottom heat is your friend: If you’re finding your cuttings are slow to root, especially in cooler conditions, try placing your pots on a seedling heat mat. This gentle warmth from below can significantly encourage root development. Just make sure the mat isn’t too hot – you don’t want to cook your little plants!
Aftercare & Troubleshooting
Once your cutting shows signs of new growth – tiny leaves or a visible root system pushing the stem slightly – you can treat it like a miniature version of the parent plant.
- Gradual introduction to light: Start it in bright, indirect light. As it establishes, you can slowly acclimate it to more direct sun, depending on your conditions.
- Watering: Continue with infrequent but thorough watering. Let the soil dry out completely between waterings.
- Signs of trouble: The most common issue is rot. If your cutting turns mushy, black, or just seems to disintegrate, it’s likely due to too much moisture. If you see this, gently pull it out, allow any remaining healthy parts to dry and callus, and try again. If a leaf cutting shrivels up immediately, it might be too dry.
A Encouraging Closing
Remember, propagation is as much about the process as it is about the result. Don’t get discouraged if a cutting doesn’t make it – it’s all part of learning and growing. Be patient, keep an eye on your little creations, and enjoy the satisfaction of watching new life emerge from a tiny piece of your favorite plant. Happy propagating!
Resource:
https://identify.plantnet.org/k-world-flora/species/Crassula%20corallina%20L.f./data