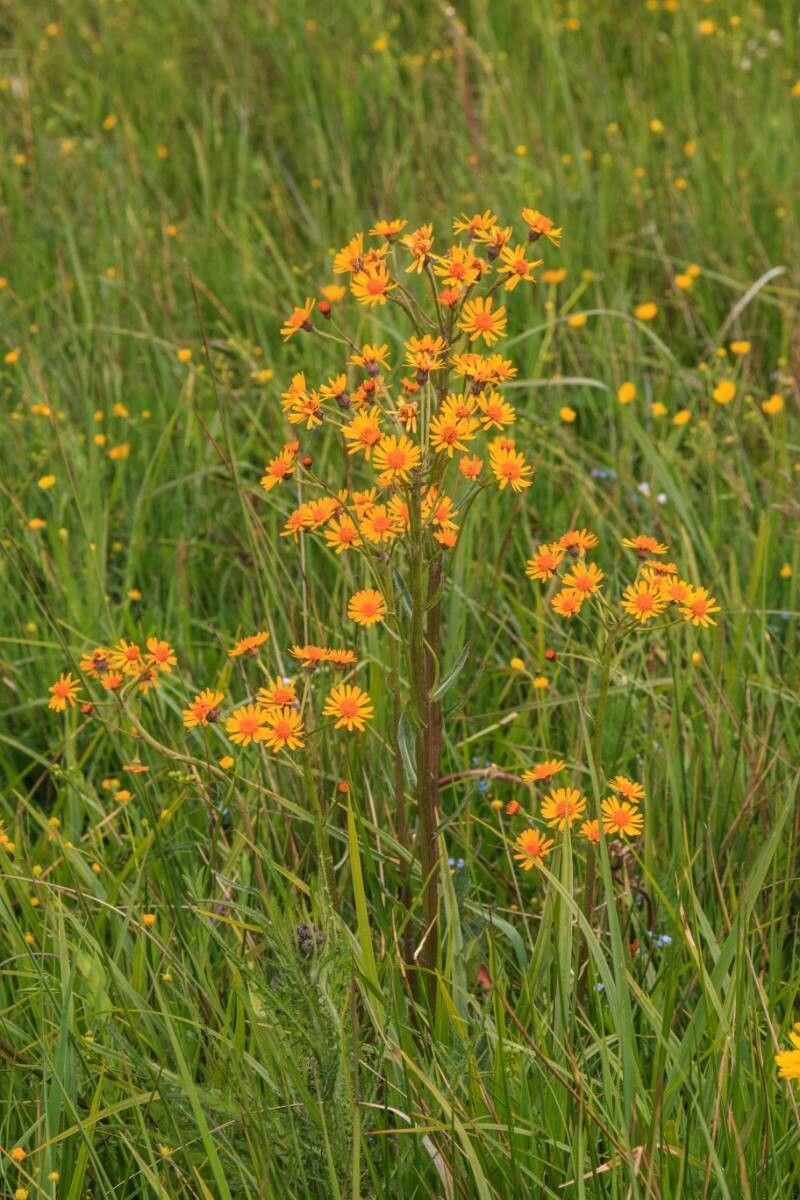
Oh, hello there! Come on in, pull up a chair. I’m so glad you’re interested in propagating Tephroseris integrifolia. It’s such a charming little plant, isn’t it? Those cheerful, daisy-like flowers just seem to radiate sunshine, and the strap-like, slightly fleshy leaves have a lovely understated beauty all their own. Getting more of these beauties from just one plant is incredibly satisfying. It’s like sharing a secret, and trust me, Tephroseris integrifolia is a pretty easy plant to get started with, even for absolute beginners. You’ll be amazed at how quickly you can fill up a garden space or share with friends.
The Best Time to Start
For the highest success rate with Tephroseris integrifolia, late spring to early summer is your golden window. This is when the plant is actively growing, full of energy, and has plenty of healthy new shoots. Waiting until after the main flowering flush is also a good idea, as you’ll have strong stems to work with. Trying to propagate when the plant is dormant or stressed by extreme heat will be a much tougher uphill battle.
Supplies You’ll Need
Gathering your tools beforehand makes the whole process so much smoother. Here’s what I always have on hand:
- Sharp pruning shears or a clean knife: For making clean cuts. Think surgical precision, but with plants!
- Potting mix: A well-draining mix is absolutely crucial. I like a blend of equal parts peat moss or coco coir, perlite, and a bit of coarse sand.
- Small pots or propagation trays: Clean pots are key to preventing disease. Tiny ones are perfect for new cuttings.
- Rooting hormone (optional but recommended): This can give your cuttings an extra boost to get going. Look for one formulated for stem cuttings.
- Watering can or spray bottle: For gentle watering.
- Labels or plant tags: To keep track of what you’ve planted and when.
- Plastic bag or clear dome: To create a humid environment.
Propagation Methods
Tephroseris integrifolia is quite forgiving and can be propagated using a couple of different methods. I find stem cuttings to be the most reliable and easiest way to go.
Stem Cuttings
- Select healthy stems: Look for non-flowering, vigorous new growth. You want stems that are firm but not woody.
- Make clean cuts: Using your sharp shears or knife, cut stems about 3 to 4 inches long. Make the cut just below a leaf node (where a leaf attaches to the stem). This is where the magic happens, as roots will emerge from these nodes.
- Prepare the cuttings: Gently remove the lower leaves from the bottom 1-2 inches of the stem. You can leave the top leaves on, but if they are very large, you might want to trim them in half to reduce water loss.
- Apply rooting hormone (optional): Dip the cut end of the stem into your rooting hormone powder or gel, tapping off any excess.
- Plant the cuttings: Fill your small pots with your well-draining potting mix. Make a small hole with your finger or a pencil and gently insert the cut end of the stem into the mix. Firm the soil gently around the base to ensure good contact.
- Water gently: Water thoroughly but gently, making sure the soil is moist but not waterlogged.
- Create humidity: Place the potted cuttings in a plastic bag or cover them with a clear dome. This trapped humidity is their best friend while they’re trying to root. Ensure the leaves aren’t directly touching the plastic.
- Find a good spot: Place the pots in a bright location, but out of direct, harsh sunlight. A windowsill that gets bright, indirect light is ideal.
Division (Another Option)
If your plant is already quite mature and starting to clump, division is a wonderful way to propagate and also give your original plant a little refresh.
- Carefully dig up the plant: In late spring or early summer, gently dig around the base of your Tephroseris integrifolia and lift the entire clump.
- Clean off excess soil: Gently brush away some of the soil so you can see the individual growing points.
- Separate the divisions: You can usually tease apart the root ball with your hands. If it’s a bit stubborn, you can use a clean trowel or knife to cut through thicker roots. Aim for divisions that have both roots and some healthy shoots.
- Replant: Pot up the new divisions as you would the original plant, using your well-draining mix. Water them in well.
The “Secret Sauce” (Pro Tips)
Here are a few little tricks I’ve learned over the years that can really make a difference:
- Bottom Heat is Your Friend: For stem cuttings, placing your pots on a heated propagation mat can dramatically speed up root formation. It mimics the warmth of summer soil, encouraging those roots to get busy.
- Don’t Over-Water! This is a biggie. It’s so tempting to keep them moist, but soggy soil is the fastest way to invite rot. Let the top inch of soil dry out slightly between waterings. For cuttings in a humid environment, they’ll need even less fresh water.
- Patience is a Virtue (and a Gardener’s Superpower): Especially with stem cuttings, you might not see signs of rooting for several weeks. Try to resist the urge to constantly poke and prod. If you give them a gentle tug and feel resistance, that’s a good sign roots are forming!
Aftercare & Troubleshooting
Once your cuttings have developed a good root system – you’ll know because they’ll start to grow new leaves and will resist a gentle tug – it’s time to move them out of their humid environment. Gradually acclimate them by opening the plastic bag a little each day for a few days.
Water them as you would any other young plant, keeping the soil consistently moist but not soggy. As they grow, you can transplant them into slightly larger pots.
Watch out for rot, which will show up as mushy, brown stems, often at the soil line. This is usually a sign of overwatering or poor drainage. If you see this, act fast! You might be able to salvage a healthy tip if you catch it early enough for another cutting. Sometimes, wilting leaves can also be a sign of stress, either from too much water, not enough water, or insufficient light. Just observe your little ones and learn what they’re telling you.
A Little Encouragement
Growing new plants from cuttings is such a rewarding journey. It connects you to the plant’s life cycle in a really tangible way. Don’t be discouraged if every single cutting doesn’t make it; that’s just part of the process. Just keep observing, keep learning, and most importantly, keep enjoying the magic of growing. Happy propagating!
Resource:
https://identify.plantnet.org/k-world-flora/species/Tephroseris%20integrifolia%20(L.)%20Holub/data