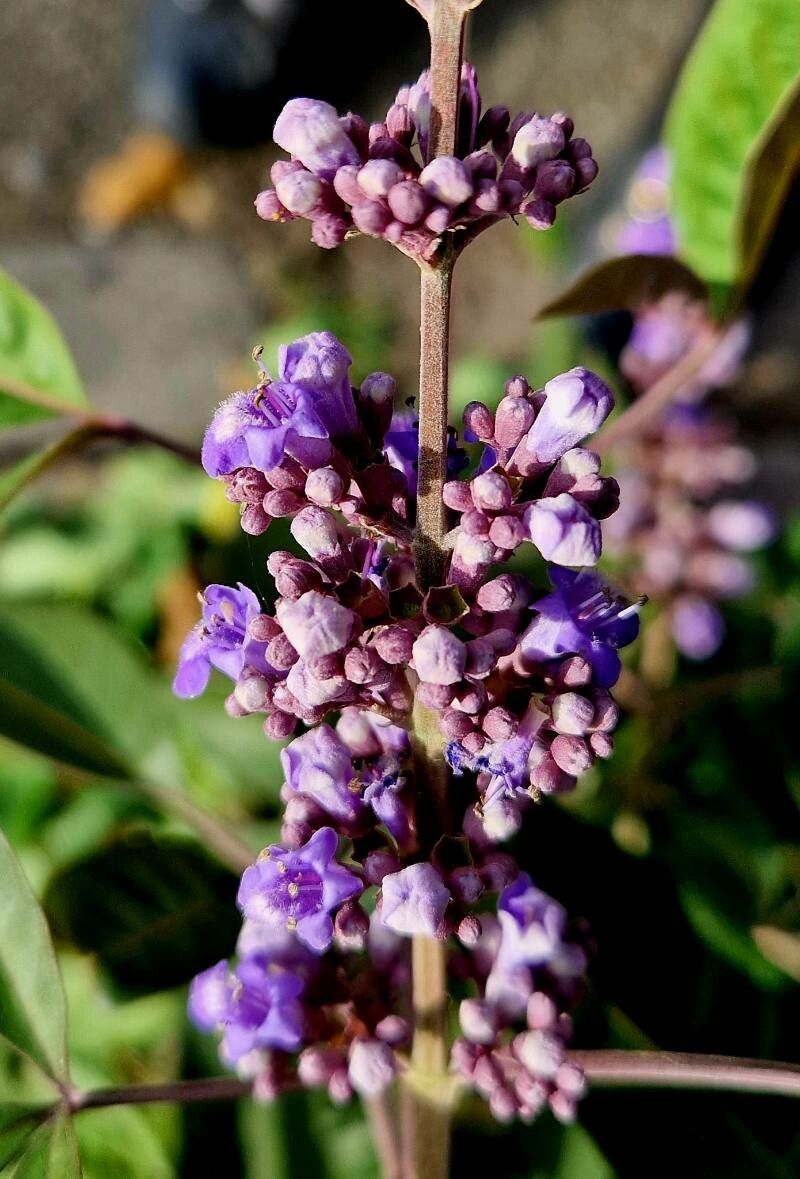
Oh, hello there! So, you’ve fallen for the delightful charm of Vitex negundo, have you? I can absolutely see why. Those lovely, silvery-green leaves and the bursts of fragrant purple flowers are just a dream, especially in the heat of summer. It’s a plant that brings a bit of a wild, almost Mediterranean feel to the garden, and honestly, it’s quite hardy once it gets going. The best part? Propagating it is surprisingly achievable, even for those of you just dipping your toes into the gardening world. Getting more of these beauties for yourself or to share with friends is a truly rewarding experience.
The Best Time to Start
For the highest success rate with Vitex negundo, I always recommend working with semi-hardwood cuttings. This means you want to take them when the current season’s growth has started to mature but is still a little flexible. Think late spring through mid-summer. The stems will have a bit of substance to them, but they haven’t fully hardened off yet, which makes them prime candidates for rooting.
Supplies You’ll Need
Gathering your tools beforehand makes the whole process so much smoother. Here’s what I usually have on hand:
- Sharp pruning shears or a clean knife: For making nice, clean cuts.
- Rooting hormone: This is a little booster that really helps encourage those roots to form. Look for one for woody plants.
- A well-draining potting mix: I often use a 50/50 mix of perlite and peat moss or coco coir. You can also find commercial seed-starting mixes that work well.
- Small pots or trays: With drainage holes, of course!
- A plastic bag or a clear plastic dome: To create a humid environment for your cuttings.
- Water source: For misting and watering.
- A saucer or tray: To catch any drips.
Propagation Methods
The most effective way I’ve found to propagate Vitex negundo is through stem cuttings. It’s reliable and gives you a great chance of success.
Stem Cuttings (Semi-hardwood)
- Select your parent plant: Choose a healthy, vigorous Vitex negundo that’s free from pests and diseases.
- Take your cuttings: Using your sharp shears, cut pieces of stem that are about 4-6 inches long. Look for stems that are flexible but not too soft. You want to take them from the current year’s growth.
- Prepare the cuttings: Remove all but the top two sets of leaves. If the remaining leaves are large, you can even cut them in half horizontally. This reduces water loss. At the bottom, you can make a shallow slit just below a leaf node (where the leaf attaches to the stem). This is where roots tend to emerge.
- Apply rooting hormone: Dip the cut end of the stem into the rooting hormone, tapping off any excess.
- Insert into potting mix: Moisten your potting mix and fill your pots or trays. Make a hole with a pencil or your finger and gently insert the cutting, ensuring the hormone-coated end is well covered and the node is below the surface. Gently firm the soil around the stem.
- Create humidity: Water the potting mix gently until it’s evenly moist but not soggy. Then, cover the pots with a plastic bag (like a zip-top bag secured with a rubber band around the pot) or a clear plastic dome. This creates a mini-greenhouse.
- Place in bright, indirect light: Find a spot that receives plenty of bright, indirect sunlight. Avoid direct sun, as this can scorch the delicate cuttings.
The “Secret Sauce” (Pro Tips)
After years of fiddling with plants, you pick up a few little tricks!
- It’s crucial that none of the leaves touch the water in your propagation setup. This is a sure way to invite rot. If you’re using a bag, make sure it doesn’t sag down and rest on the leaves.
- For an extra boost, especially if your home is a bit cooler, use bottom heat. A heating mat designed for seedlings can work wonders. It encourages root development from below, and combined with the humidity, it’s a recipe for success.
- Don’t be afraid to mist your cuttings lightly every so often, especially if you notice the leaves looking a bit thirsty, but always allow the surface of the soil to dry slightly between waterings.
Aftercare & Troubleshooting
Once your cuttings have rooted – and this can take anywhere from 4 to 8 weeks – you’ll start to see new leaf growth. That’s your cue!
- Acclimate them slowly: Once you see good root development (you might gently tug on a cutting to feel resistance), gradually remove the plastic. Do this over a few days to let the new plants get used to normal humidity.
- Continue watering: Keep the soil consistently moist but not waterlogged.
- Transplant when ready: When the new plants have a decent root system and are growing well, you can transplant them into slightly larger pots with a good quality potting mix.
The biggest issue you might encounter is rot. This usually happens when the cuttings are kept too wet or don’t have enough air circulation. If a cutting turns mushy and black, it’s unfortunately not going to make it. Don’t get discouraged! Just pull it out, clean up the area, and try again. Sometimes, it’s just a matter of tweaking the conditions.
So there you have it! Don’t be afraid to get your hands dirty. Patience is a gardener’s best friend, and watching a tiny cutting transform into a thriving plant is one of the most satisfying journeys you can take. Happy propagating!
Resource:
https://identify.plantnet.org/k-world-flora/species/Vitex%20negundo%20L./data