Hello there, fellow plant enthusiasts! It’s so lovely to have you join me today. We’re going to dive into the wonderful world of propagating a rather charming plant: Lathyrus linearifolius.
Your New Favorite Vine: The Allure of Lathyrus linearifolius
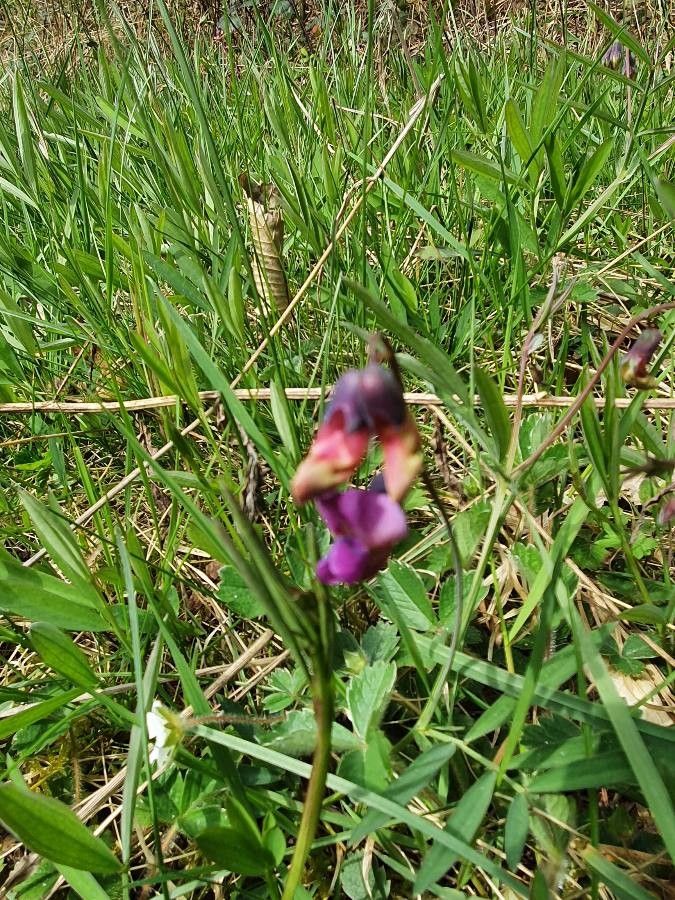
If you love a delicate, beautifully scented bloom that dances on the breeze, then Lathyrus linearifolius, often known as the Narrow-leaved Sweet Pea, might just steal your heart. Its soft, purplish-pink flowers have a subtle fragrance that’s simply divine. While it’s not a garden staple found everywhere, propagating it yourself is incredibly rewarding. It allows you to share this beauty with friends or simply expand your own collection without buying new plants. For beginners, I’d say propagating Lathyrus linearifolius is moderately challenging – it takes a bit of attention, but it’s far from impossible! With a little patience, you’ll be well on your way.
When to Get Your Hands Dirty
The sweet spot for propagating Lathyrus linearifolius is generally from late spring through to early summer. This is when the plant is actively growing and has plenty of energy to put into developing new roots. You’ll want to select stems that are tender but not brand new, the kind that have a bit of flexibility to them. Think of it as catching the plant at its peak vigor.
Your Propagation Toolkit
Gathering your supplies before you start makes the whole process smoother. Here’s what I usually have on hand:
- Sharp pruning shears or a clean, sharp knife: For making clean cuts.
- Rooting hormone powder or gel: This is really helpful in encouraging root development.
- A well-draining potting mix: I like a blend of perlite, peat moss, and a little bit of compost. You want something airy!
- Small pots or seedling trays: Clean ones are a must to prevent disease.
- A plastic bag or a propagator lid: To create a humid environment.
- Water: For misting and watering.
- Optional: Bottom heat mat: This can significantly speed up root formation.
Let’s Get Propagating!
The most reliable method for Lathyrus linearifolius is by stem cuttings. It’s straightforward once you get the hang of it.
- Take Your Cuttings: Gently select a healthy, non-flowering stem. Using your sharp pruners, cut a piece about 4-6 inches long, making sure the cut is just below a leaf node (where a leaf meets the stem). Remove the lower leaves, leaving just two or three at the top.
- Prepare the Stem: If you have used stems that are a little bit older, you can make a small slit on the bottom of the stem, about an inch long. This gives more surface area for rooting.
- Dip in Rooting Hormone: Dip the cut end of your stem into the rooting hormone powder, tapping off any excess. This is a crucial step for boosting your success rate.
- Plant Your Cuttings: Fill your small pots or trays with your prepared potting mix. Make a hole in the center with your finger or a pencil, and gently insert the cutting, ensuring the leaf nodes are below the soil line. Firm the soil gently around the stem.
- Create a Humid Environment: Water the soil lightly. Then, cover the pot or tray with a clear plastic bag or a propagator lid. This will trap moisture and humidity, which is vital for the cuttings to root.
The “Secret Sauce” from My Garden
There are a few little tricks that have really made a difference for me over the years.
- Don’t let the leaves touch the water: If you’re using water propagation as a preliminary step (which I sometimes do for a few days), make sure the leaves are well above the waterline. Any submerged foliage will just rot and potentially harm the whole cutting.
- Bottom heat is your friend! If you can, place your propagator on a gentle bottom heat mat. This warmth encourages root development from below, making the process much faster and more consistent. I find it cuts down rooting time by at least half.
- Be patient with misting: While you want humidity, don’t drown your cuttings. A light misting of the leaves every day or two, or whenever the soil surface looks dry, is usually sufficient.
Aftercare and What to Watch For
Once you’ve got your cuttings planted, the real waiting game begins! Keep them in a bright spot, but avoid direct, harsh sunlight, especially in the beginning. The humidity inside the bag or propagator is key.
You’ll know your cuttings are taking root when you see new leaf growth. It might take anywhere from 3 to 6 weeks, sometimes longer. Gently tugging on a cutting will also reveal resistance if roots have formed. Once you see good root development, you can carefully remove the plastic bag or lid, gradually acclimatizing the new plants to the ambient humidity.
The biggest sign of failure is usually wilting that doesn’t recover or a mushy, black stem. This often points to rot, which can be caused by overwatering or a lack of drainage. If you see this, it’s best to discard the affected cutting and check your watering habits.
Go Forth and Grow!
Propagating Lathyrus linearifolius is a truly satisfying endeavor. It’s a little bit of a slow burn, but seeing those tiny roots emerge and knowing you’ve helped a new plant come to life is an incredible feeling. Be patient with yourself and your cuttings. Enjoy the process, learn as you go, and soon you’ll be surrounded by the delicate beauty of your own homegrown sweet peas. Happy gardening!
Resource:
https://identify.plantnet.org/k-world-flora/species/Lathyrus%20linearifolius%20Vogel/data