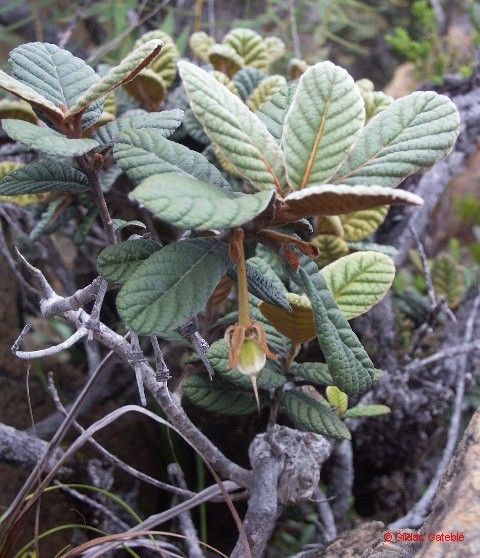
Hello, fellow plant lovers! I’m so excited to chat with you today about a truly beautiful and often overlooked gem in the plant world: Dubouzetia guillauminii. If you’re looking for a plant that brings a splash of vibrant color and delicate charm to your garden, this is it. Its elegant blooms are a delight, and the satisfaction of multiplying these beauties yourself? Well, that’s a whole other level of joy!
Now, let’s get to the nitty-gritty: is Dubouzetia guillauminii an easy plant to propagate for beginners? Honestly, it leans a little towards the intermediate side. It’s not a divabetic diva, but it does appreciate a bit of thoughtful care. But don’t let that deter you! With a little patience and these tips, you’ll be well on your way.
The Best Time to Start
Timing is everything, as we gardeners know! For Dubouzetia guillauminii, the absolute best time to try your hand at propagation is during its active growing season. This usually means late spring through early summer, after the plant has recovered from any harsh weather and is putting on new, vigorous growth. You’re looking for stems that are semi-hardwood – not brand new and floppy, but not old and woody either. Think of it as the prime of its life!
Supplies You’ll Need
Gathering your tools before you begin makes the whole process smoother. Here’s what I usually have on hand:
- Sharp Pruning Shears or a Craft Knife: Cleanliness is key for preventing disease transmission.
- Rooting Hormone: A good rooting powder or gel will significantly boost your success rate.
- Well-Draining Potting Mix: I like a blend of peat moss or coir, perlite, and a bit of coarse sand. You can also find specialized propagation mixes.
- Small Pots or Trays with Drainage Holes: Clean pots are essential!
- Clear Plastic Bags or a Propagator: This helps maintain humidity around your cuttings.
- Watering Can with a Fine Rose or a Spray Bottle: Gentle watering is important.
- Labels and a Marker: Keep track of what you’ve planted and when!
Propagation Methods
Let’s dive into how we can get more of these lovely plants. For Dubouzetia guillauminii, stem cuttings are your best bet.
Stem Cuttings:
- Take Your Cuttings: With your clean pruning shears, select a healthy stem that’s about 4-6 inches long. Make a clean cut just below a leaf node (where a leaf attaches to the stem). Remove any lower leaves, leaving just two or three at the top.
- Prepare the Cuttings: If you’re using rooting hormone, moisten the cut end of the stem slightly and then dip it into the rooting hormone powder or gel, tapping off any excess.
- Plant Your Cuttings: Fill your small pots or trays with your prepared potting mix. Make a pilot hole with a pencil or stick to avoid rubbing off the rooting hormone. Insert the prepared stem cutting into the hole, ensuring the leaf nodes are below the soil surface. Gently firm the soil around the base of the cutting.
- Water Gently: Water the potting mix thoroughly but gently. You want the soil to be moist but not waterlogged.
- Create a Humid Environment: Cover the pots with a clear plastic bag secured with a rubber band, or place them in a propagator. This traps humidity, which is vital for cuttings that haven’t developed roots yet. Make sure the leaves aren’t touching the plastic if possible.
- Provide Light and Warmth: Place the pots in a bright spot but out of direct sunlight. A little bit of bottom heat (using a heat mat designed for plants) can also be wonderfully beneficial, encouraging root development.
The “Secret Sauce” (Pro Tips)
Here are a couple of things I’ve learned over the years that really make a difference:
- Don’t Overdo the Hormone: While rooting hormone is helpful, too much can actually hinder development or even cause rot. A light dusting is all you need.
- Air Circulation is Key: Even though you want humidity, it’s crucial to ventilate your cuttings daily for a few minutes. Open the plastic bag or propagator lid. This prevents fungal growth and encourages healthier rooting.
- Patience is Your Best Friend: For some plants, you’ll see roots in weeks. For Dubouzetia, it can sometimes take a couple of months. Resist the urge to constantly dig and check!
Aftercare & Troubleshooting
Once you start to see signs of new growth—tiny leaves unfurling or a gentle tug on the cutting indicating resistance—it’s time to transition.
Gradually reduce the humidity over a week or two by opening the plastic bag more each day. Continue to keep the soil consistently moist but not soggy. You can start feeding with a very diluted liquid fertilizer once you see active top growth.
What if things go wrong? The most common culprit is rot. If your cutting turns black and mushy, it’s a sign of too much moisture and not enough air circulation. If you see mold, remove the affected cutting immediately and improve ventilation. Sometimes, a cutting just won’t take, and that’s okay too! It’s part of the learning process.
A Word of Encouragement
Propagating plants, especially those as charming as Dubouzetia guillauminii, is a rewarding journey. It’s about connection with nature, a bit of patience, and celebrating new life. Don’t be discouraged if your first attempts aren’t perfect. Each time you try, you learn and grow. Enjoy the process, and soon you’ll have more of these beautiful plants to share (or keep all to yourself – no judgment here!). Happy gardening!
Resource:
https://identify.plantnet.org/k-world-flora/species/Dubouzetia%20guillauminii%20Virot/data